|
|
Post by goofy62 on Jun 18, 2020 11:16:05 GMT -5
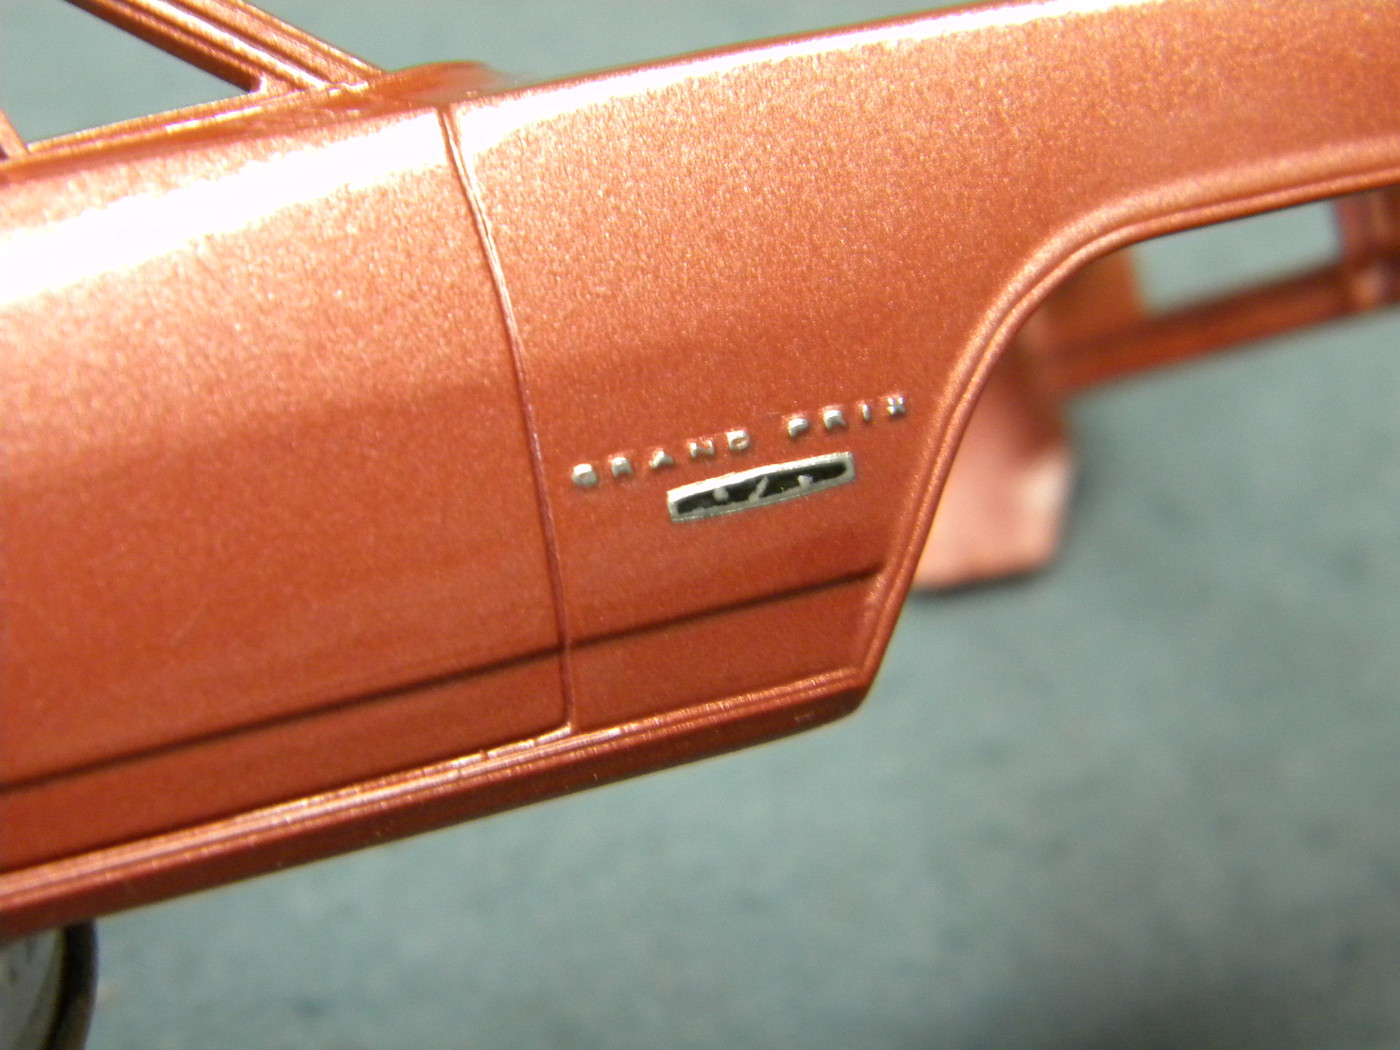
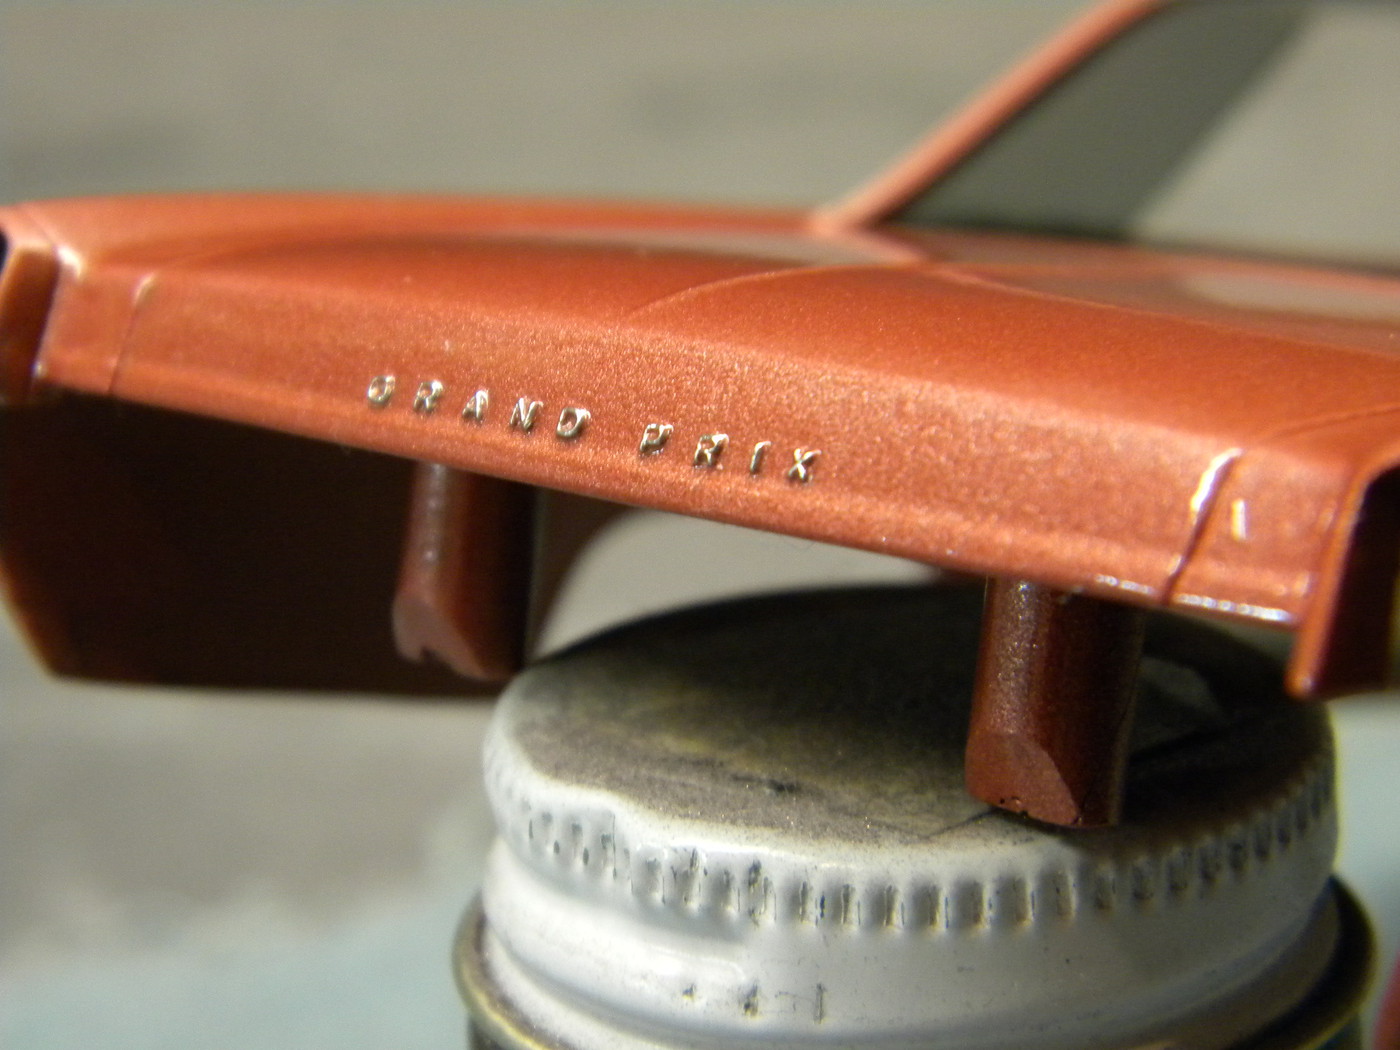
Can U tell how to chrome the letters so nicely?
Absolutely!
I have been using a technique for many years that I did not invent that I call the "foil under paint" technique.
In short, it is nothing more than the procedure of applying the foil under the paint and then cleaning the paint from the foiled letters.
There are several different ways to achieve this, but this is how I do it.
I apply all of my primer and color coats as normal, except for the final coat or two of color.
Before applying the final coats of color, I foil the small scripts with BMF, cutting as close to the script as possible.
Then I go ahead and spray on the remaining color coats.
Once the paint is dry enough to safely handle, I clean the paint from the surface of the scripts, first with a conical swab lightly dampened with a little lacquer thinner, followed by a refined cleaning with a sharpened tooth pick dampened with lacquer thinner.
Once the letters are cleaned, I go ahead and spray the body with several coats of clear.
Of course, the clear is not a requirement, but I use clear on all of my projects.
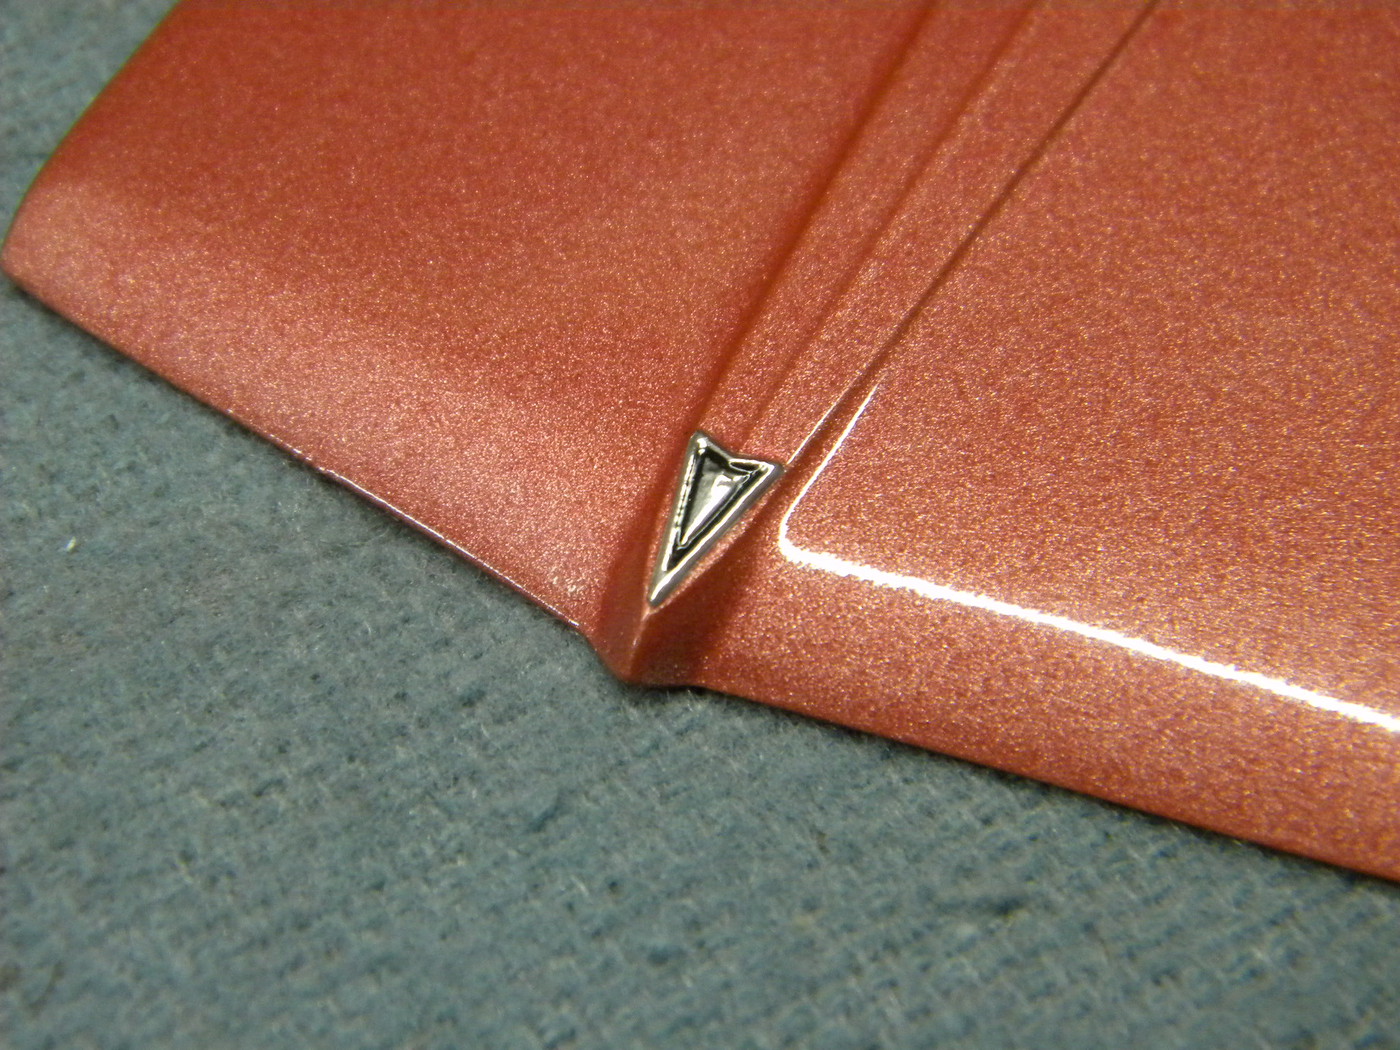
Usually, for smaller badges like the "GP" badges on the lower front quarter panels and the Pontiac crest on the hood, I will foil and detail them after the color is on, but before clear.
Basically, using this method, I am separating the foiling task into 3 separate operations.
Scripts before final color, badges before clear, and all of the other moldings when the body is fully painted and polished.
This is just how these foiling issues have evolved for me.
Others will apply the foil before any primer or paint goes on at all, and some before the color coats.
This will work, but I have found that the less paint to remove from the foiled letters, the better.
Likewise, some will remove the paint from the scripts by sanding or using the polishing process to reveal the chrome letters.
This is a viable solution as well, but extreme care must be taken not to sand or polish too much.
Being a little too aggressive can mean sanding right through the foil.
Steve
|
|
|
|
Post by constructionbob on Jun 18, 2020 13:01:18 GMT -5
TNX!!! =) I'll try this.
|
|
|
|
Post by mack2856 on Jun 19, 2020 18:44:10 GMT -5
That's brilliant, I've been scrapping away for years, not any more, thanks.
|
|
|
|
Post by goofy62 on Jun 20, 2020 14:39:24 GMT -5
Thanks guys.
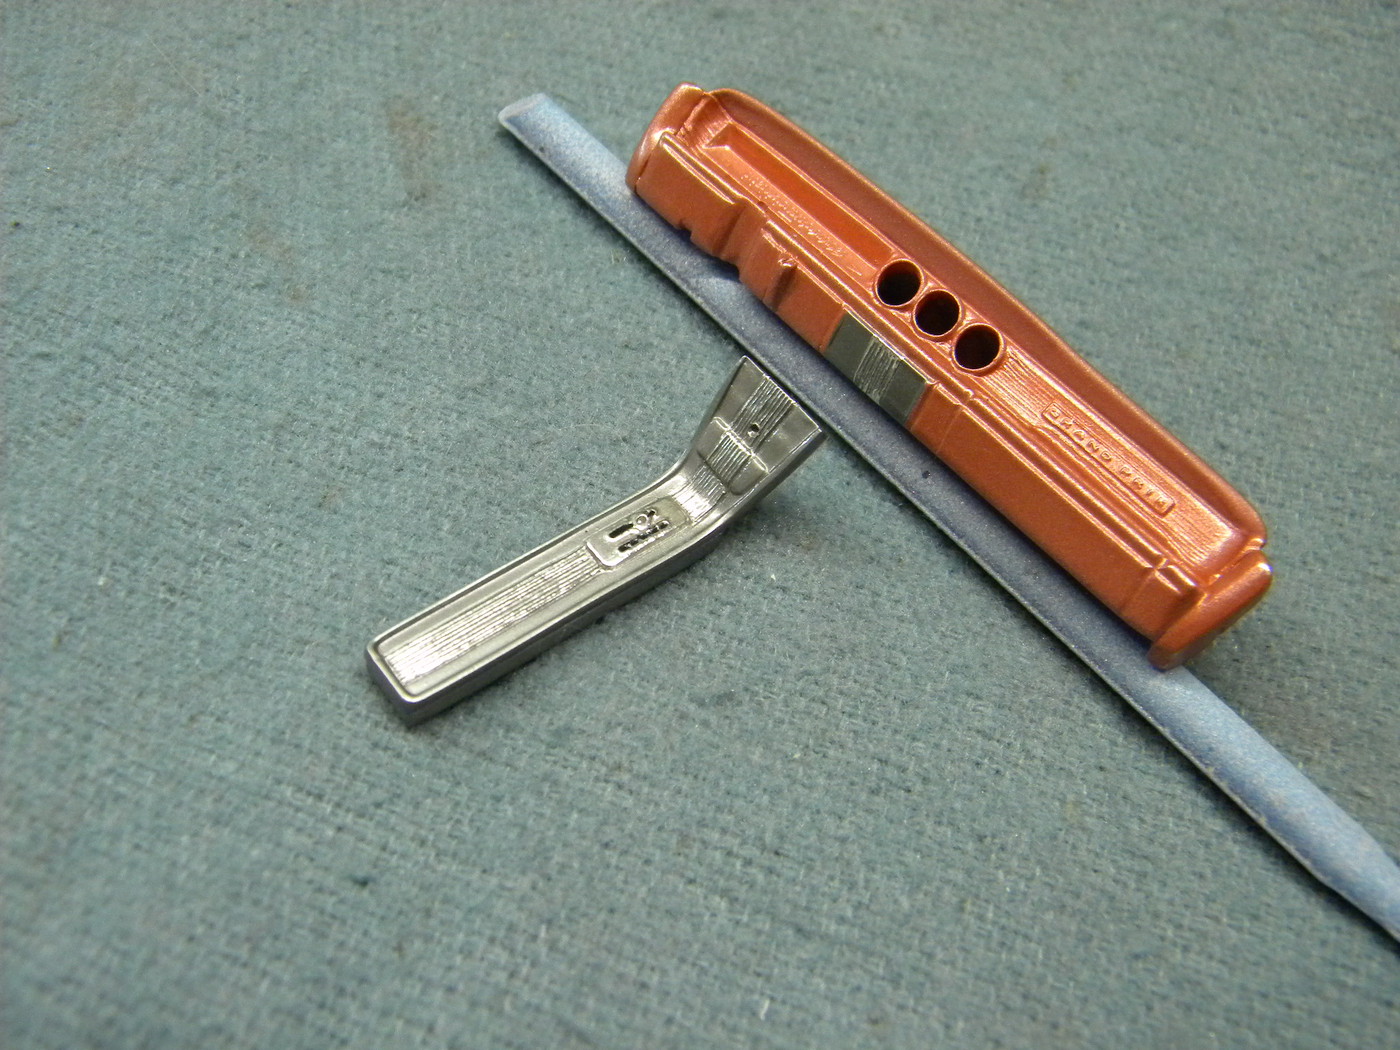
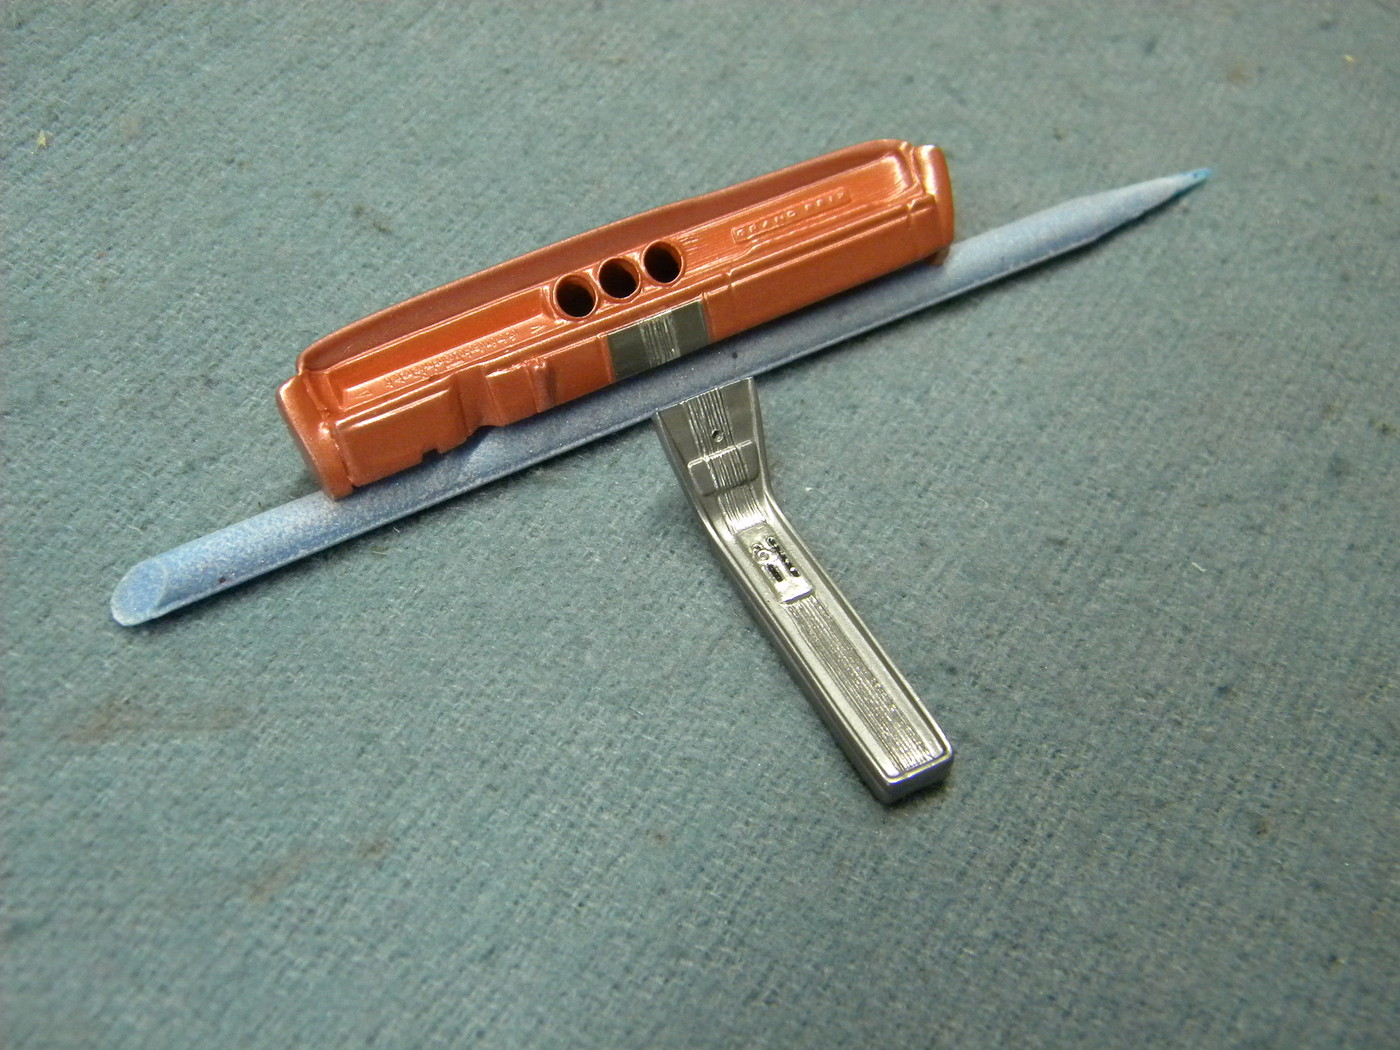
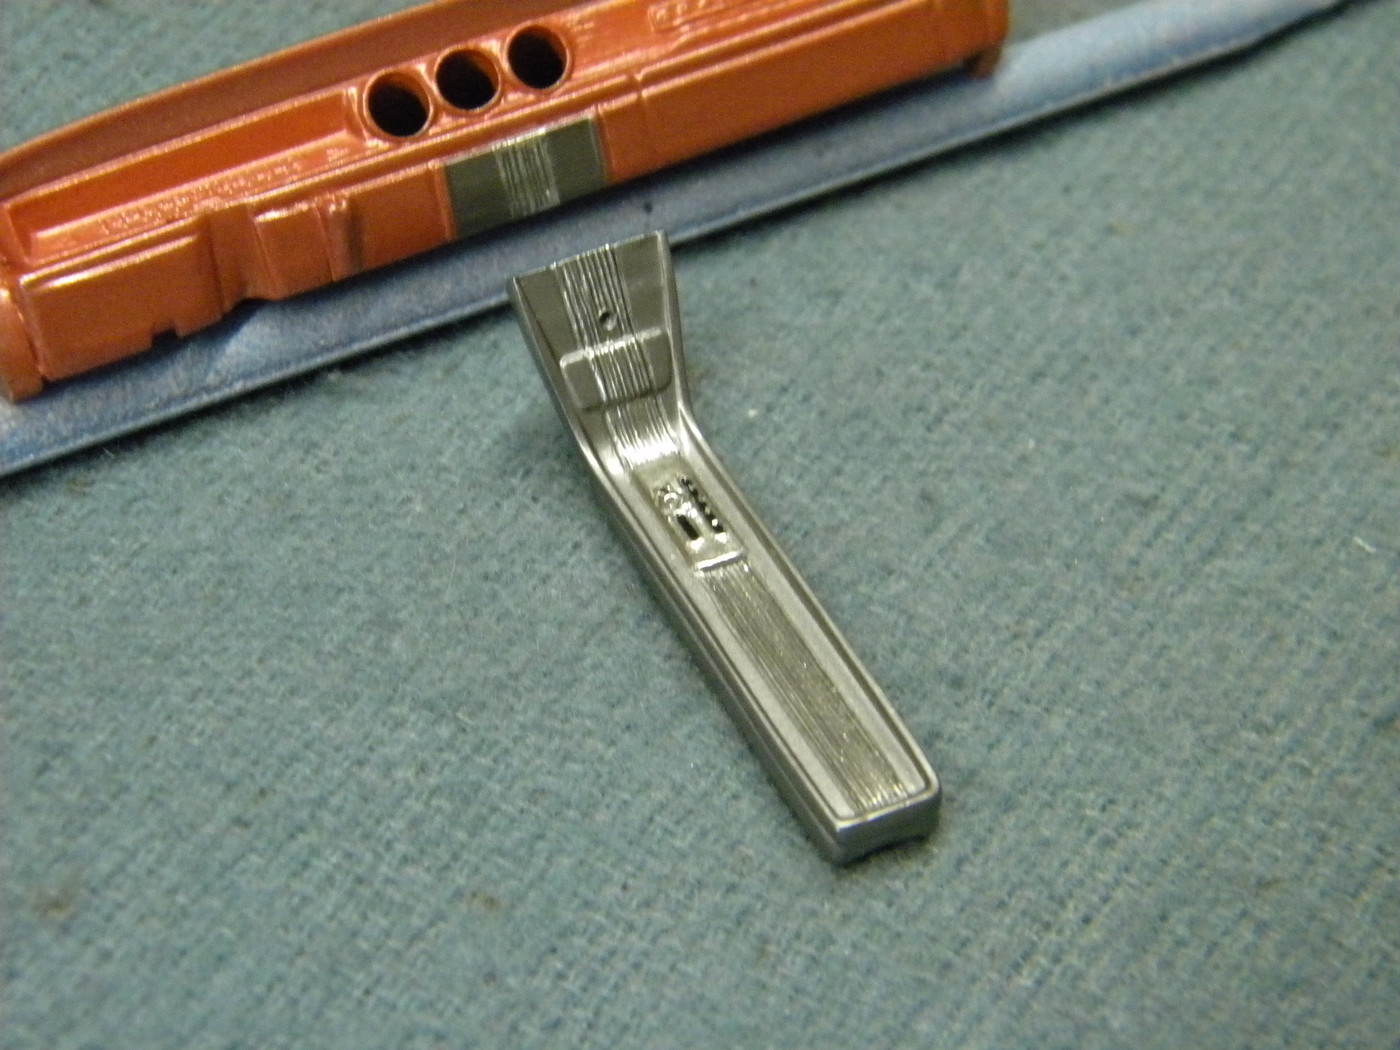
Found a little time this afternoon to sit down and work on a couple more small details.
From my research it appears that the consoles in these cars were a dark metallic gray, regardless of interior color, with chrome accents.
First I foiled the fluted center section and then I sprayed the console and corresponding section of the dash with some Alclad dark aluminum.
Then, in the same way that I do scripts, I cleaned the paint from the ribs to the best of my ability.
Foiled and detailed the shift gate and then covered the whole thing in a thin coat of Testors clear lacquer.
The chrome trim on the outer edges will be foiled when the clear has cured.
Steve
|
|
|
|
Post by mack2856 on Jun 20, 2020 15:19:48 GMT -5
Sweet!
|
|
|
|
Post by sharp on Jun 21, 2020 8:26:33 GMT -5
Very nice!
|
|
|
|
Post by goofy62 on Jun 24, 2020 21:52:39 GMT -5
Thanks guys.
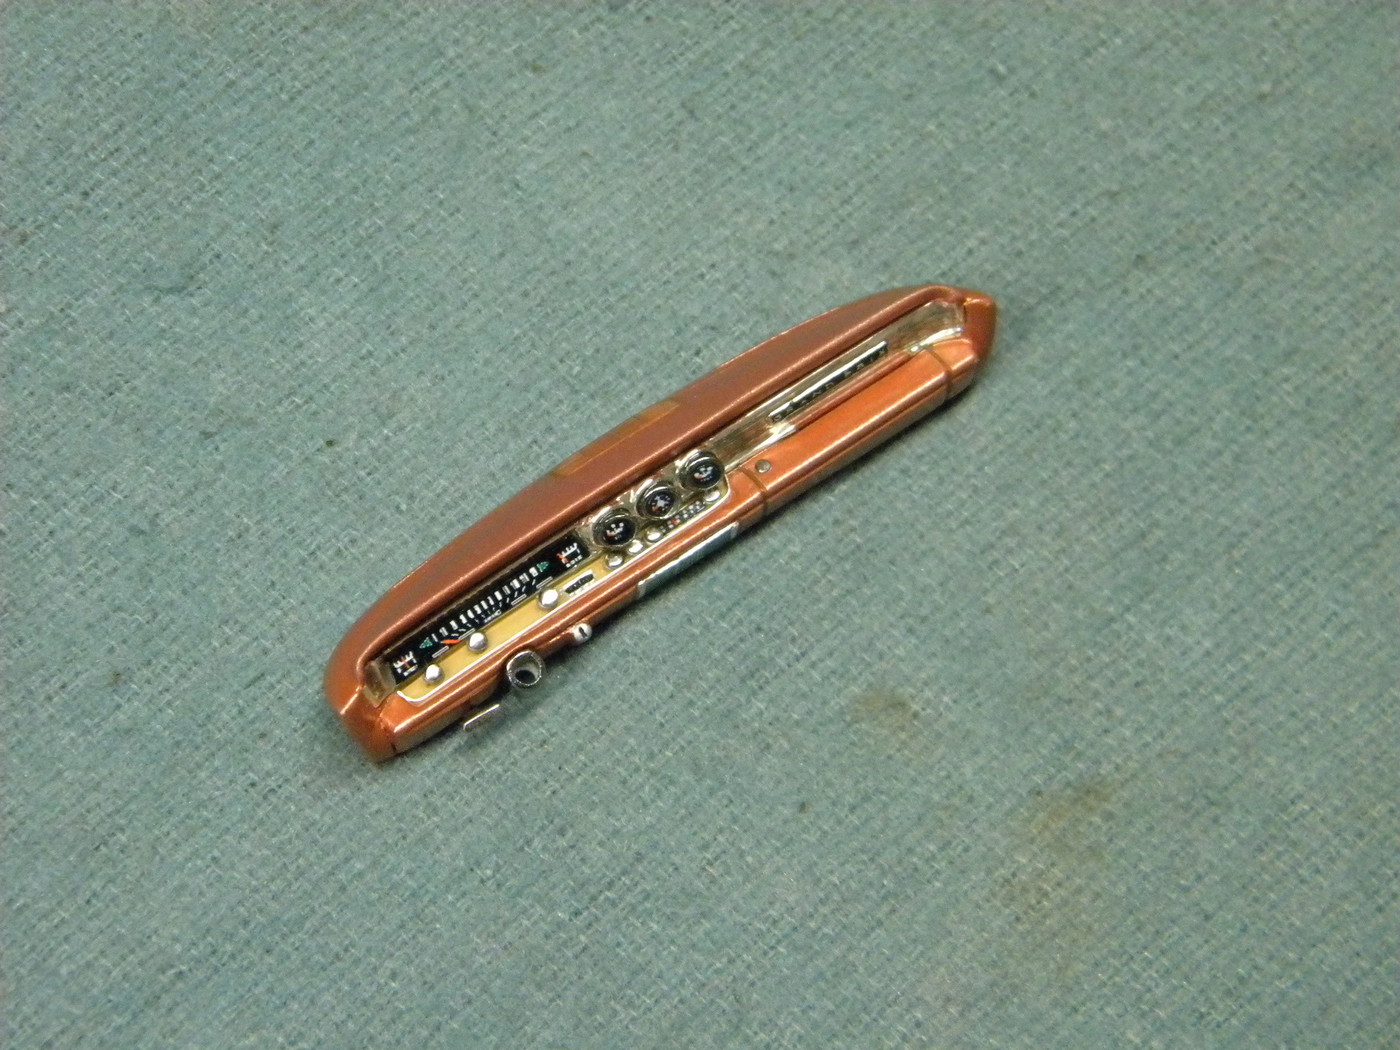
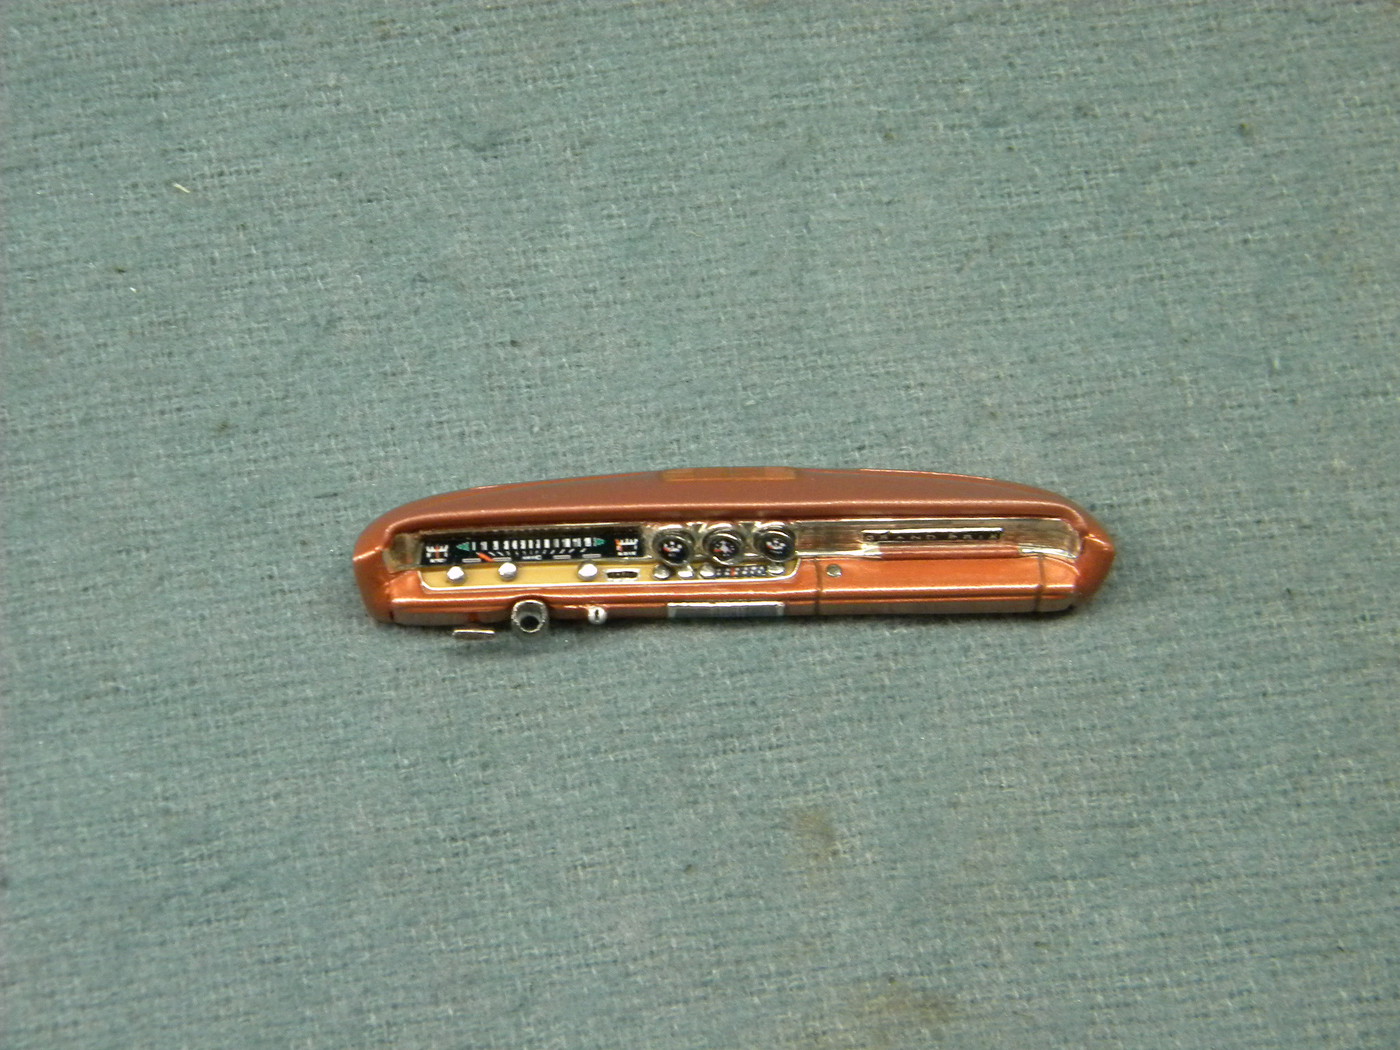
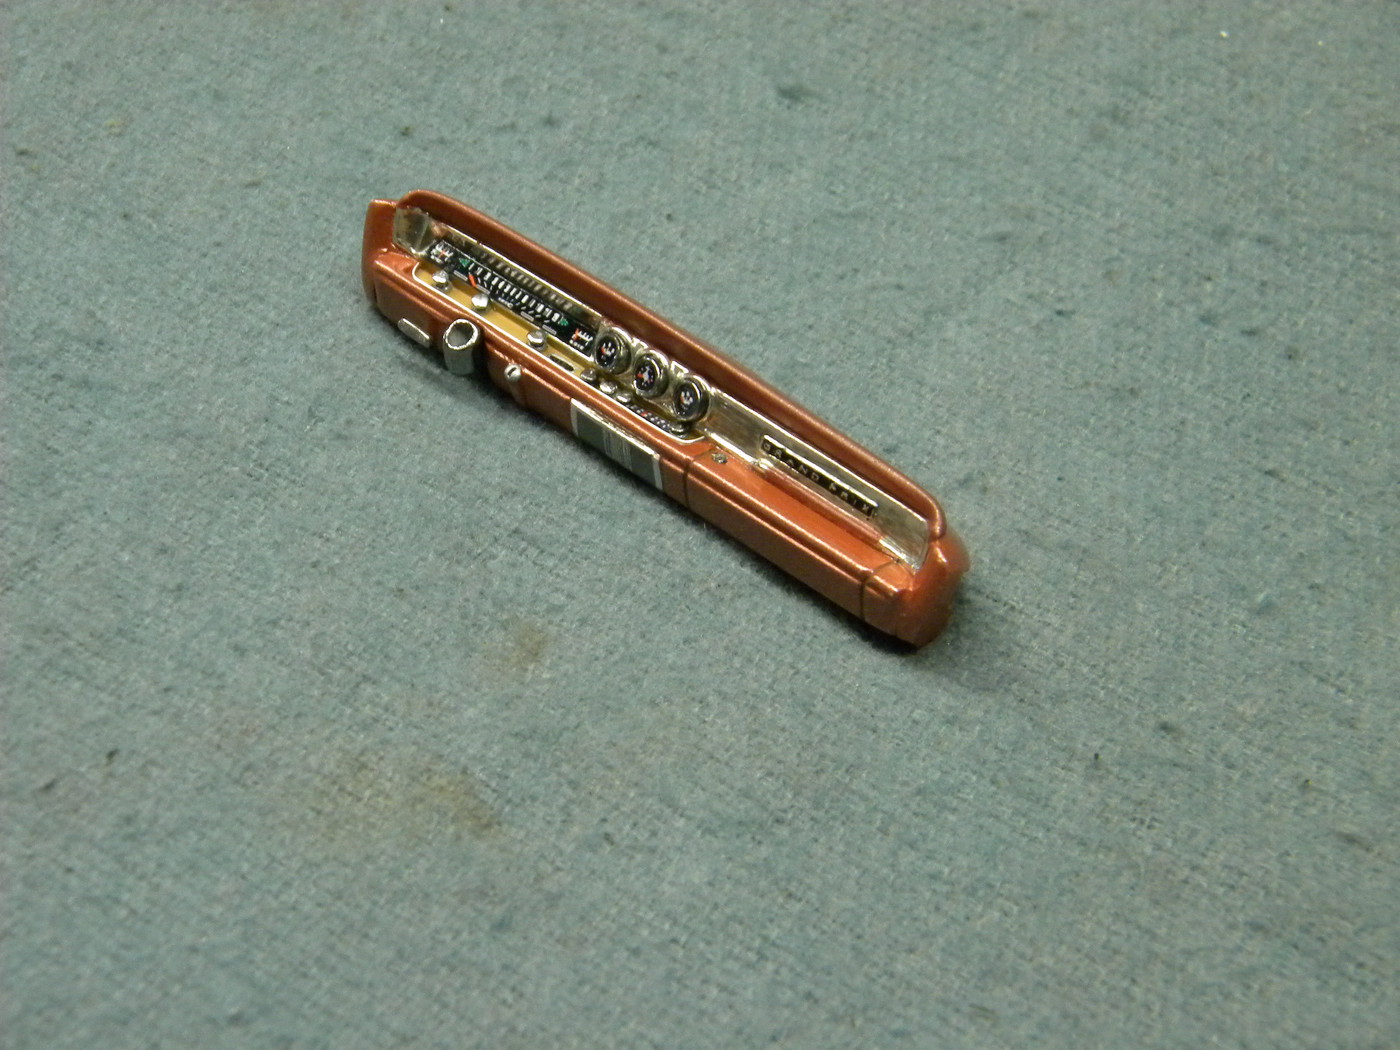
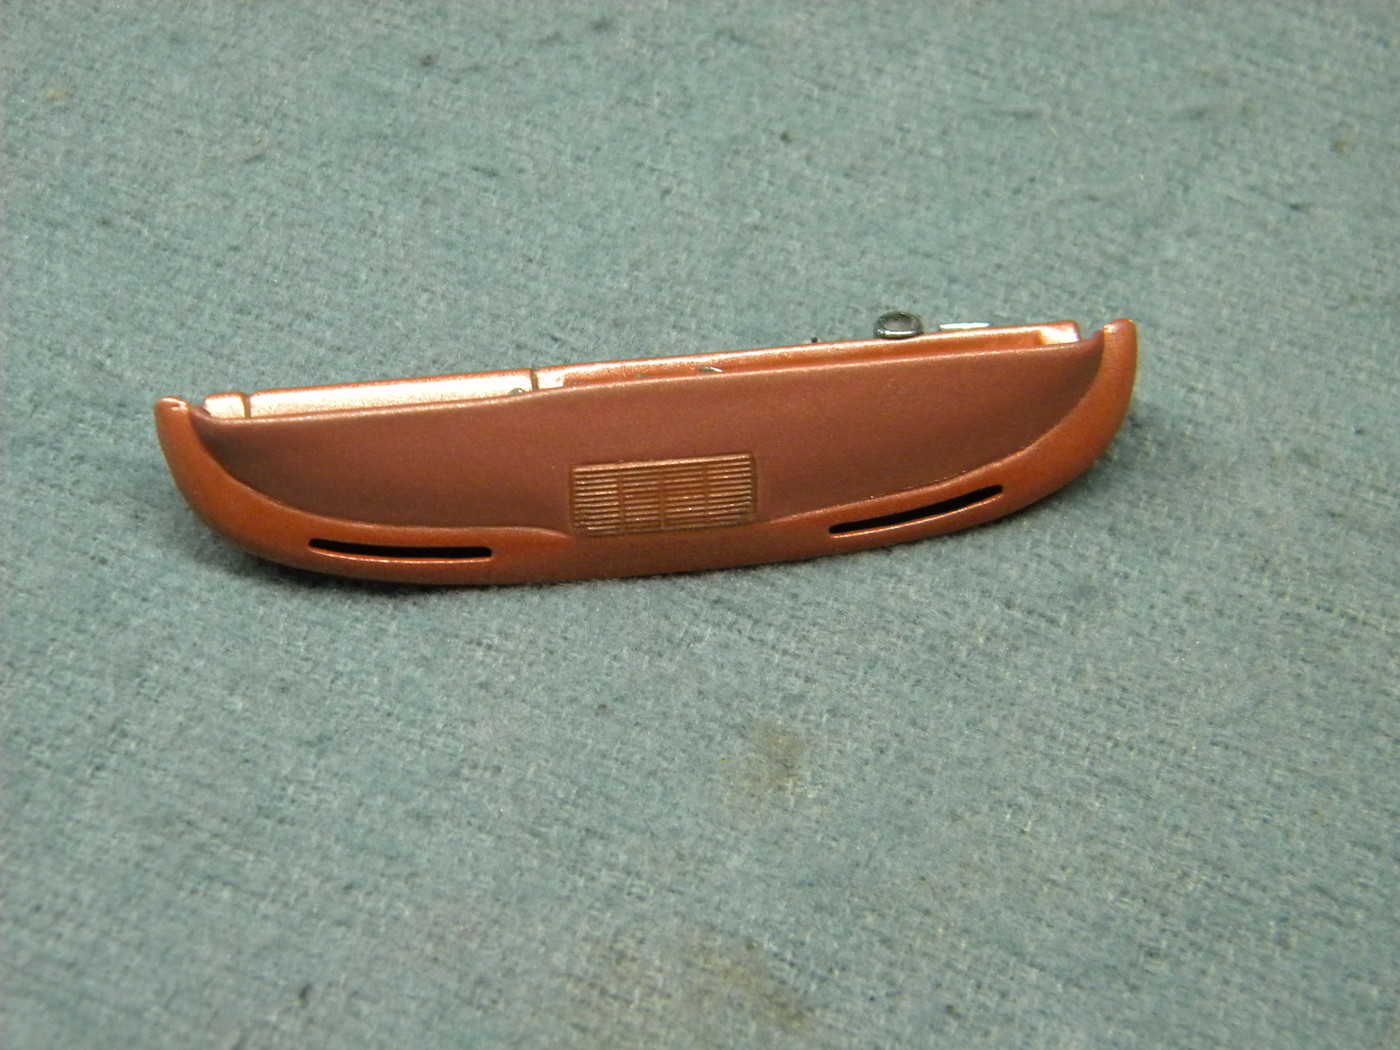
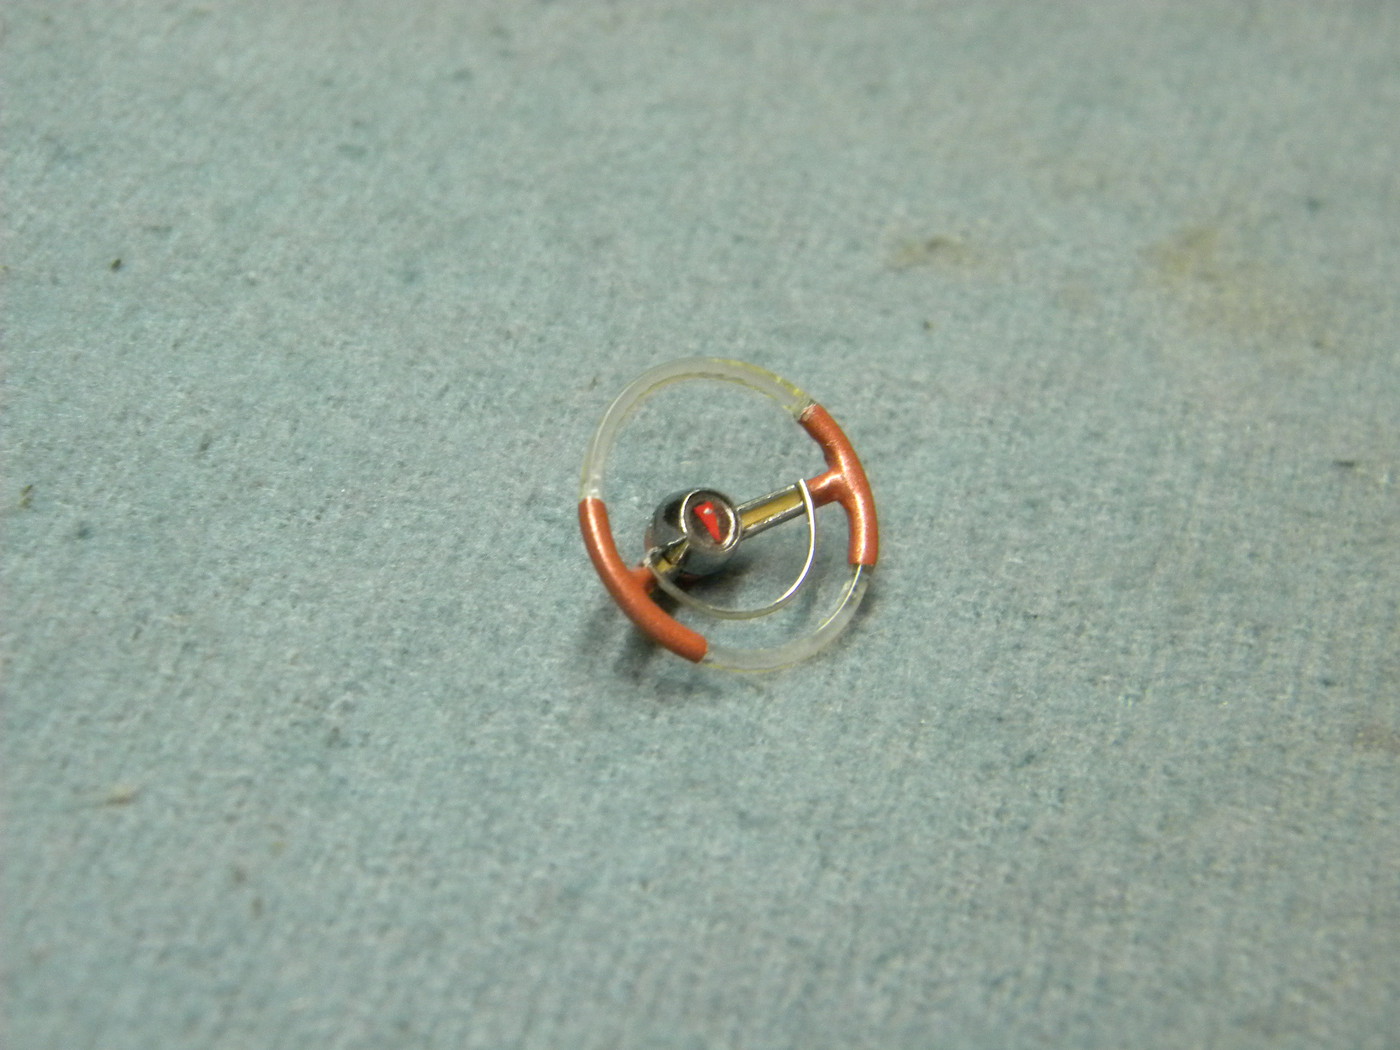
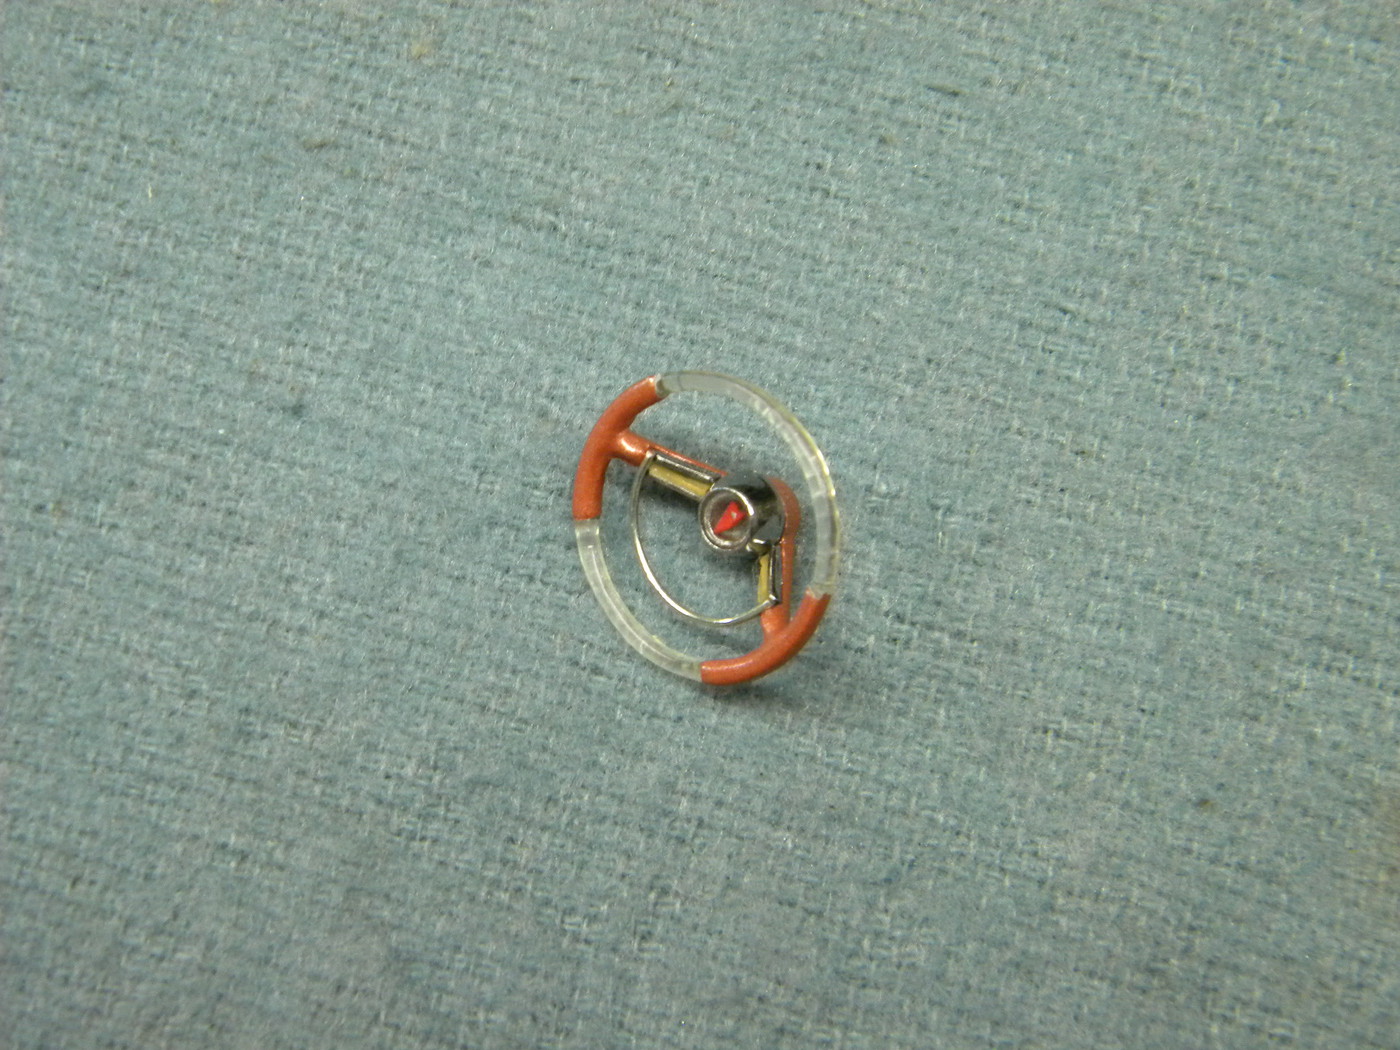
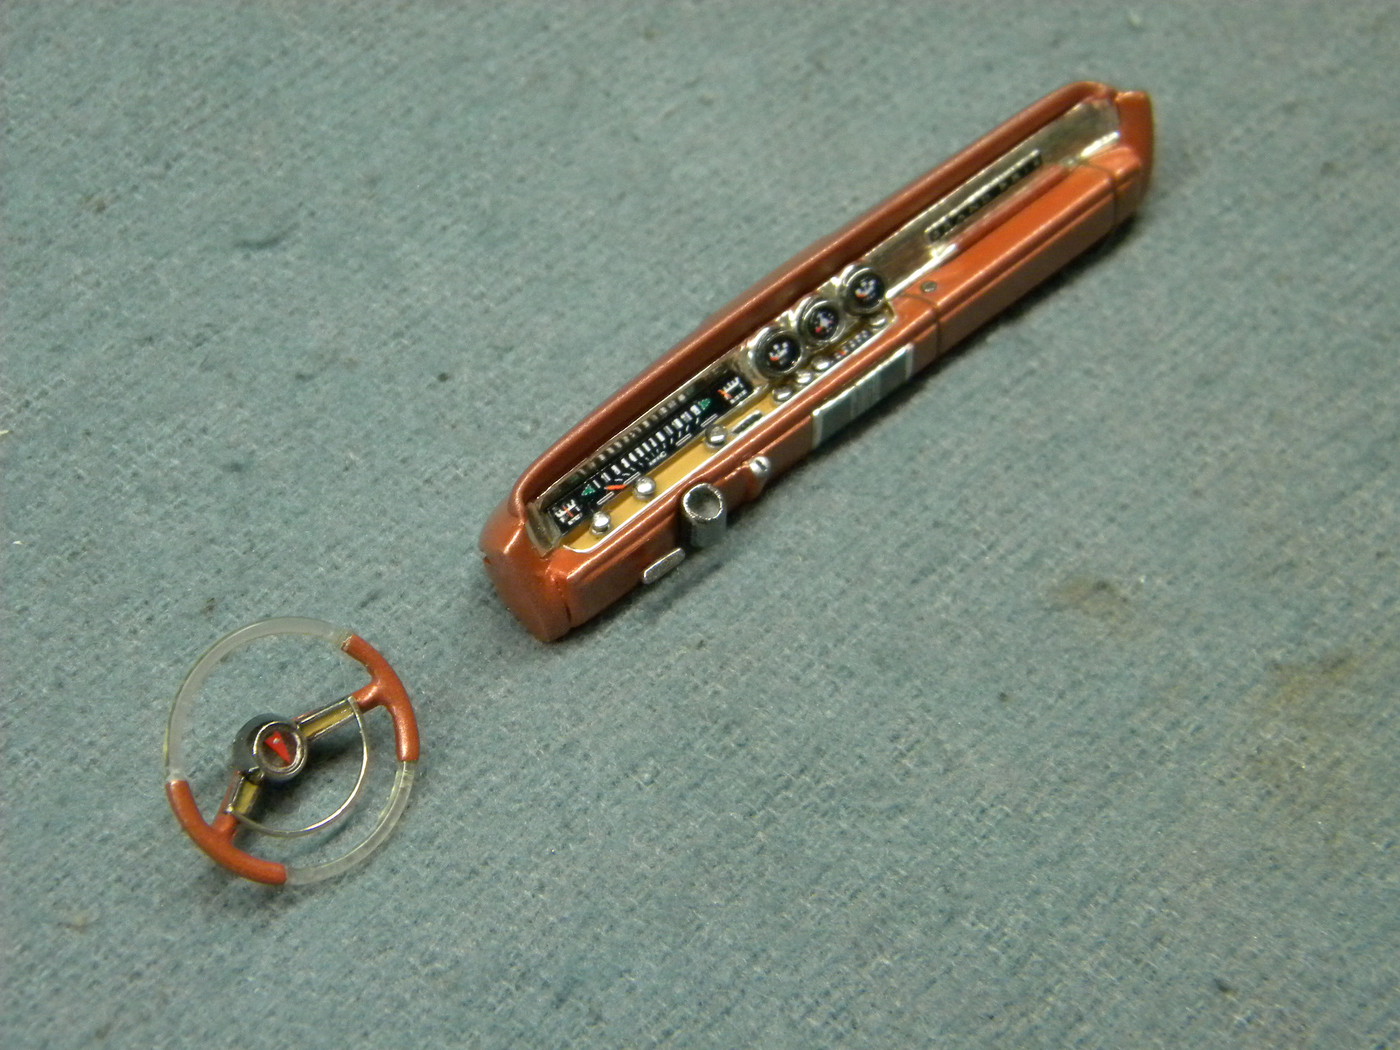
Here are a few pics of the finished dash and steering wheel.
Steve
|
|
|
|
Post by constructionbob on Jun 25, 2020 13:08:04 GMT -5
Me likes, a lot!
|
|
|
|
Post by mack2856 on Jun 25, 2020 21:49:40 GMT -5
Holy crap, that's fantastic.
|
|
|
|
Post by mustang1989 on Jun 30, 2020 8:02:09 GMT -5
You know...….you really put on quite the show Steve. This is about as good as I've seen it get without cutting one's own metal parts. Masterful work bud.
|
|
|
|
Post by goofy62 on Jul 1, 2020 16:03:24 GMT -5
Thanks guys!
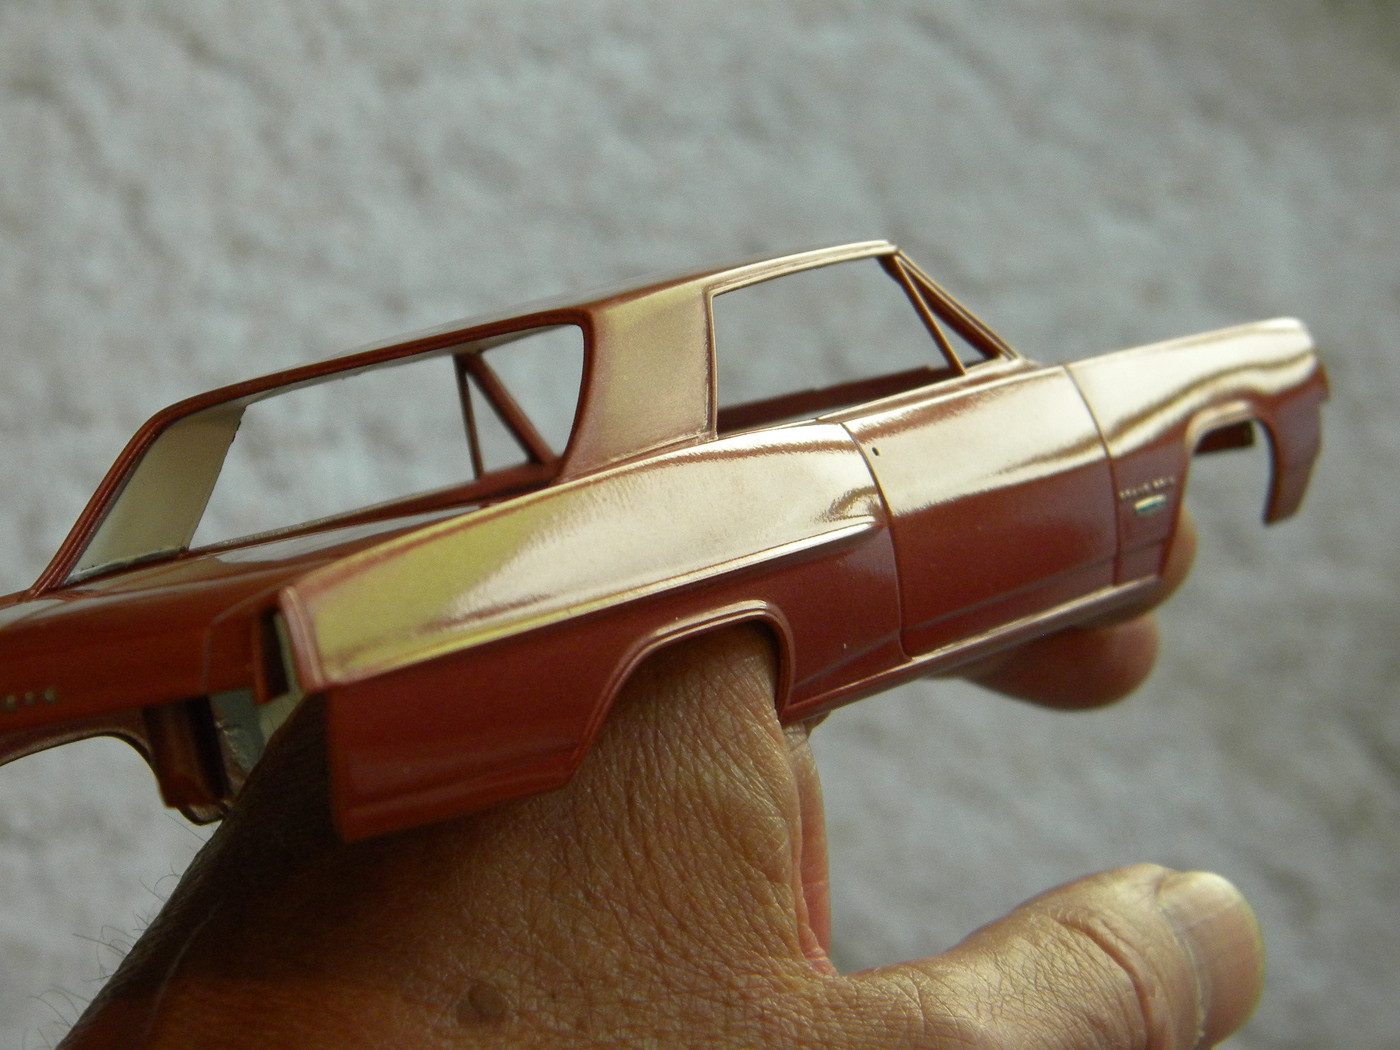
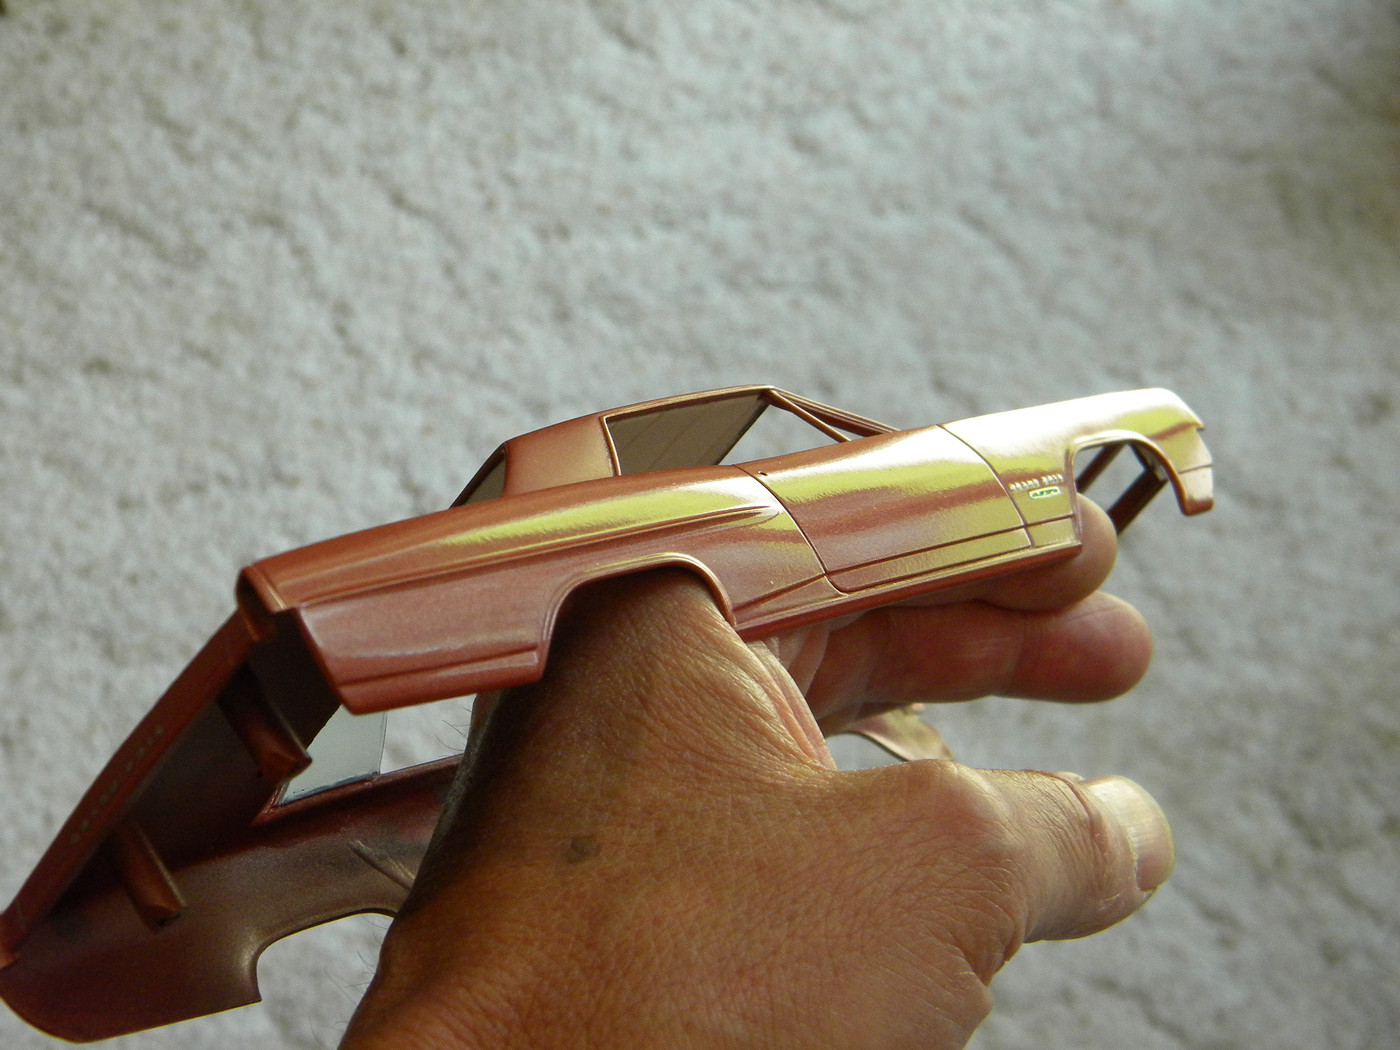
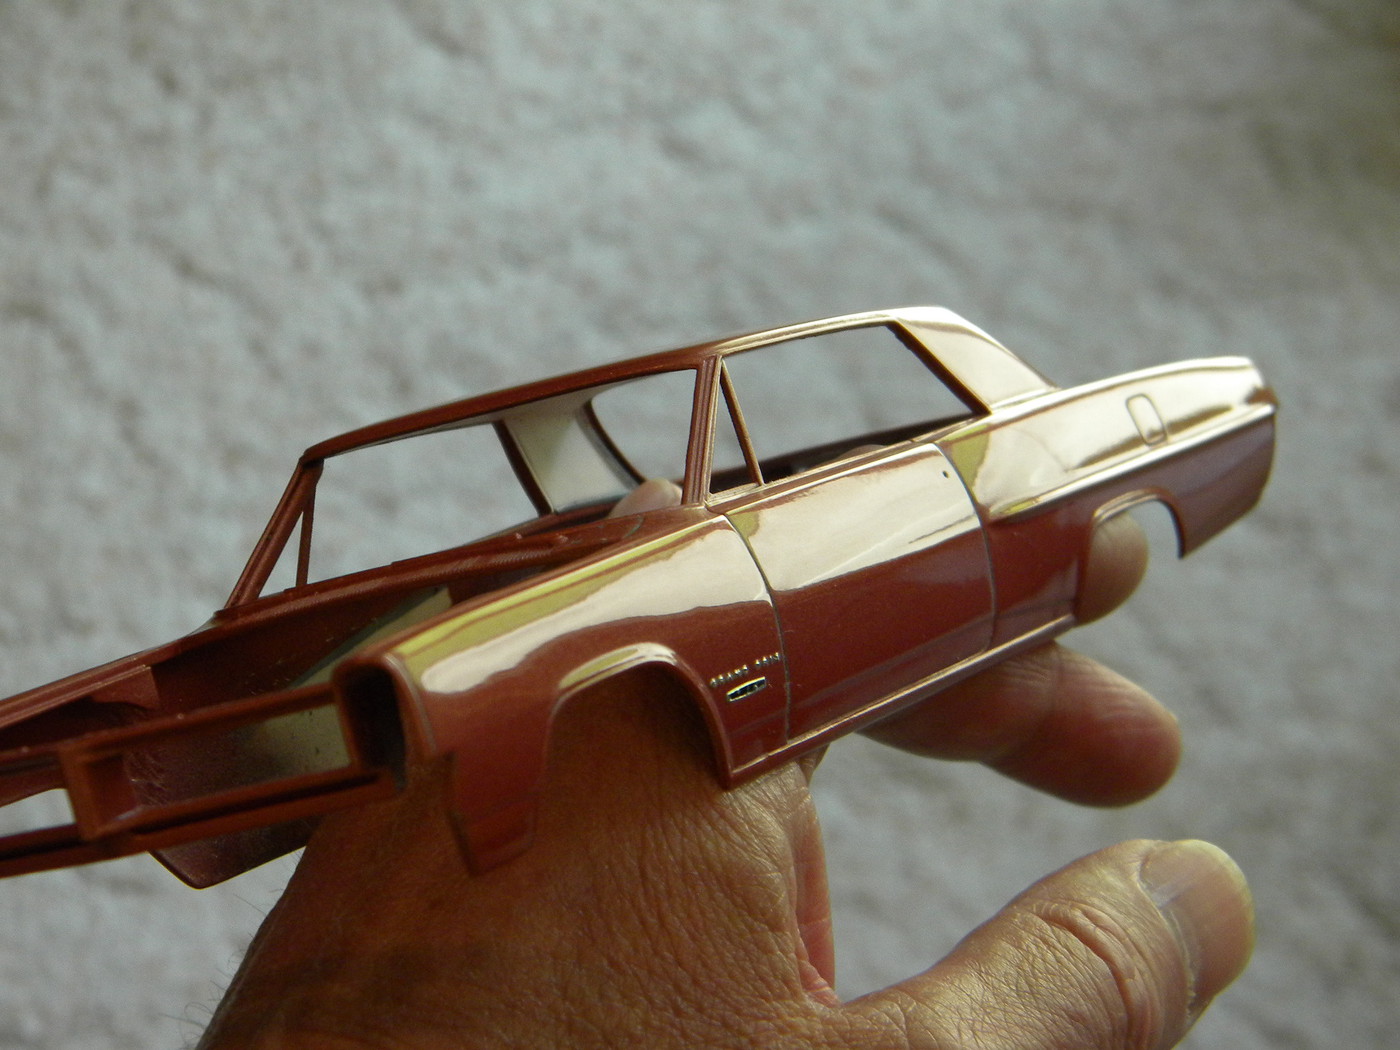
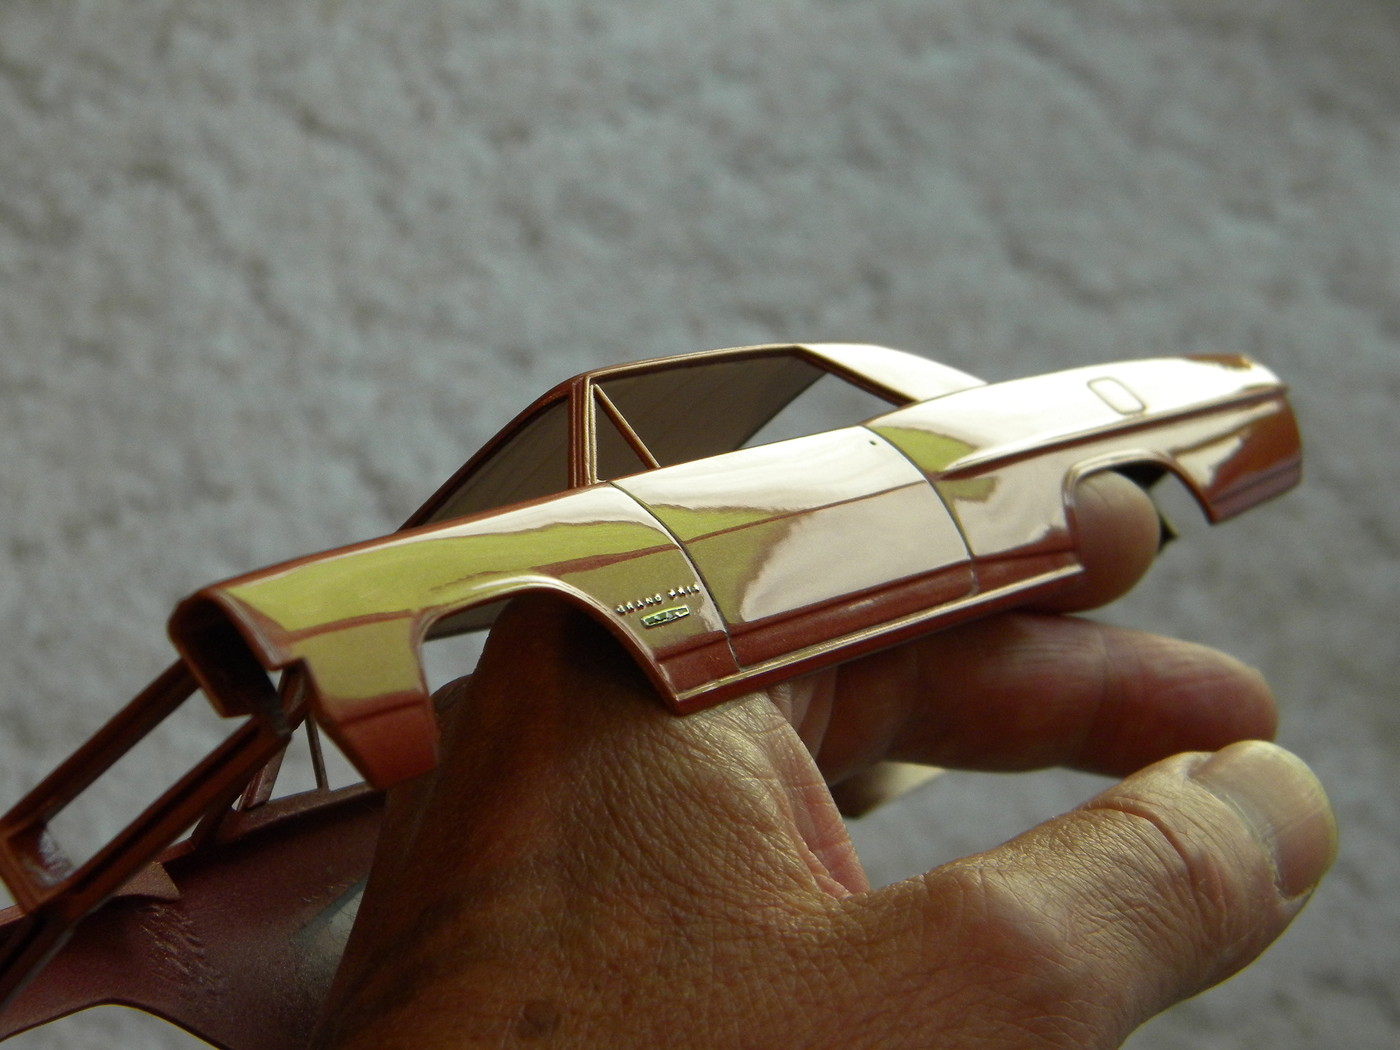
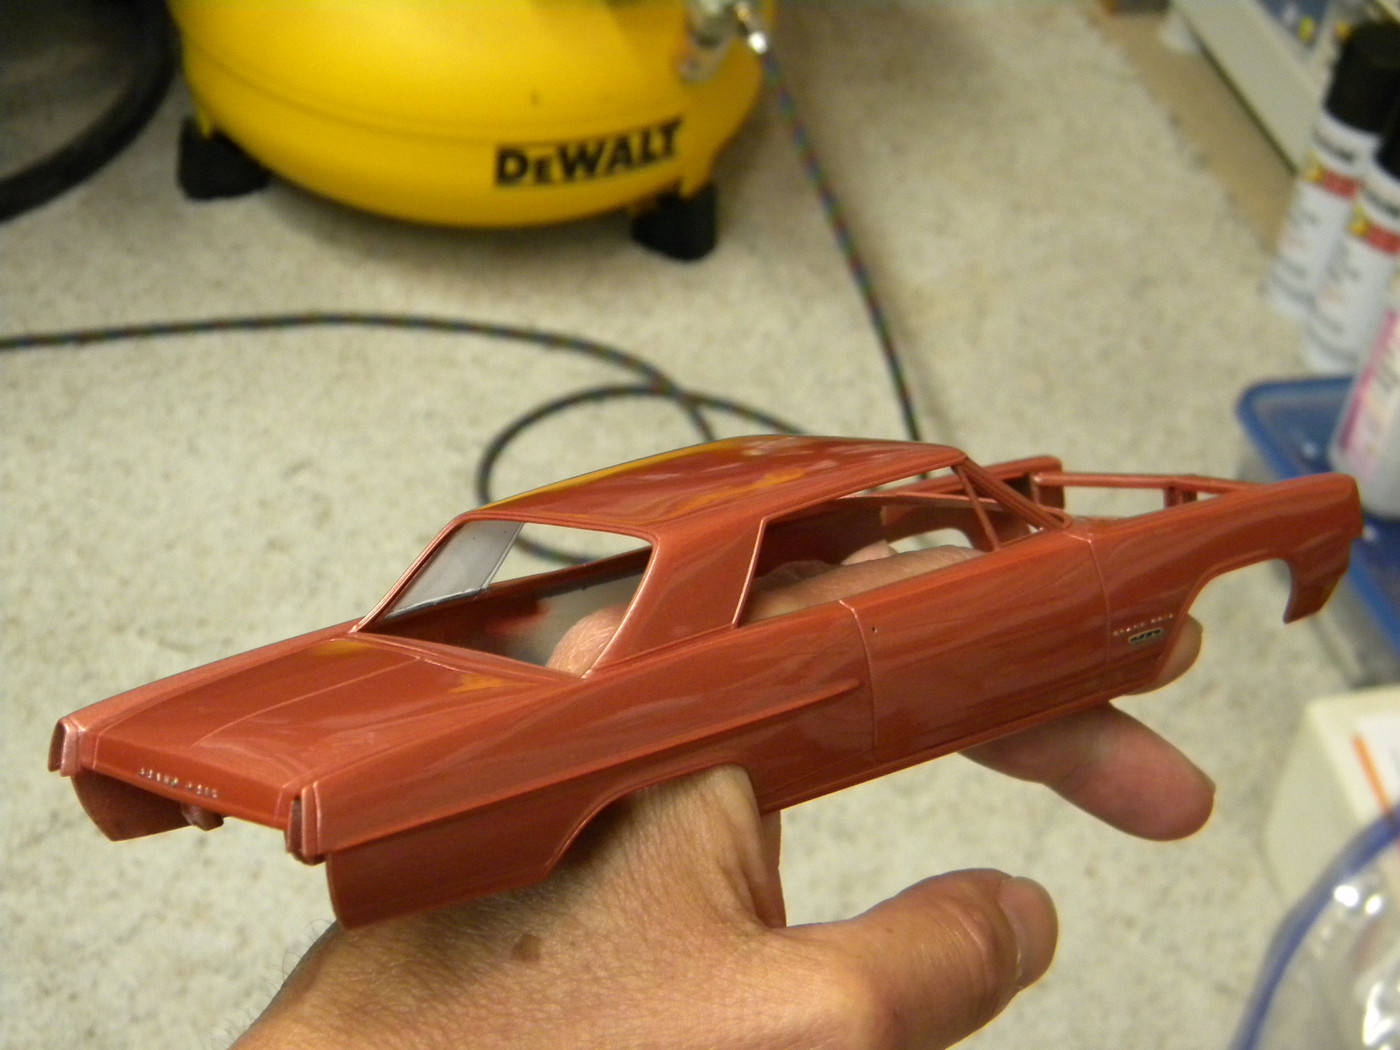
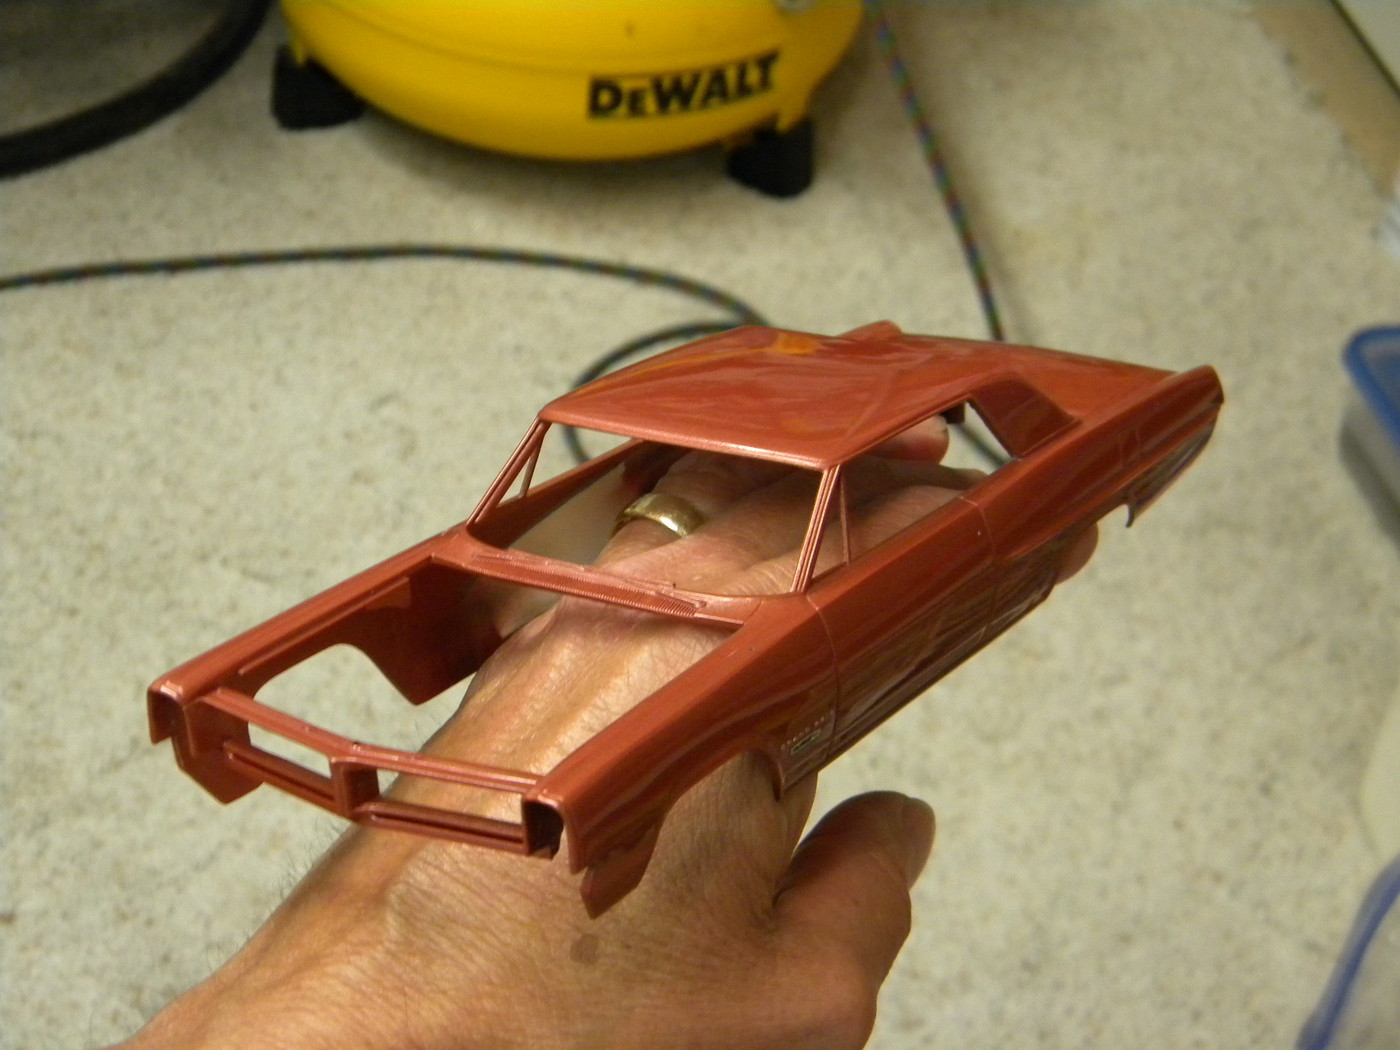
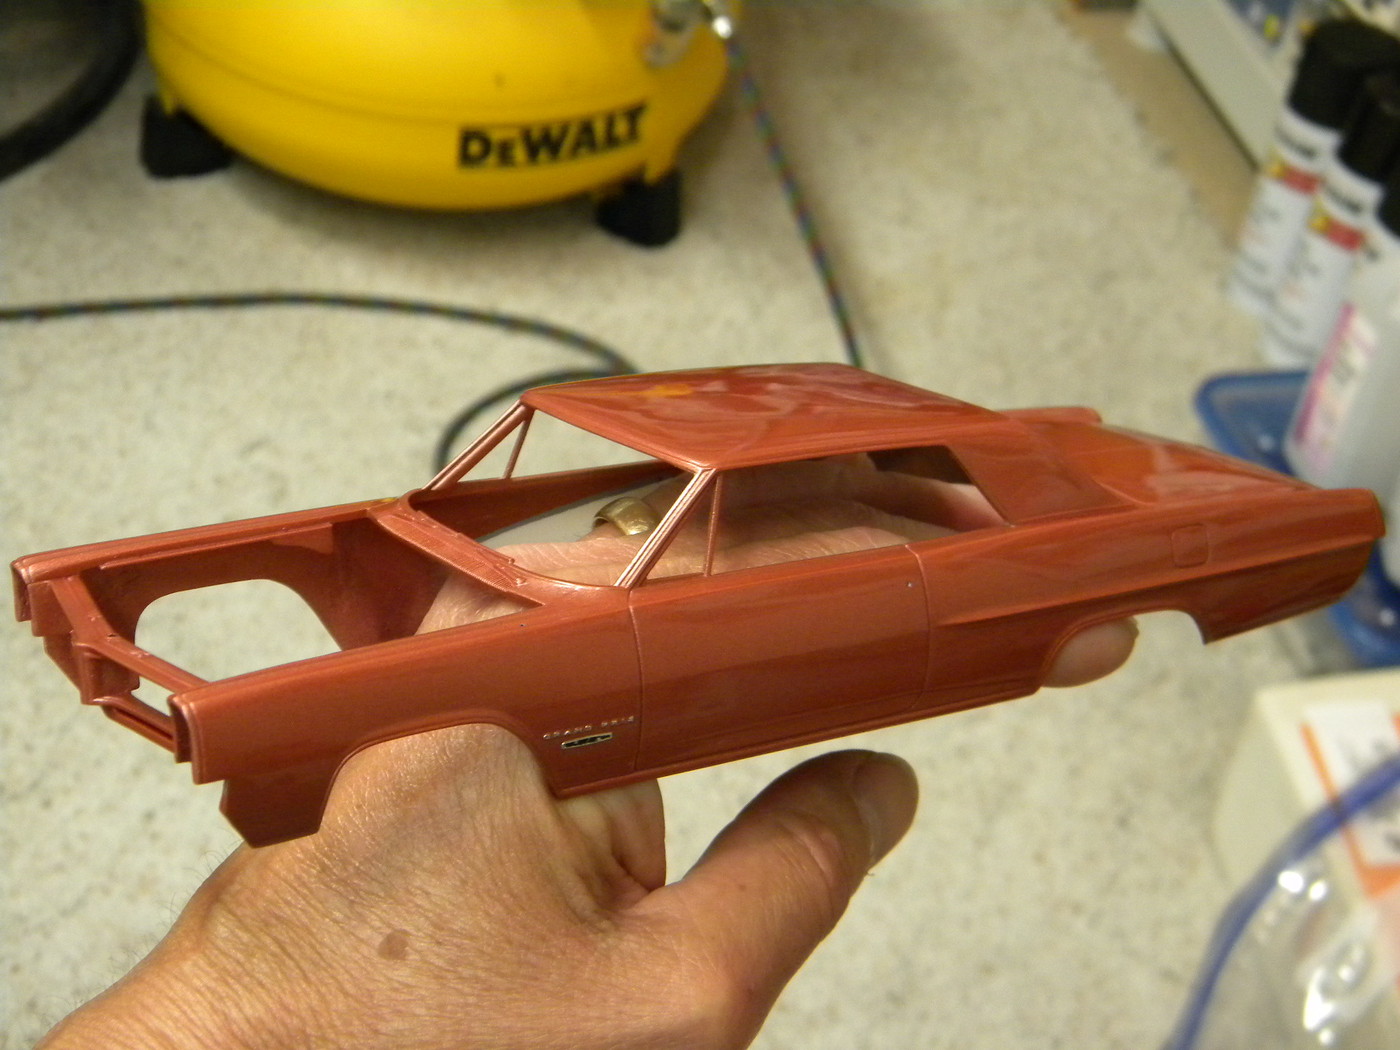
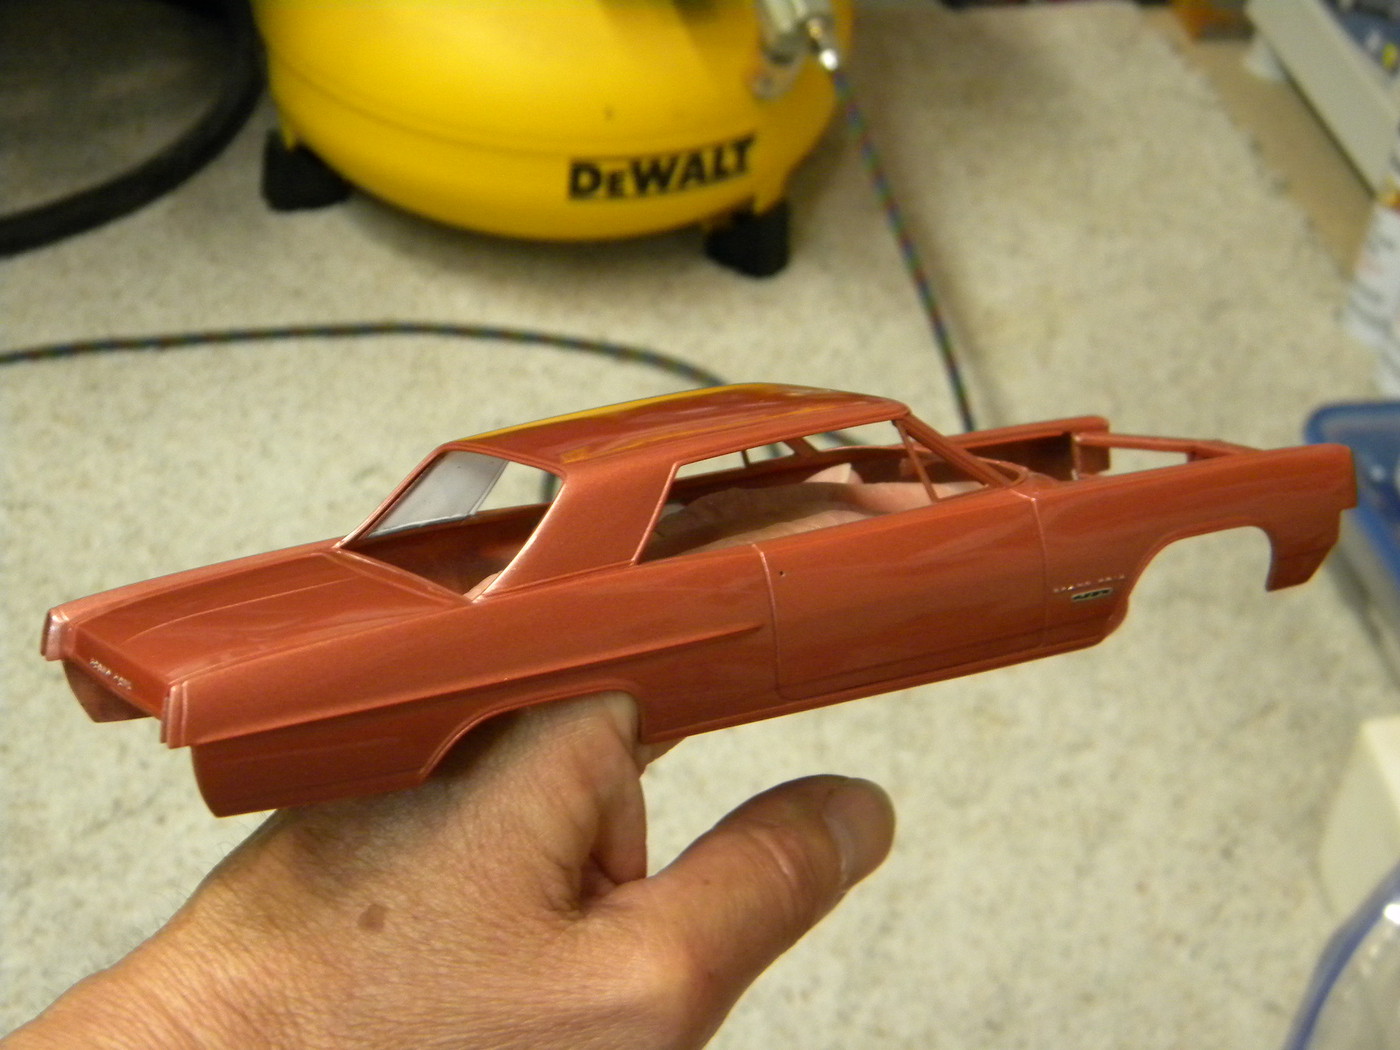
Working on polishing the body at this point.
Here is a before and after comparison.
Before.
After.
Steve
|
|
|
|
Post by mustang1989 on Jul 2, 2020 5:05:36 GMT -5
And that right there is the tipping point a lot of folks are at and where I used to be with auto modeling in regards to paint finish. There's a lot to be said for the wet sanding and polishing process and these pictures tell all. Great job Steve.
|
|
|
|
Post by goofy62 on Jul 2, 2020 11:57:05 GMT -5
And that right there is the tipping point a lot of folks are at and where I used to be with auto modeling in regards to paint finish. There's a lot to be said for the wet sanding and polishing process and these pictures tell all. Great job Steve.
Thank you!
I am not one to be able to produce a perfectly smooth and shiny paint finish directly from the can or airbrush, but fortunately for all of us, God created polishing pads and liquid polish! 
It requires some extra time and elbow grease, but it's possible for all of us to achieve perfect paint results if we are willing to put forth the additional effort.
The body is now completely polished, cleaned and ready for foil.
Steve
|
|
|
|
Post by mack2856 on Jul 2, 2020 21:42:46 GMT -5
The light just dance's off that paint job, fantastic.
|
|
|
|
Post by deuce on Jul 3, 2020 10:33:45 GMT -5
Can't wait to see this finished. HURRY UP, lol. Yes, polishing really pays off. I can spend up to about 10 hours polishing a model.
Where do you get the gauge decals from? Are they model specific or do you make them yourself?
|
|





 It's an interweb thing.....