|
|
Post by geezerman35 on Dec 17, 2011 19:30:32 GMT -5
So when I grabbed the AMT Model T kit while the '36 is gassing out paint, I realized the mistake I made.   The dam thing is 1/25 scale. I like all of my models to be the same scale so's they look good posed with one another. So, these T's will go the junk route. This may be a long term project, because I want to make something old and abandoned. Building (s), cars, etc. What better start than a coupla barn find T's? I spent the day getting the tread off one set of tires.The other set are modern and will not get used. Tried making some wear thru on one ;D  |
|
|
|
Post by geezerman35 on Dec 19, 2011 7:08:48 GMT -5
Sorry, my lame brain is taking me on a temporary diversion.
These two models are destined to be background pieces for a dio that I'll probably never get done. (Well, maybe , if I live long enough)
BUT, I decided to get a little more bang for my buck, and I'm gonna play with the coupe before I crud it up. Y'all gonna wonder if I've gone totally senile.
|
|
|
|
Post by dogfish7 on Dec 22, 2011 15:37:29 GMT -5
I'm wonderin Clay!?? I need to see what's comin down the road  |
|
|
|
Post by geezerman35 on Dec 22, 2011 20:41:43 GMT -5
Next time yer in Zbucksters, Dog, check "what's on yer bench" for a clue.
|
|
|
|
Post by geezerman35 on Dec 24, 2011 6:39:18 GMT -5
Sure can't say how this'll go, but besides the sidetracked T, I do have a base started. You can see by the date on the photo, I started this idea in '09  I had an old metal picture frame and I cut a piece of 1" thick foam to size and recessed it to fit the frame. 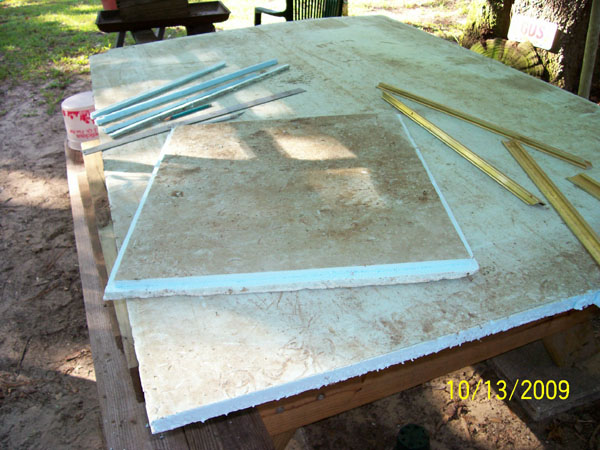 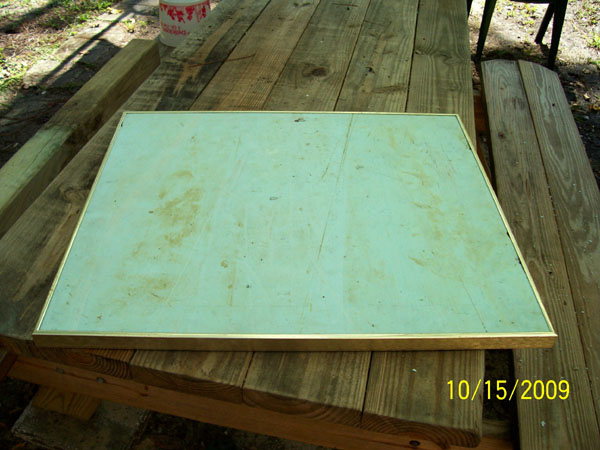 That's how it has laid in a corner of the studio ever since. Maybe I can get it going as I get stuff to do it with and an idea of the dio itself. But here's a start for those who are interested. |
|
|
|
Post by geezerman35 on Jan 8, 2012 7:44:11 GMT -5
Well the diverted T is, except for a small detail or two, done. The 36 prostreet is being sanded yet again  One of my old internet buddies (from Canada) sent me some fotos of old gas stations. I told him I had been wanting to build a model for some time and was just getting a start on one. Was just waiting to get a trip to the hobby shop. for stuff, stripwood, etc. He said, "the way you build stuff, can't you just make what you need"? Got me to thinkin, hell yes, aint I the GEEZERMAN !!!! Was in Ace Hardware the other day and thought to check out plaster. My vauge ideas calll for some retaining walls. I can make a simple mold and carve fieldstones, or brick walls, or cement blocks! I remember Hydracal was the casting plaster of choice back in the day. Ace didn't have it. So I looked at the different plasters they had (not very many), but holy CRAP !! The prices!! I have a hard time getting my head out of the 60's when it comes to the costs of things. I didn't buy any plaster! So, during a lull in building, I took up a piece of leftover foamboard, and wondered how it would carve up. I drew up an area of fieldstones, scored and cut thru the paperboard top layer of the foamboard, and embossed the cuts with a dental pick. A small paint test and I think I will have plenty of retaining wall material  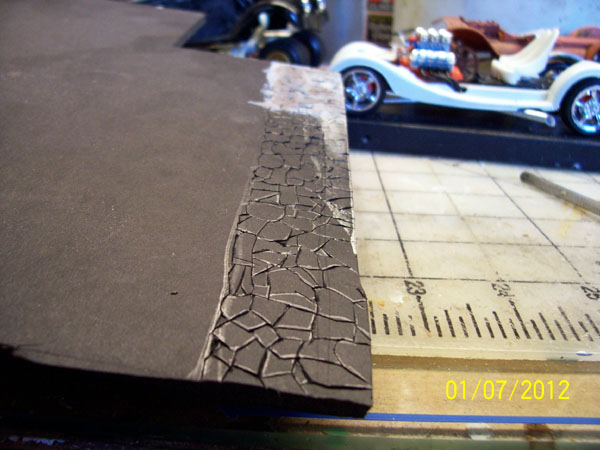 |
|
|
|
Post by geezerman35 on Jan 10, 2012 12:04:13 GMT -5
Embossing not giving me any definition. Foam center core keeps pushing the surface layer flat. So, I'll end up carving around the stones to get a little texture. Stuff's hard on blades. Fortunatly for me, a son-in-law has givin me a good supply of English surgical blades  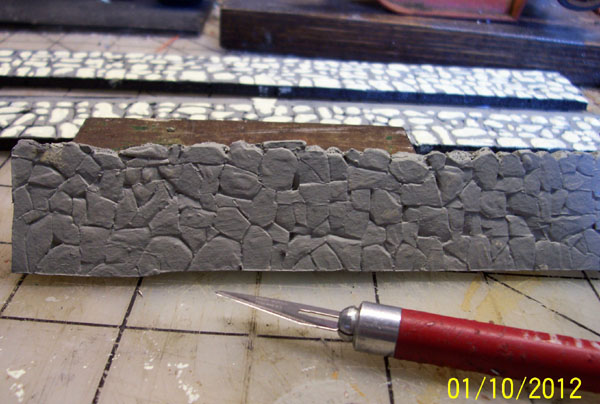 |
|
|
|
Post by geezerman35 on Feb 27, 2012 6:54:01 GMT -5
This is meant to be a long project, getting back to it between models. I got some plaster, but being not too knowledgeable working with that medium, I managed to completely entomb my foamboard stone walls trying to make casts. Plaster seems not to respect mold release spray Plan B. I kinda know what I want, but not sure how to pull it off. But it will entail a small gas station. I decided that because I have a certain amount of old picture matting material, I would use as much of that as posssible.  Have the floor piece, front and side walls cut and am starting to lay out the front. Trips to a hobby shop are pretty much out of the picture, so I'll be scrounging stuff for this. Don't bother asking any questions about my intentions, I'm making this up as I go. 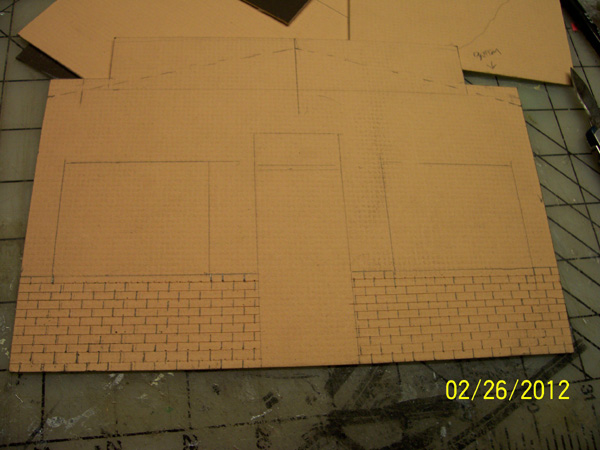 |
|
|
|
Post by geezerman35 on Feb 27, 2012 10:52:23 GMT -5
Front wall pretty much ready for final assembly and detailing. Scored angled lines and nail holes above brick work will be representing the sub wall behind the siding (whatever that may be) and I'm planning on some of that showing as I dilapidate the structure. Matt board quite nice to work with so far. It was designed to cut through cleanly with a sharp blade, plus it will take a light sanding on the edges.  Framing around the door and windows were cut from model car box top. I'm hoping they're not too thin.  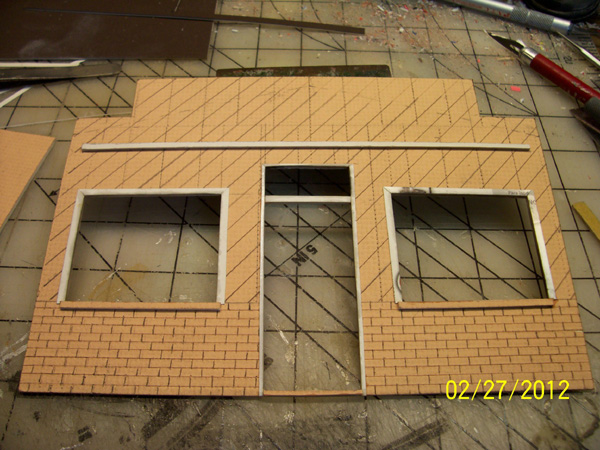 On to the other walls ! |
|
|
|
Post by gerg on Feb 27, 2012 11:28:37 GMT -5
Man this is looking killer!! I gonna have to get me some dio going for pics again! My garage i had set up is scattered everywhere!!
|
|
|
|
Post by RodBurNeR on Feb 29, 2012 1:31:52 GMT -5
looking good geez!
|
|
|
|
Post by geezerman35 on Mar 1, 2012 11:17:17 GMT -5
This'll be a "curbside" kinda.  I don't plan to do much at all inside the building. My initial rough thoughts, and this is where I wanted to deviate from the norm, (Odd for me to be thinking that,eh ?), was to have a multilevel topography, where the ground in the rear of the building will drop away some. I had to carve some new retaining walls for the rear foundation. (back to foamboard). Gathered some more of the 1" foam and built up the front of the base. Looks like this is going to work, so now I can continue. The front: (right sidewall is upside down in this mockup. duh!) 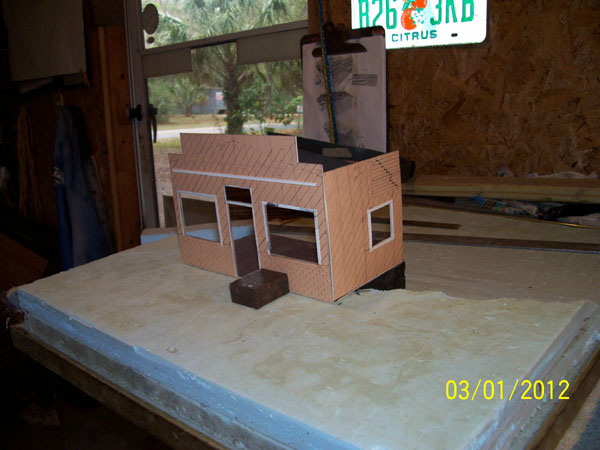 the backside:  |
|
|
|
Post by tooltas on Mar 2, 2012 19:56:09 GMT -5
geezerman's used cars
|
|
|
|
Post by geezerman35 on Mar 3, 2012 6:42:36 GMT -5
I might be getting too cute for my own good ! Found myself carving grain patterns in those boards !!!  Once started = committed ! 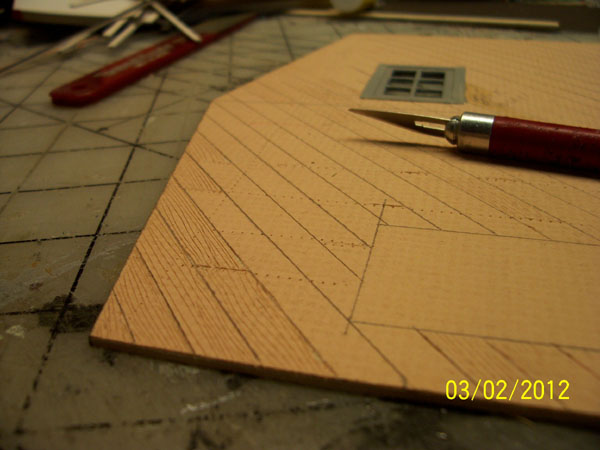 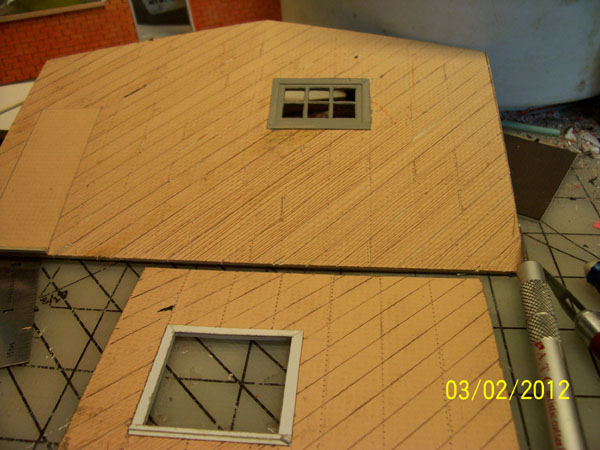 If this were stripwood, I wouldn't think twice about being able to weather it. This matt board might be challenging to get it to what I see in my head. Original thoughts for siding may be altered  Asking my intentions or second guessing me usually not applicable  |
|
|
|
Post by geezerman35 on Mar 4, 2012 10:14:28 GMT -5
Went out this a.m. and did a litttle experimenting. Looks like I may be able to use the same techinque I use for stripwood .  Dirty lacquer thinner washes. Doesn't seem to affect the cardboard at all. Now that I'm using thin washes, I have to stop using the printed box tops. I changed to the bottoms and have a grey base to work with as well. 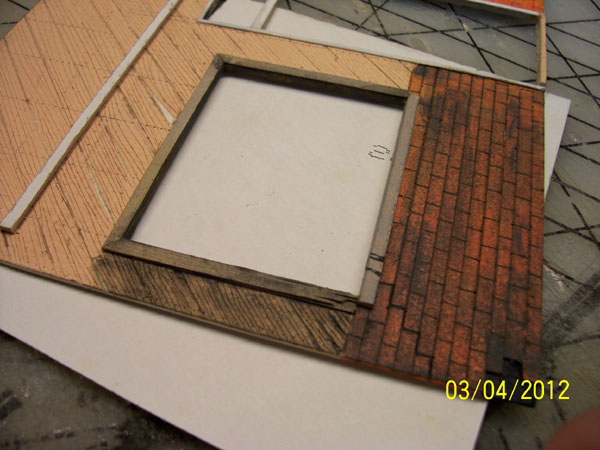 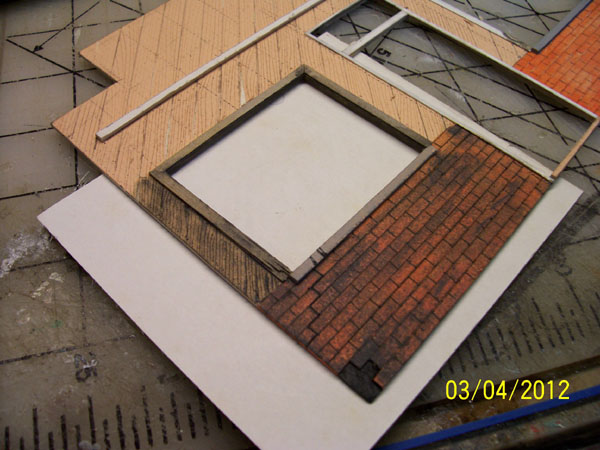 I wondered about that orange I used on the bricks (airbrush t-shirt ink) but seems that I can overcome it.  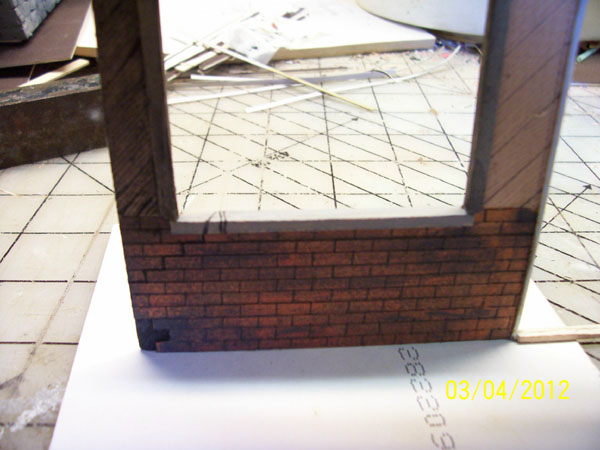 |
|