|
|
Post by Bernard Kron on Jul 3, 2014 0:27:22 GMT -5
After melting a ’51 Chevy Fastback Coupe right after completing 3 weeks of bodywork and paint (see: drasticplastics.proboards.com/thread/4485/chevy-fastback-custom-disaster-struck for all the gory details) I needed some simple therapy to get the modeling juices flowing again. For me nothing’s more therapeutic than a Deuce Roadster. And simple too, if I want it to be, having built countless Revell Deuces of one sort or another in the past few years. So I decided to build a Deuce Highboy as straight out of the box as my sensibilities would allow. To keep finish work to a minimum I decided on a primer paint job, in this case Duplicolor Black Primer. Except for the front wheels (AMT ’51 Chevy – yeah, you guessed it…) and tires (courtesy of Speed City Resin, the rear wheels (Plastic Performance Holman & Moody 10” steelies supplied by Early Years Resin) and the Carter AFB carburetor (also from Early Years), everything else is from the old series Revell Good Guys Deuce Highboy or a related kit (the dashboard and steering wheel are from the 5-window coupe). I started this 3 days ago and hope to have it done within the next 2… Simple and to the point in a subject I know well. Just what the doctor ordered! Thanx for lookin’, B. 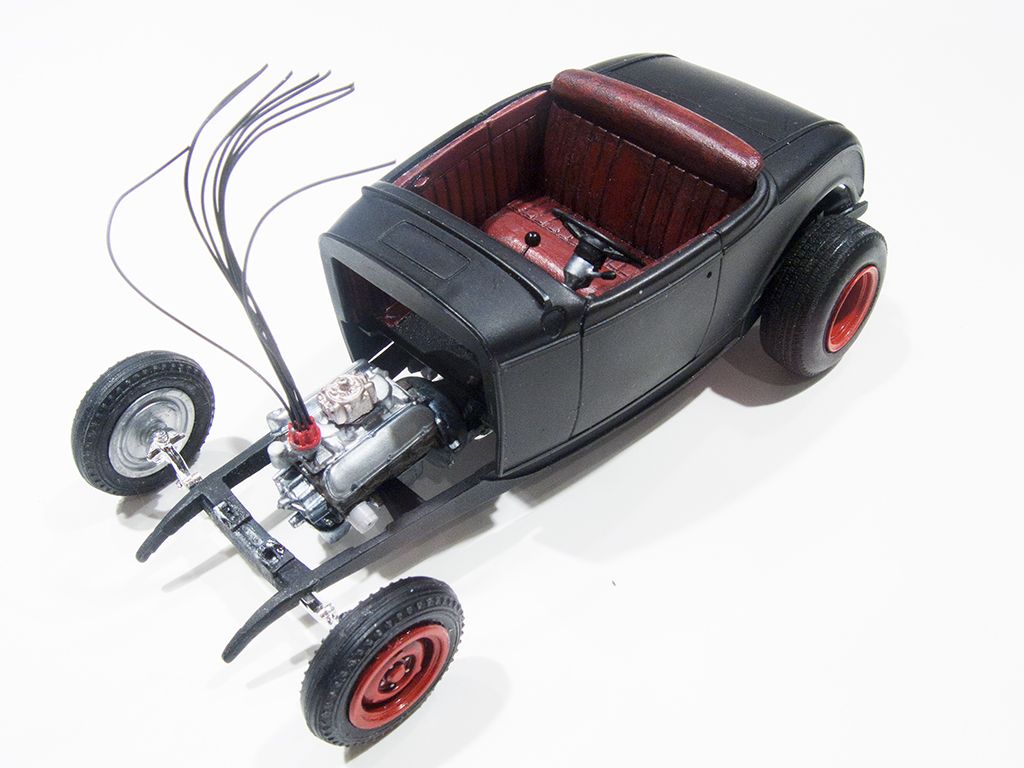 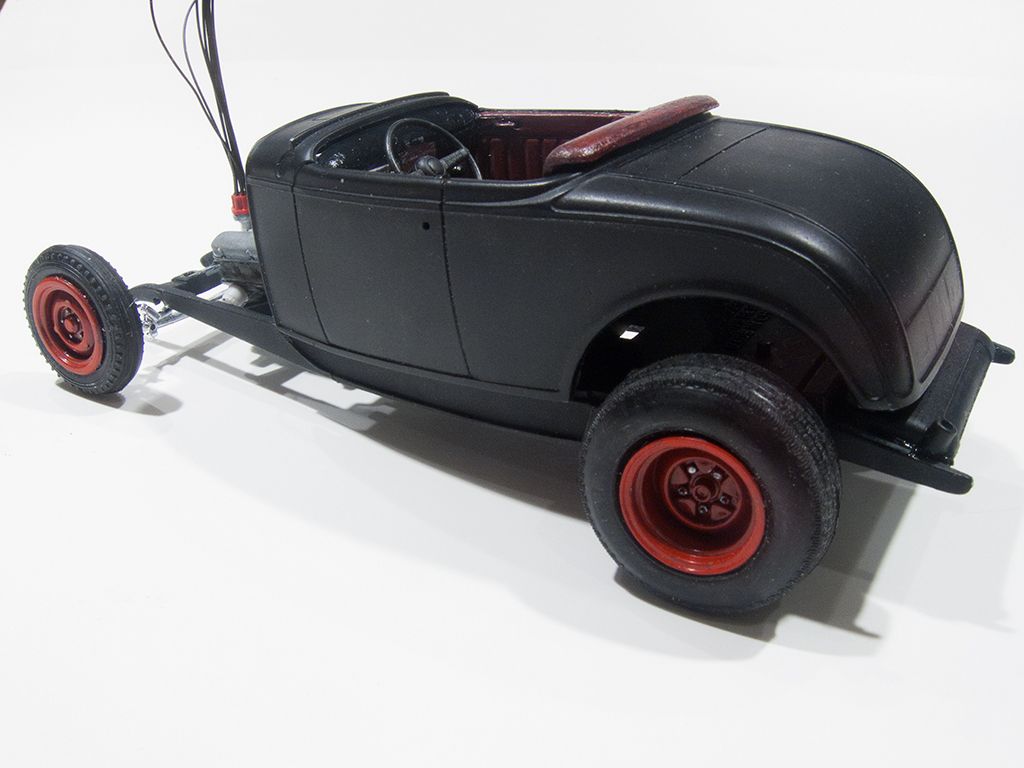 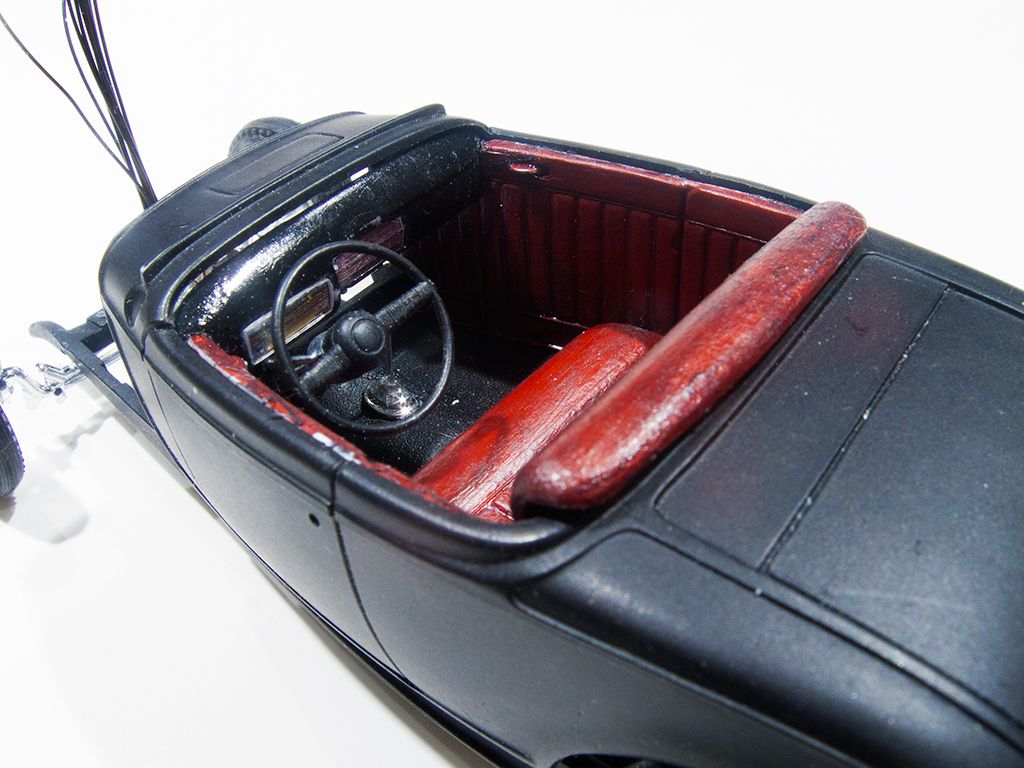 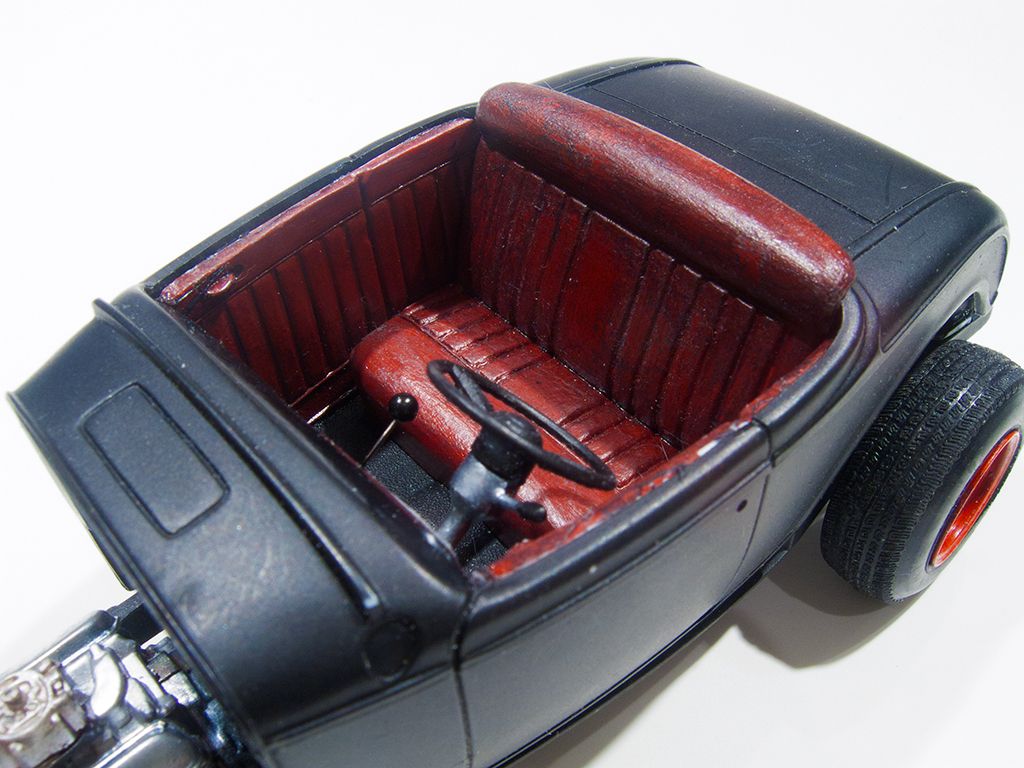 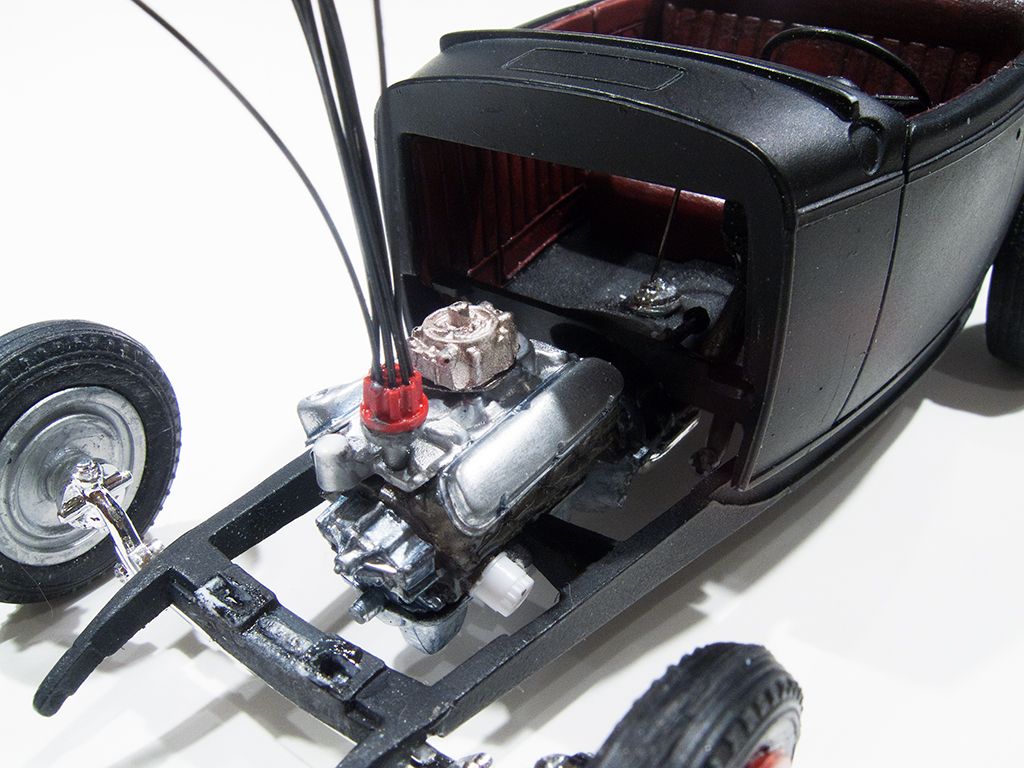 |
|
|
|
Post by TooOld on Jul 3, 2014 6:39:01 GMT -5
Great start Bernard ! But your engine won't run to good with the carb mounted that way ( turned to the driver's side ) , turn it 90 degrees clockwise to get that puppy running right !  |
|
|
|
Post by Bernard Kron on Jul 3, 2014 7:50:19 GMT -5
Great start Bernard ! But your engine won't run to good with the carb mounted that way ( turned to the driver's side ) , turn it 90 degrees clockwise to get that puppy running right ! Thanx for pointing that out. I always get that confused. I generally will look at pics to be sure, but this time I'm just blowin' & goin' and uh, blew it... Unfortunately it's epoxied in place and, while I'll try to break it loose, there's a good change it's there for good. However it will be hiding under a big 'ol Edelbrock air cleaner so I may get away with it... I mainly used this carb for it's mass and height. The kit piece is just too wimp! I also discovered that shaving the kit valve covers makes for a mean and purposeful looking mill. I have a ton of those engines in my stash and I'm on a campaign to find ways to make them appear interesting and appropriate. All that Ford branded stuff has got to go! |
|
|
|
Post by TooOld on Jul 3, 2014 10:16:28 GMT -5
It'll be fine like it is , I only pointed it out for your info . . . I'm really not that picky about such things .
|
|
|
|
Post by harron68 on Jul 3, 2014 18:40:58 GMT -5
Thanx for a quik recovery and getting back at the model bench! I am happier when I see new pix and your work is always good! I've been told I'm off about 90 degree, so it looked fine to me. Best to u this Fourth Of July!
|
|
|
|
Post by Bernard Kron on Jul 3, 2014 20:54:53 GMT -5
This project is moving along quickly now. I’m deep into the assembly stage where it pays to be careful, especially with flat black paint which shows the slightest marks and stains all too clearly. There are so many things I now take for granted in building these Revell Deuces – revisions I make as a matter of course with hardly a thought, corrections to what I consider basic flaws. The first thing I do is lower the front end. The stance of the basic kit is just so bland. The next thing I do is ditch the wide front tires! They’re so mid-90’s… If it’s fenderless then I fill the bumper bracket notches in the frame horn tips. The molding dips in the plastic of the frame rails get attention if they’re bad (it depends on the vintage of the kit). And of course, if it’s a highboy, that awful “curtain rod” brace between the firewall and the grill shell absolutely has to go. So that means filling the hole in the firewall and making two small ones for a proper pair of braces on either side made from .020” music wire. So even though this is largely an out-of-the-box build there’s really a fair amount of preliminary prep involved. Here’s a workbench progress shot showing where things are at now over the past 24 hours. The body and interior are glued in place, the motor finished and detailed and installed, the suspension completed and the grill installed as well. The wheels are glued in place, too. What’s left is making the aforementioned grill shell braces, installing the seat and steering wheel, installing the lighting and license plate, and all the small stuff like the door handles, gas cap, etc. I might have this done tomorrow night if I don’t mess up along the way… Thanx, for lookin’, B. 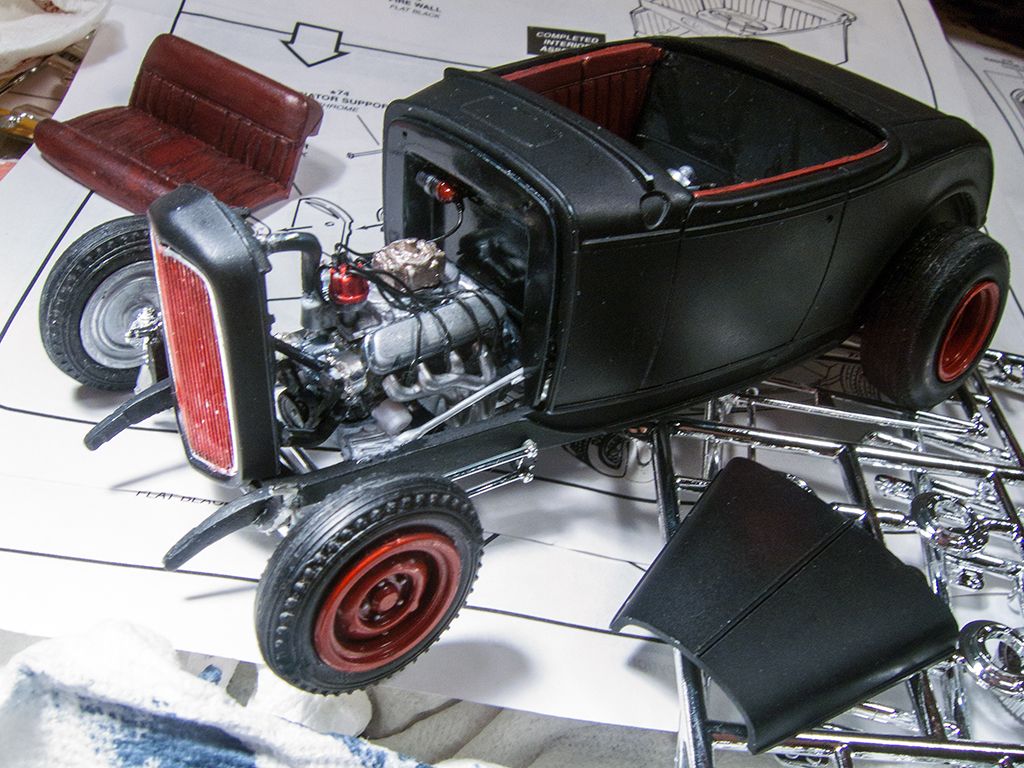 |
|
|
|
Post by Bernard Kron on Jul 7, 2014 14:57:13 GMT -5
|
|


 It's an interweb thing.....