|
|
Post by lo51merc on Feb 3, 2009 15:25:58 GMT -5
Yup, in spite of winter I've had a chance to get started on another project. I wish I had taken a picture of this body as it comes out of the box, but I didn't. I know that Revell used a slightly chopped 32 as the prototype for the kit but I have a very hard time building anything OOB, even if it's already chopped. In the first pic I'm just showing the top lowered and not stretched. 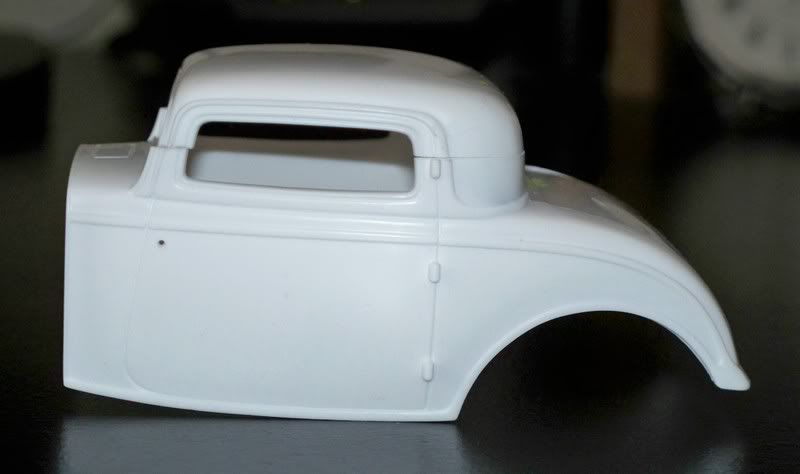 The second pic shows the top stretched so that the rear of the roof and the A pillars line up on the outside. 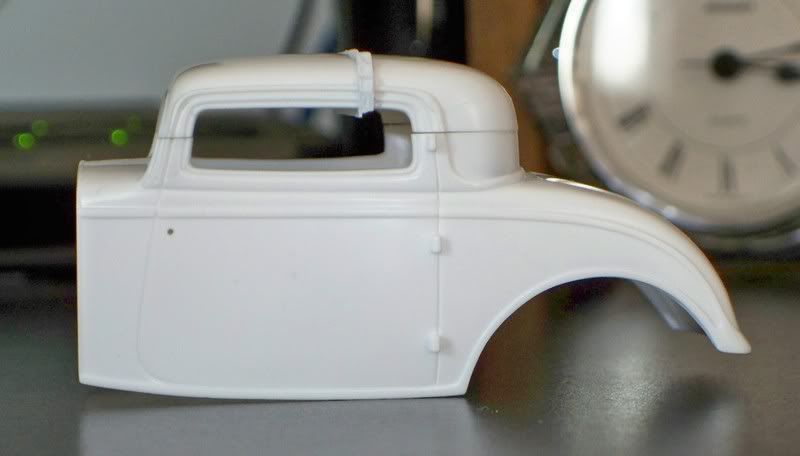 In the third pic I've removed all the extra material from the stretching, and have glued the top to the body. 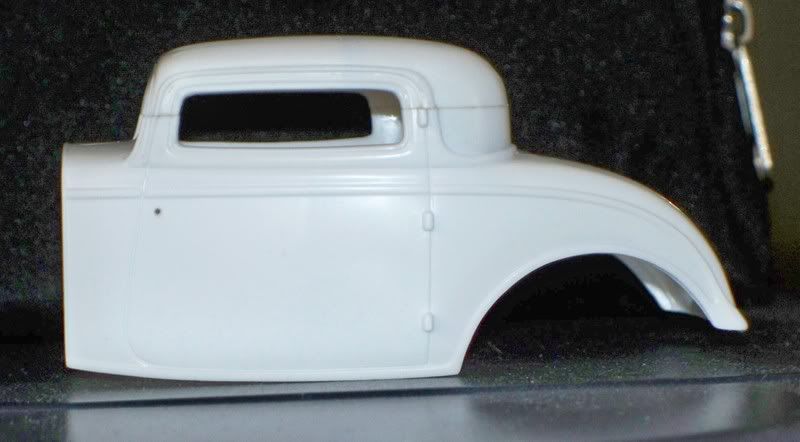 I did have to spread the lower windshield posts to line up with the top due to the chop. I spread them so they'll line up on the inside rather than the outside. I hope I can clean up the outside to get the A posts even. We'll see! I'll worry about the windshield frame later in the build. I suppose the Milner 32 has been a lot of the inspiration for this model, but not a clone for sure. Gary |
|
|
|
Post by lo51merc on Feb 3, 2009 15:37:13 GMT -5
Here are just a couple more pictures of different angles. I used my Dremel with a 1/8" ball cutter to remove the added material on the inside of the roof before I glued it to the body. With just a little bit of smoothing with sandpaper, it looks fine and will be hard to see on the finished model anyway (as will the ejector pin marks!).  This picture shows the stretched area after it was all cleaned up. Gary  |
|
|
|
Post by kirbside on Feb 4, 2009 18:04:38 GMT -5
Nice looking surgical procedure! Keep us posted!
|
|
|
|
Post by geezerman35 on Feb 5, 2009 6:28:48 GMT -5
Super clean chop.
Nice work.
|
|
|
|
Post by volksrod66 on Feb 11, 2009 10:28:13 GMT -5
:)cool chop a lot cleaner than my last one
|
|
|
|
Post by rodburner on Feb 12, 2009 2:20:23 GMT -5
lookin' real clean!  |
|
|
|
Post by misterdhilton on Feb 24, 2009 19:33:58 GMT -5
Your project is absolutely fantastic! My amt 34 ford project has been on hold cause I wanted to drop the roof but did not know how to properly tie everything together by stretching it once I made the cut. Your post here has saved the day for me. I can use the same technique on the interior tub to lower the body on the frame. Excellent! I salute you for sharing your project and will enjoy viewing the progress.
Dave
|
|
|
|
Post by lo51merc on Feb 28, 2009 20:54:52 GMT -5
Hi Dave, welcome to the forum! I've done a few chops over the last 45 years, and no two are alike. The method I used to stretch the roof on this 32 came right out of the work of others before me, and on forums like this. If I can give any advice, think about what you need to do even before you grab the saw, knife or whatever. Think, "if I do this, how will it affect that?", and just take your time. Kits are getting more expensive every day (more on that in a minute) so you don't want an oops to happen. I went to the local Hobbytown today to pick up another copy of this 32 3 window kit (@ $22.00!) for a future project. I'd like to note that if I was going to chop the one I bought today I'd clean up all the flash and mis-aligned mold seams BEFORE starting the job. This mold has shifted a lot since it was first released! I thought I should take a picture of both bodies to show the difference in the before and after of the chop. Then I took one of the roof to show how little putty was needed. The top of the roof was the only place I had to putty. I'm just getting going on the frame now as the weather has been giving me a few breaks this month. More to come.............Gary 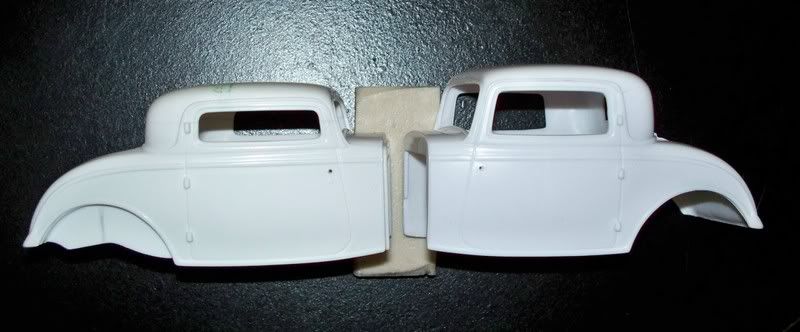  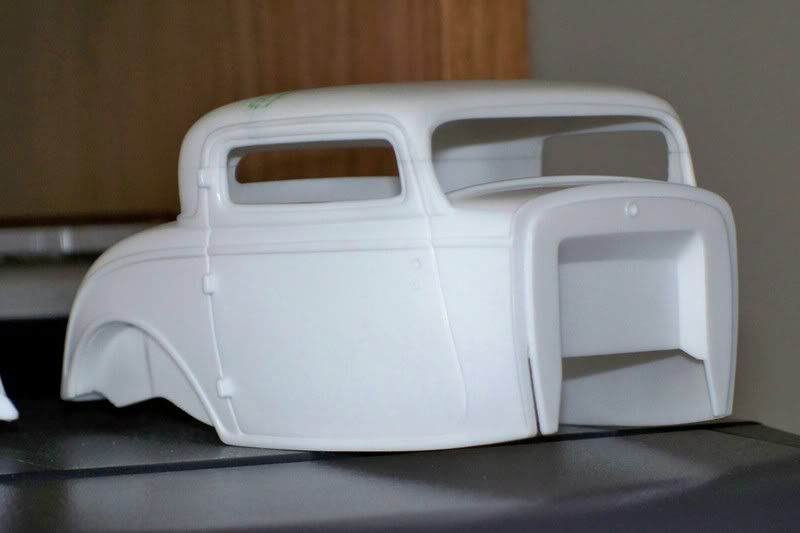 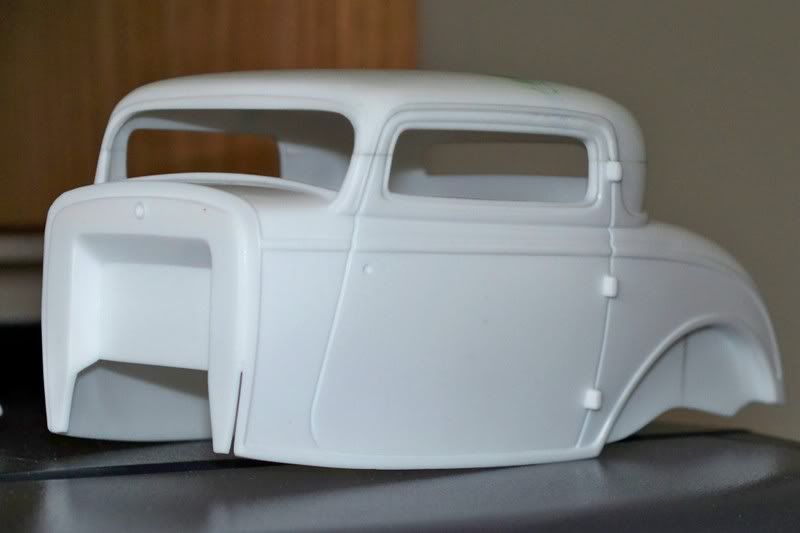 |
|