|
|
Post by HotRodTom on Nov 24, 2022 12:15:29 GMT -5
My plan was to complete a build with THIS as the impetus.  I layed eyes on Paul's build: drasticplastics.proboards.com/post/48589/threadAnd I was like, Oh MAN! I'm on to something..... I have been working on this for about 4 months. Almost done with it, and will post up build progress pics soon. |
|
|
|
Post by Dave from Pleasanton on Nov 24, 2022 20:14:19 GMT -5
Can't wait Tom.
|
|
|
|
Post by HotRodTom on Nov 25, 2022 14:02:47 GMT -5
|
|
|
|
Post by Dave from Pleasanton on Nov 25, 2022 22:18:42 GMT -5
Wow that is quite the wedge chop Tom. Excited to see more.
|
|
|
|
Post by jbwelda on Nov 25, 2022 23:18:41 GMT -5
Looks killer so far, I want to see how you get it down on the ground like your sketch, which is pretty impressive itself if I may say so, and also how you build up the interior.
jb
|
|
|
|
Post by HotRodTom on Nov 26, 2022 13:45:21 GMT -5
Wow that is quite the wedge chop Tom. Excited to see more. It was fun to do! Didn't quite get the same proportion as the inspire pic, but.... close.  |
|
|
|
Post by HotRodTom on Nov 26, 2022 15:50:21 GMT -5
Looks killer so far, I want to see how you get it down on the ground like your sketch, which is pretty impressive itself if I may say so, and also how you build up the interior. jb This build is being done as a curbside, so there is no interior. I would have lost more hair trying to raise the floor pan and open the doors properly. As for the stance, it is made possible by a slight shave of the front crossmember of the frame in the Revell '29 Roadster 2N'1 kit (Revell 85-4463) and gluing the front axle from the Revell '32 3-window kit (Revell-Monogram 85-7605) in the slot. The rear is made by a length of Evergreen round stock (#225) which is 4 mm diameter. I think in scale it comes out to like 3 1/2 to 4 inches which is close enough to the axle housing on a rearend. It is glued in place on the bumpstops of said frame above. I am also making a belly pan to enclose the bottom (it IS supposed to represent an actual Bonneville attempt-like car). I was captivated by the picture that inspired me, and had it already half-way built in my mind before I even got out the tape and the razor saw. This lead to that, and then... But first I needed to .... You know how it goes!   EDIT: - I will slide some pictures in of some of the nitty-gritties when I get a chance. EDIT: - I will slide some pictures in of some of the nitty-gritties when I get a chance. |
|
|
|
Post by HotRodTom on Nov 26, 2022 16:07:30 GMT -5
As for the stance, it is made possible by a slight shave of the front crossmember of the frame in the Revell '29 Roadster 2N'1 kit (Revell 85-4463) and gluing the front axle from the Revell '32 3-window kit (Revell-Monogram 85-7605) in the slot. 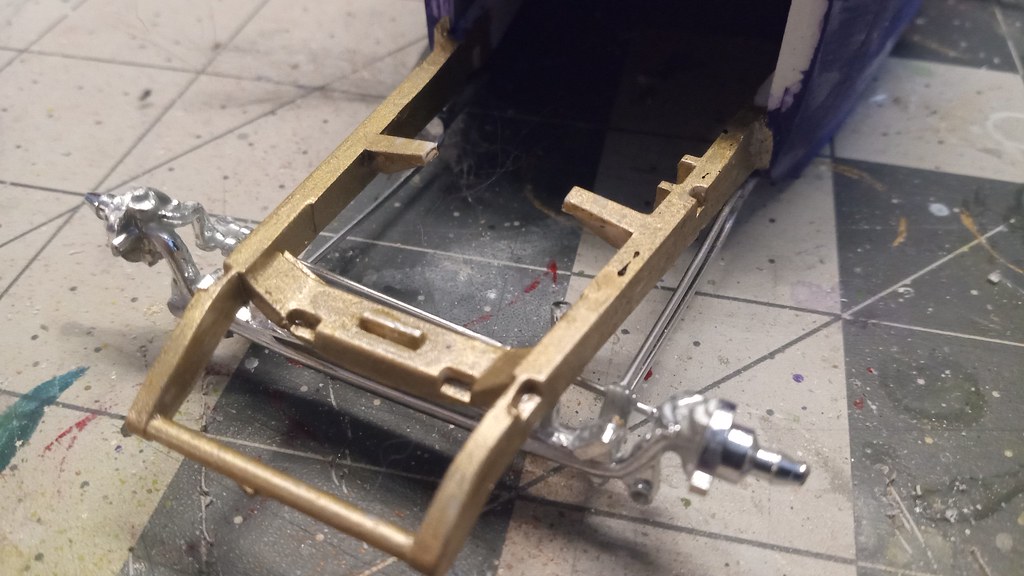  And, yes, I remade the hairpins.  |
|
|
|
Post by HotRodTom on Nov 26, 2022 16:09:17 GMT -5
The rear is made by a length of Evergreen round stock (#225) which is 4 mm diameter. I think in scale it comes out to like 3 1/2 to 4 inches which is close enough to the axle housing on a rearend. It is glued in place on the bumpstops of said frame above.  |
|
|
|
Post by HotRodTom on Dec 5, 2022 15:44:35 GMT -5
One of the reasons why I like to think "outside of the box". I tend to look at EVERYTHING and evaluate it for modelling materials. I saved some aluminum from a turkey roasting pan and used some of it here for the engine side-panels. It will also be used on the underside as a belly-pan. This is just me geekin' and tweekin' .... 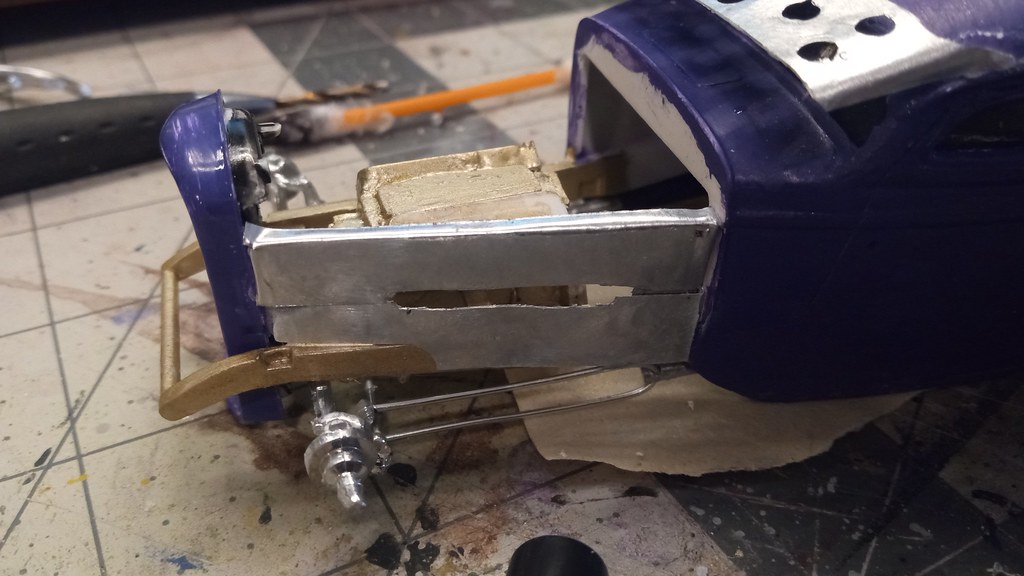 Anyway, I made one of these today along with gluing up a header. Collector coming later. I originally wanted to do a set of torque-tube headers, but actually lost patience with them. Maybe I will revisit the idea....  |
|
|
|
Post by Dave from Pleasanton on Dec 5, 2022 19:00:32 GMT -5
Nice use of the aluminum on the hood sides. Really like the header there. What is the piece of aluminum on the roof for?
|
|
|
|
Post by HotRodTom on Dec 5, 2022 22:48:10 GMT -5
Nice use of the aluminum on the hood sides. Really like the header there. What is the piece of aluminum on the roof for? Thank you! The metal you see on the roof is, a visor that has been hotrodded  |
|
|
|
Post by HotRodTom on Dec 5, 2022 22:49:47 GMT -5
Forgot to post the pic of the bellypan.  |
|
|
|
Post by jimrichards on Dec 6, 2022 10:46:55 GMT -5
Lookin good so far
Tell us about what Purple paint you used, I'm always lookin for Purples.
Your livin up to your name, hotrod!
Jim
|
|
|
|
Post by HotRodTom on Dec 6, 2022 13:56:32 GMT -5
Lookin good so far Tell us about what Purple paint you used, I'm always lookin for Purples. Your livin up to your name, hotrod! Jim Thank you! I tried using some purple acrylic that I found in the craft section at Target. Just could not get the stuff to thin down in such a way that I could brush it on without leaving cornrow furrows in the paint or so thin that it would have taken 92 coats to get color. I should not have put very much trust in something named "Mondo LLama". 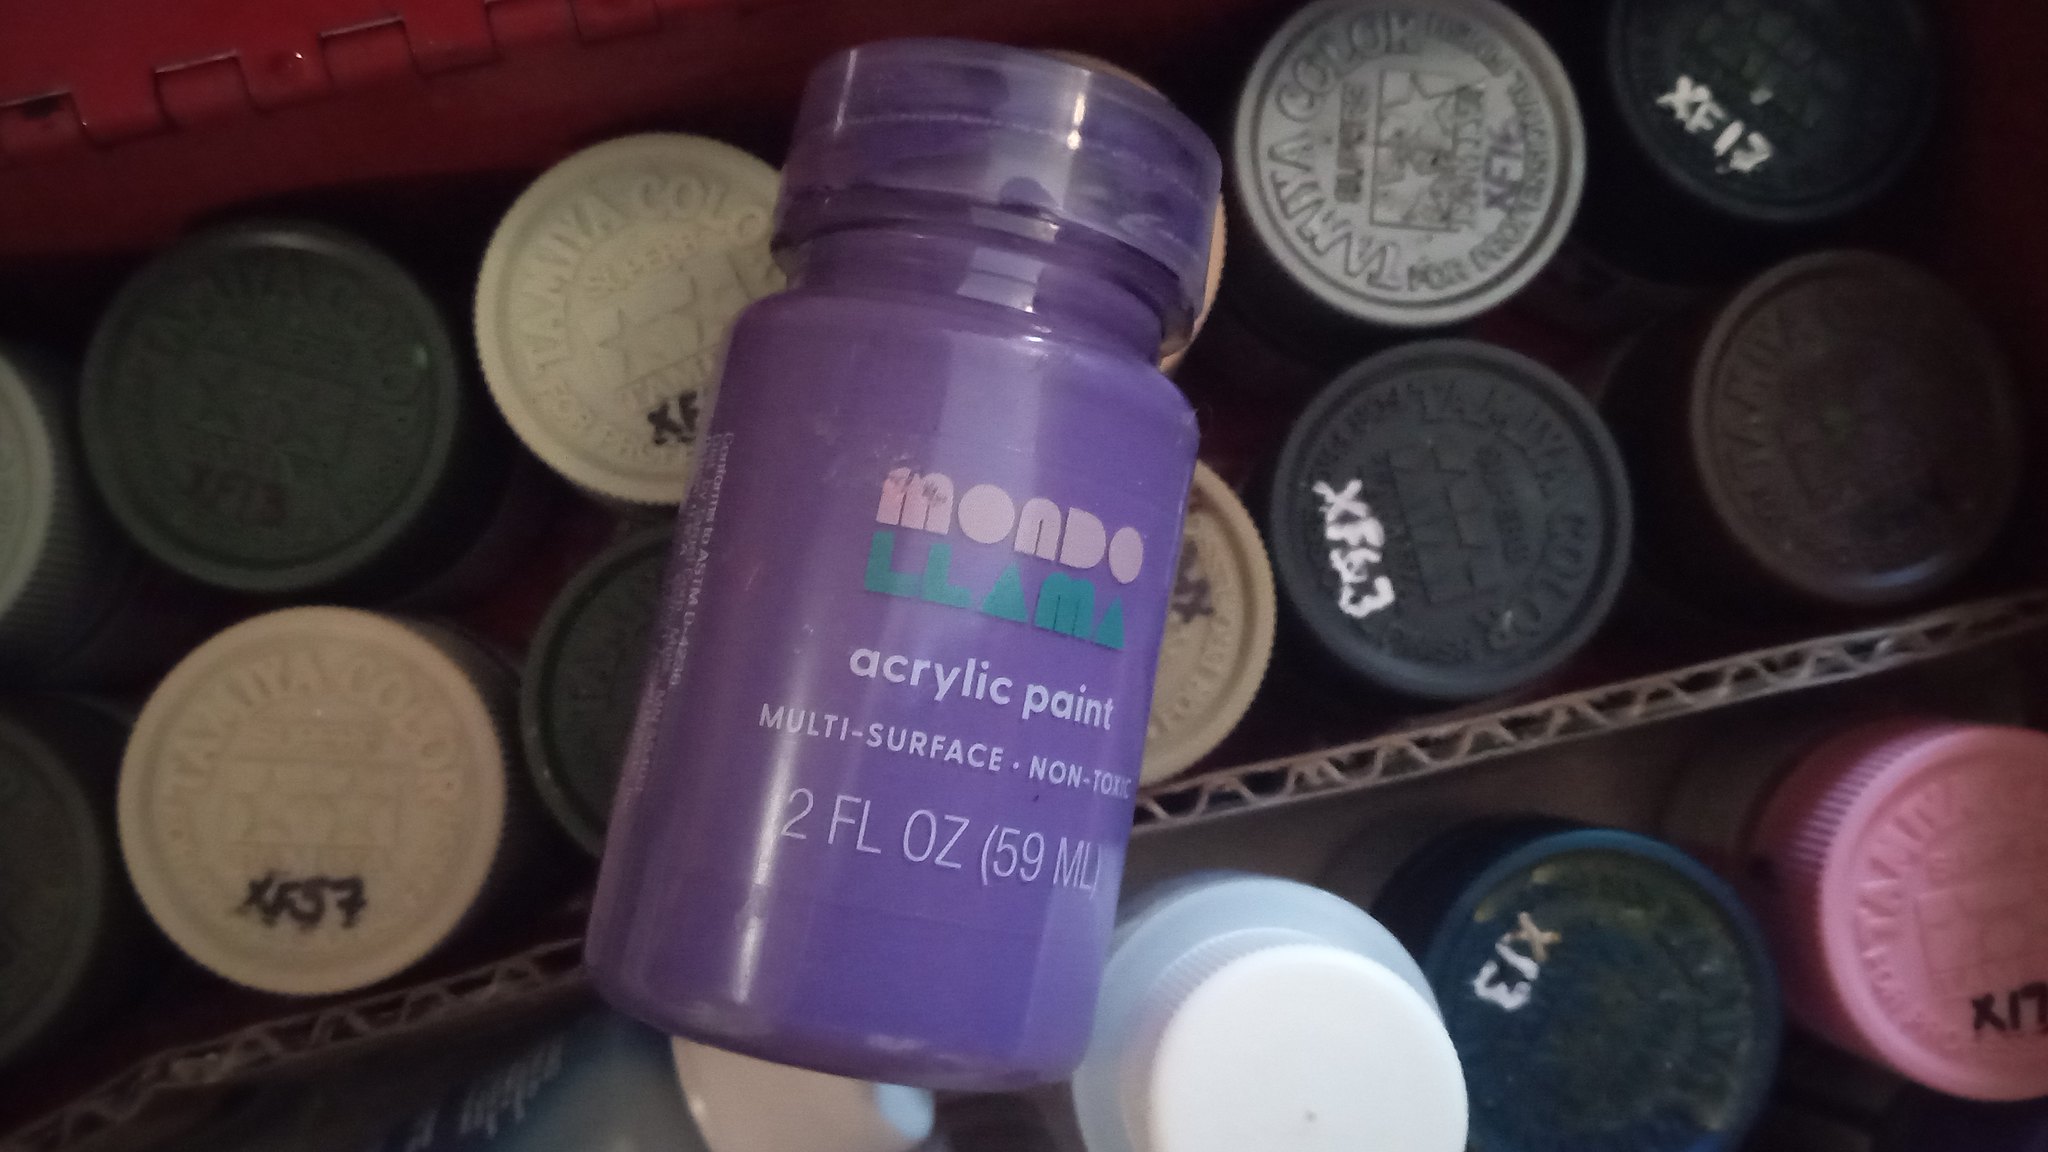 Seriously.  I didn't even think to look in my trusty toolbox of paint (literally it is a toolbox) 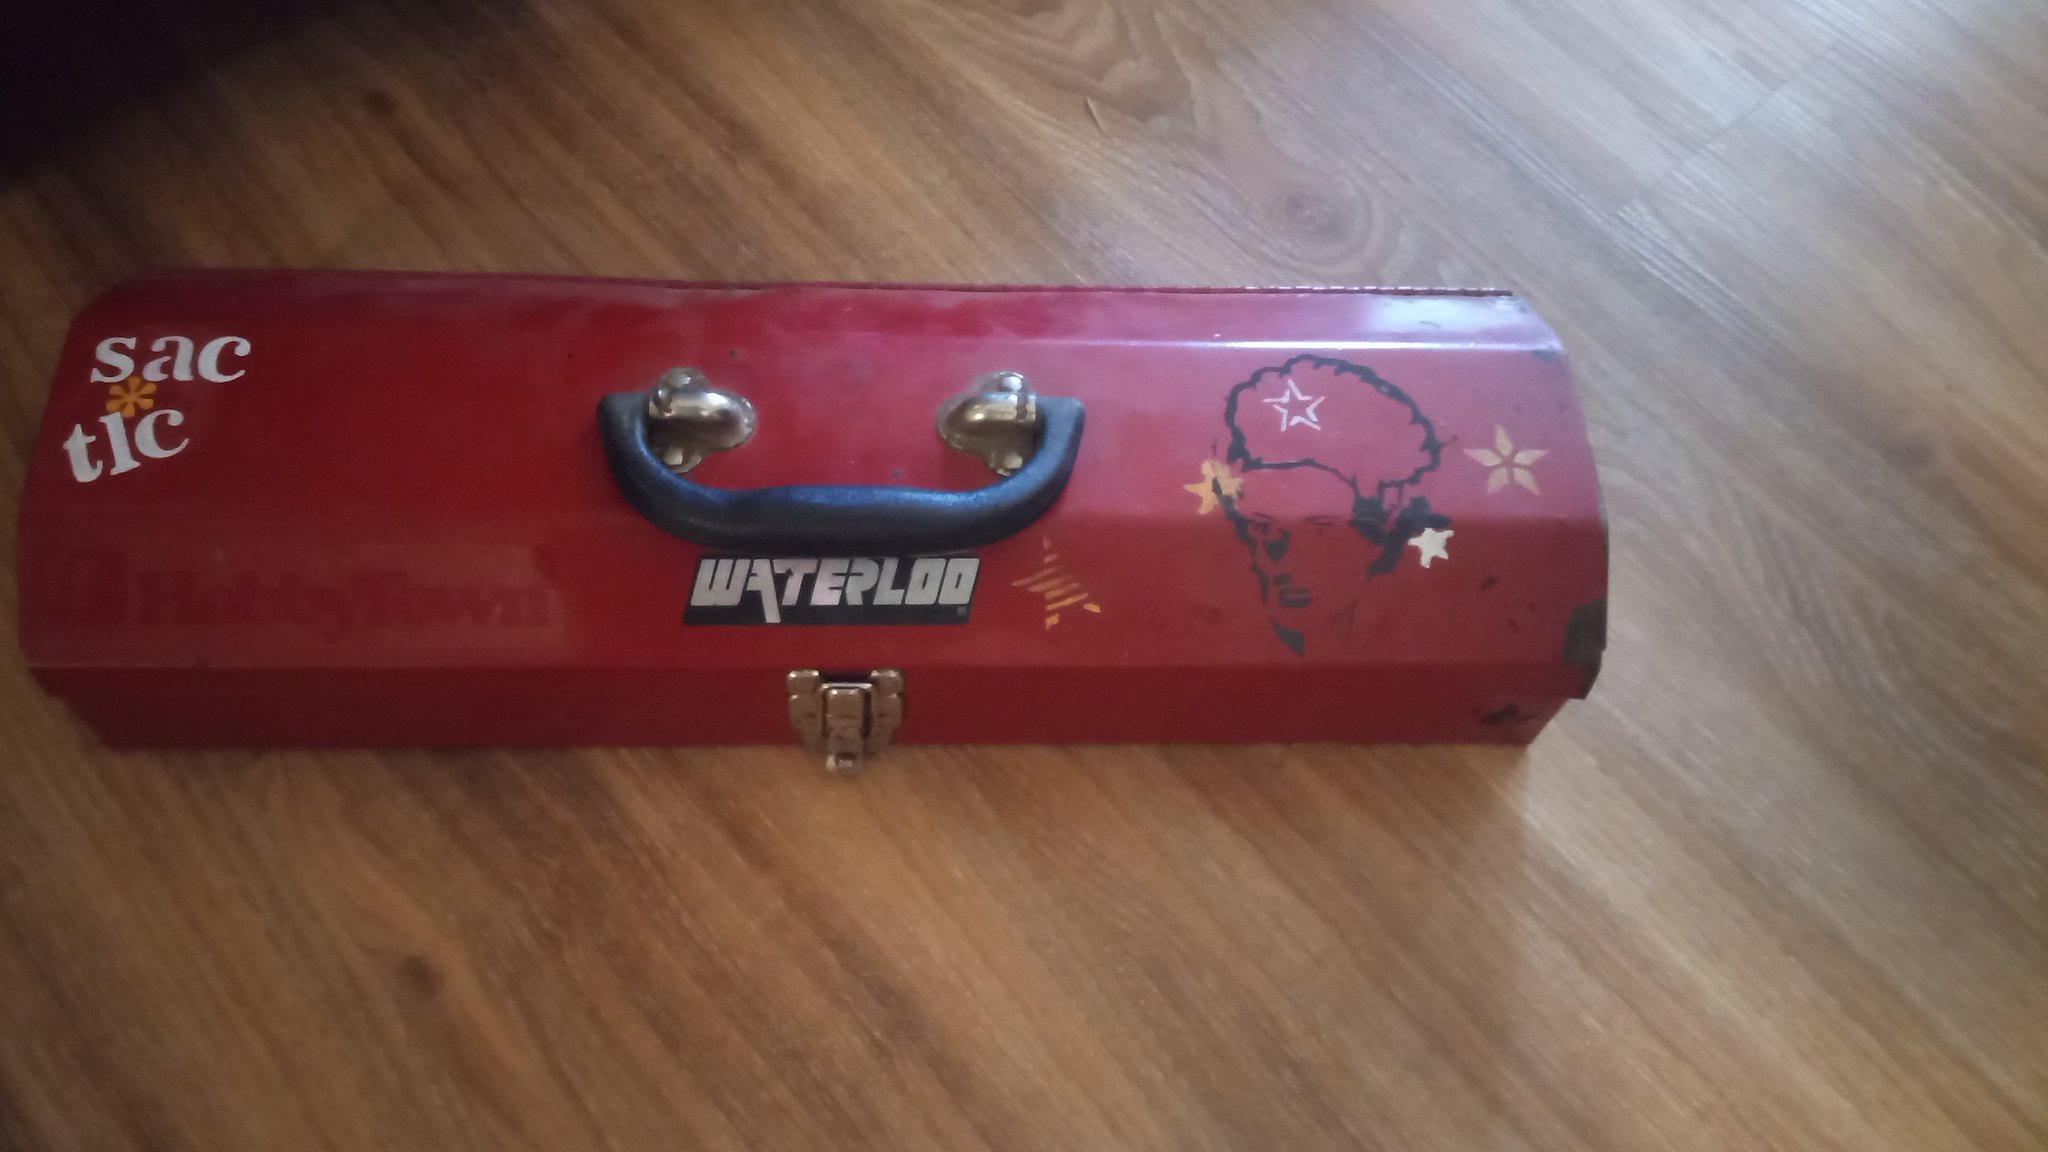 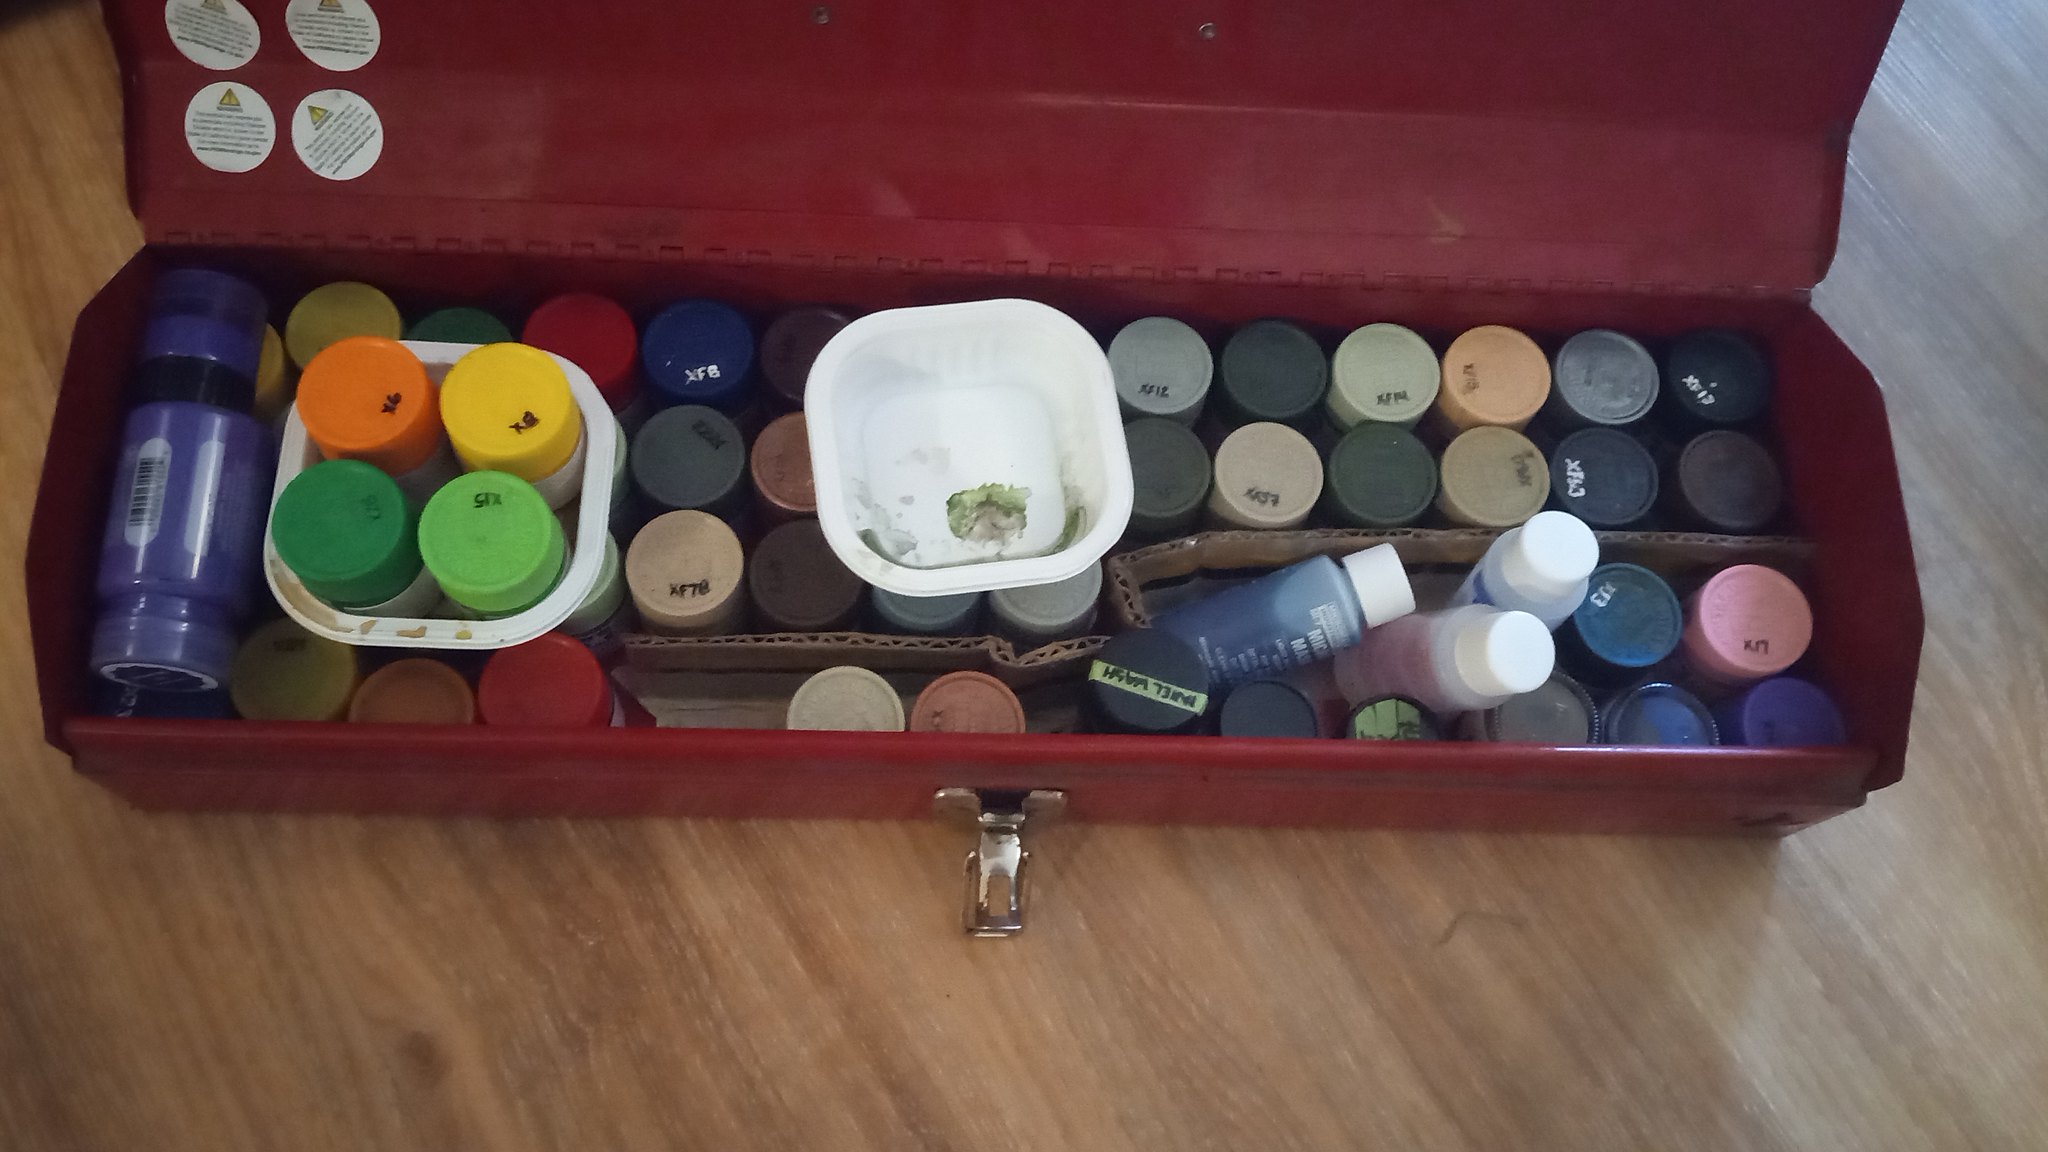 and low and behold, honest and for true, I already had some Tamiya X16.  If you haven't used Tamiya, I certainly endorse it. And, I hotrod almost everything.  |
|