|
|
Post by patw on Oct 28, 2021 2:22:09 GMT -5
|
|
|
|
Post by Bernard Kron on Oct 28, 2021 17:16:52 GMT -5
Great weathering and I love the interior. Nice fabrication work.
|
|
|
|
Post by patw on Oct 29, 2021 16:23:49 GMT -5
Thanks Bernard. I need to do some extra work as I've used plastic tubing to mount the wheels/tyres but it's not man enough as you can see from the picture below. The weight of the near 12 inch long resin body/interior has bent the rear axle!  I've taken the chassis off and am replacing the plastic tube rear axle with alloy tube. Hopefully that will sort the sagging problem out! |
|
|
|
Post by deuce on Oct 30, 2021 8:59:23 GMT -5
Great patina! It looks like it's actually metal. Do resin kits usually come with all the trim and chassis or do you have to fabricate that?
|
|
|
|
Post by Dave from Pleasanton on Oct 30, 2021 12:18:53 GMT -5
Cool subject and great work on the paint and finish. Interior looks great as well. I assume it is a typical Flintstone where all you get is the body. True?
|
|
|
|
Post by patw on Oct 30, 2021 15:29:52 GMT -5
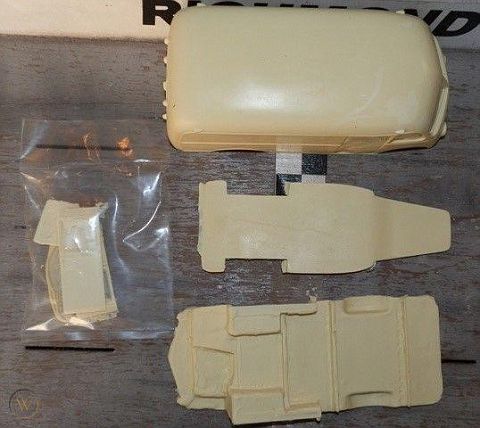
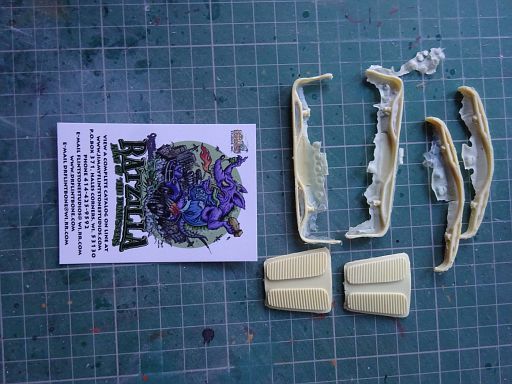
Well guys, thanks for your comments. The Flintstone 'kit' in this case is the 'total' body, (the one shown below was another kit showing the body with no doors and those are in the bag on the left) the interior and a flat chassis with two grooves one front and one rear to mount the straight axles, plus a sheet of clear plastic for your windows. This is the kit plus a small bag of two radiator fronts and two sets of bumpers. There's also a bag of large Flintstone skulls and 'Hot Wheels' resin badges.   Having spoken to a previous builder of this kit, he advised that the side mouldings are not level so has not extended the trim paintwork across the back of the body. I also picked up on the rear wheel arches not being lined up, so one being slightly forward of the other. Also the need to use super glue to add anything to the resin parts. As said above to Bernard I did find a solid rod of round steel so used that to remount both the front a rear axles and add the custom wheels shown above. They were stripped of chrome with oven cleaner in about ten minutes , washed and brush painted two coats of mid-grey acrylic. I've also added a few other things which will show up in photo's of the finished build. The thing to remember with most resin kits no matter who produces them, you only get the basic larger parts, all other bits to finish the build need to come from you stash of extra parts. |
|
|
|
Post by jbwelda on Nov 1, 2021 0:57:28 GMT -5
First thing I thought when I saw that body was, man, that thing has got to weigh a ton! I actually saw one once that was indeed a solid brick of resin...and it literally weighed a couple pounds.
Really kool project Pat, back when I was a teenager and I first moved to California, my best friend had built a Dixco kind of truck that he had entered in a contest and it had actually been in a magazine coverage of the contest. I forget where he got the body, maybe he modified or scratchbuilt it. He still had the pieces to it, it had not survived the couple years since it was built. He had put in a big V8, I think he said it was the larger-than-scale Sizzler Chrysler engine mounted inside and behind the driver and some scratchbuilt tube chassis with realistic running gear. I never saw it while it was together. I am looking forward to what you do here, looks like you are going for the real-life, derelict look. Thats some great work on the interior fabrication, gonna have to weather than to a similar state I imagine?
jb
|
|
|
|
Post by patw on Nov 4, 2021 3:21:50 GMT -5
|
|