Post by jimrichards on Aug 19, 2020 13:55:15 GMT -5
I've always liked my Johnny Lightning Monkee Mobile, but wasn't too happy with the wheels.
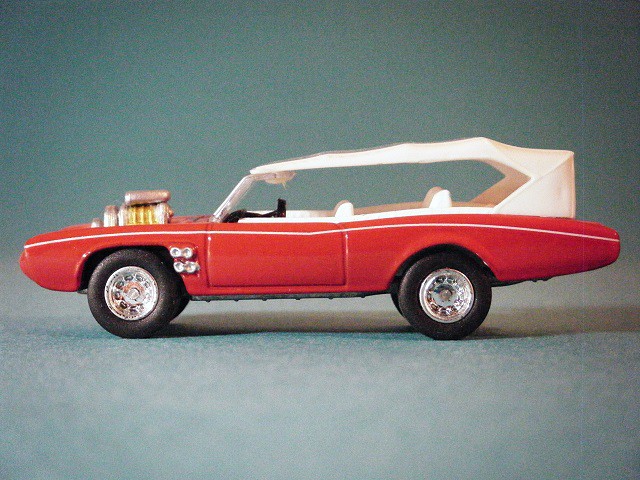
The tires and wheels are nice enough, but wrong for this car.
I wanted to change the wheels, but due to the fragile top and windshield, I didn't want to disassemble it.
So I started with one of my slotted screwdrivers, and slid the axle all the way to one side.
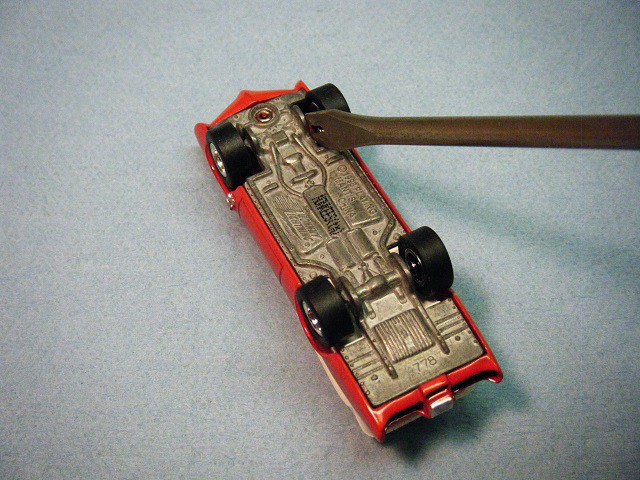
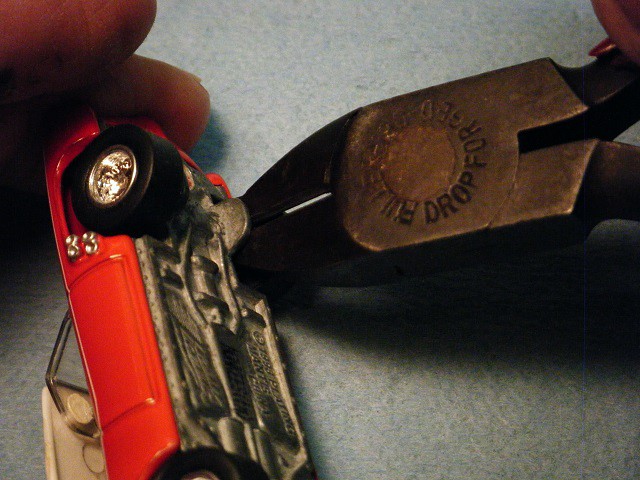
Then I was able to cut the axle with wire cutters.
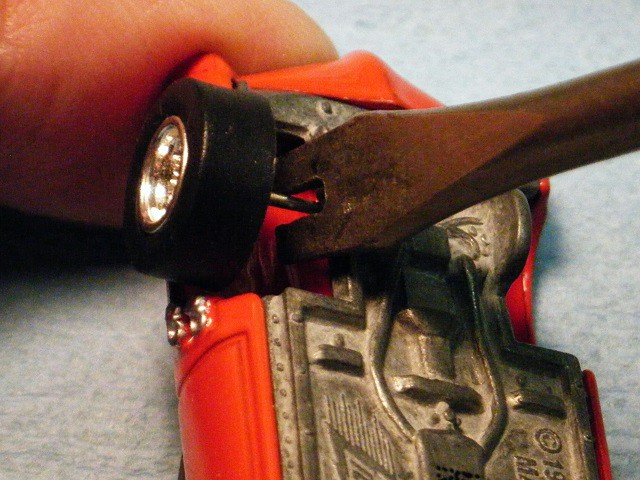
Again, using the tool, I removed the axle and wheel.
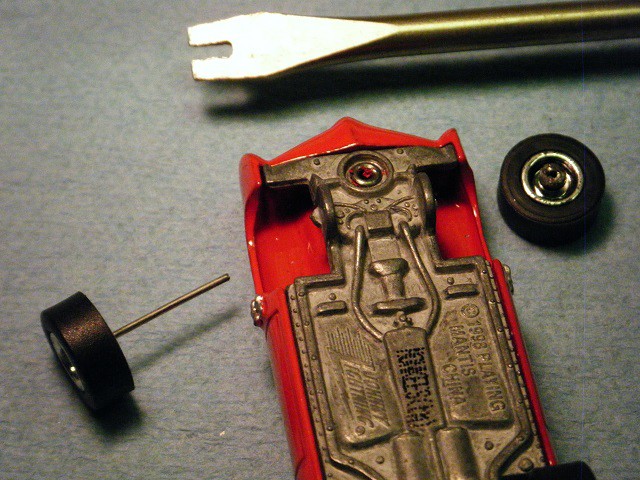
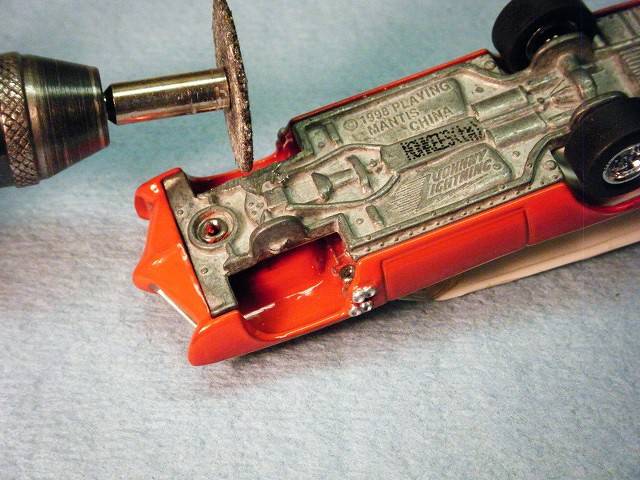
After removing the front wheels, I removed the two humps on the chassis. I leave the rear ones on, because they look like leaf springs. (even if this type of car had coils).
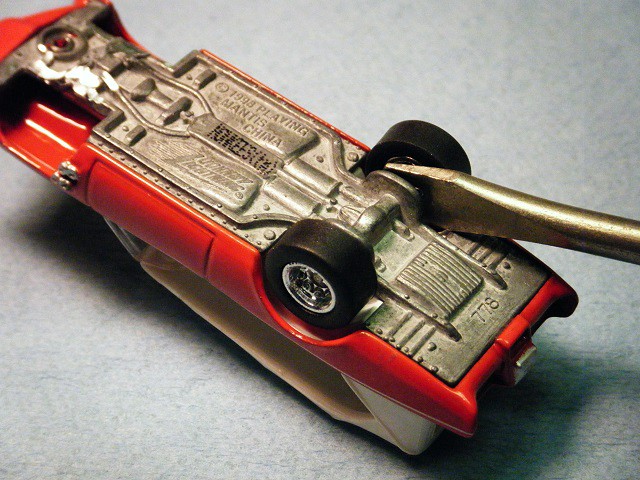
I removed the rears in the same manner as the fronts.
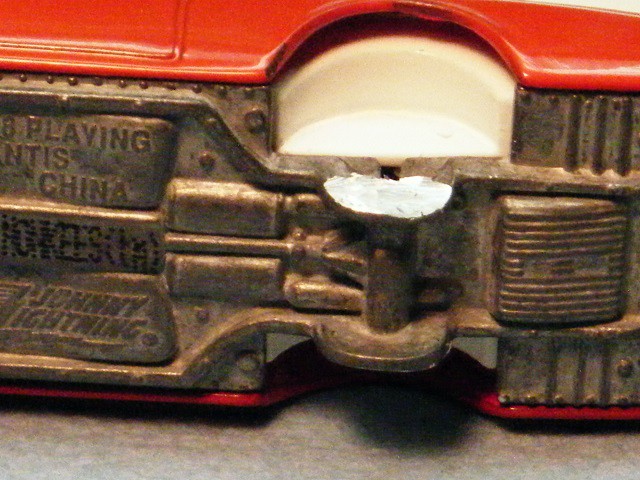
On the rear I Dremeled off two bumps that would get in the way later.
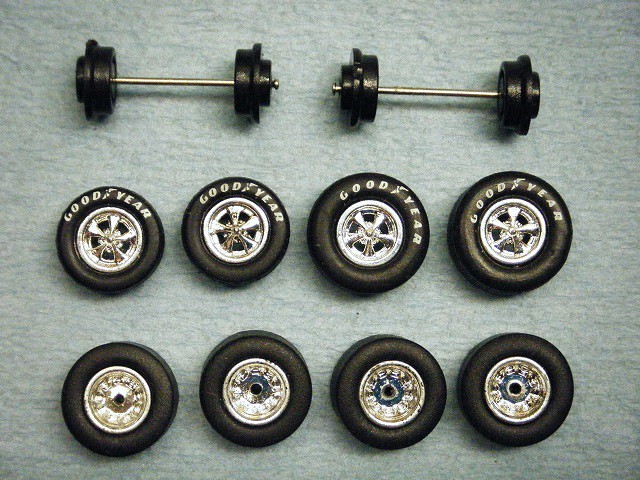
The top wheels and axles are what I'm gonna use to replace the bottom ones.
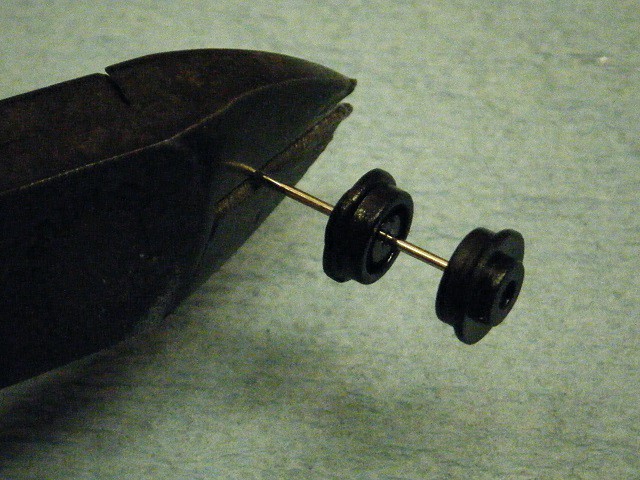
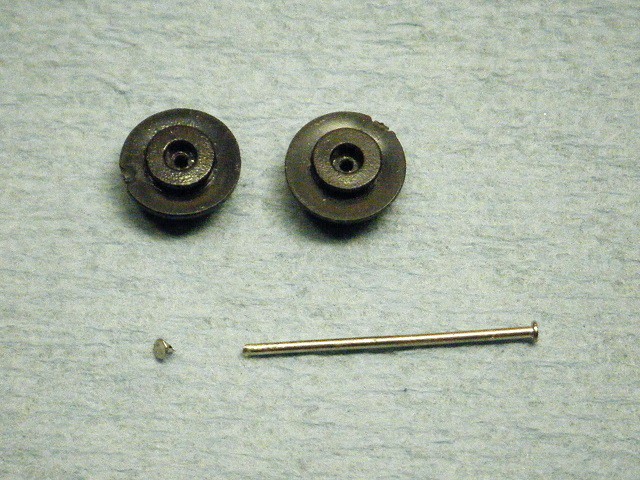
I cut off the ends of the axle.
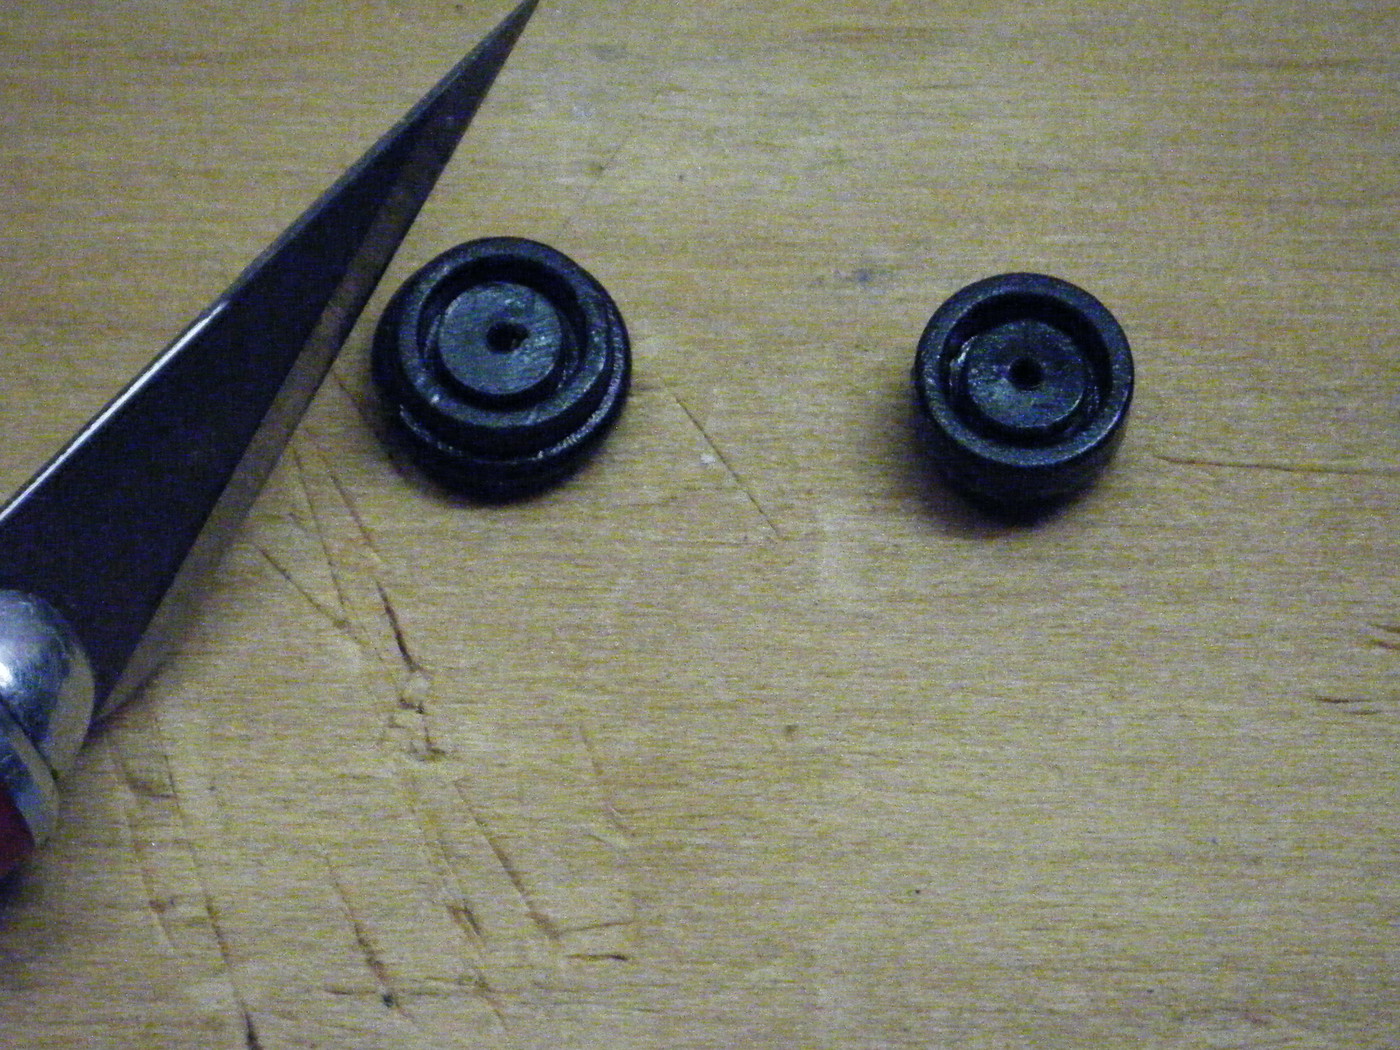
I cut off the lip on the edge of the wheel backs, because they push the rim out to far on the tire, and this also makes re installing them easier.
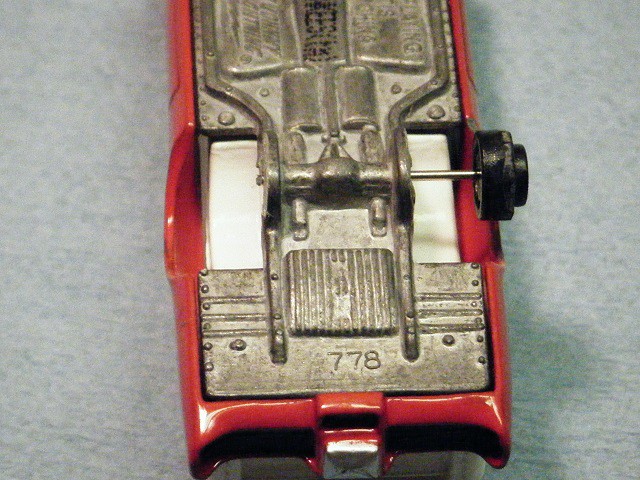
Then slide the new axle back into chassis.
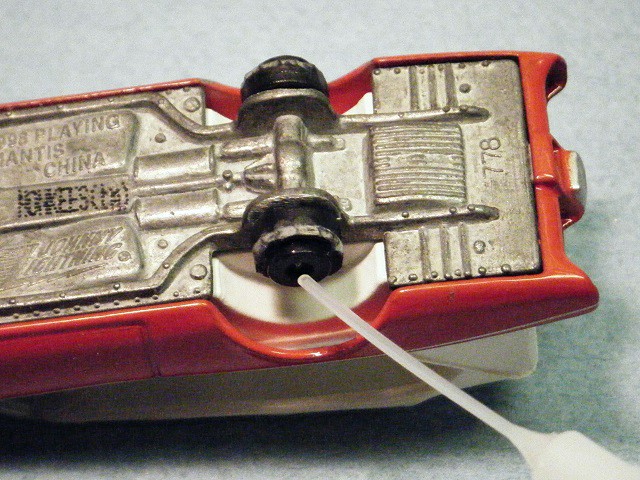
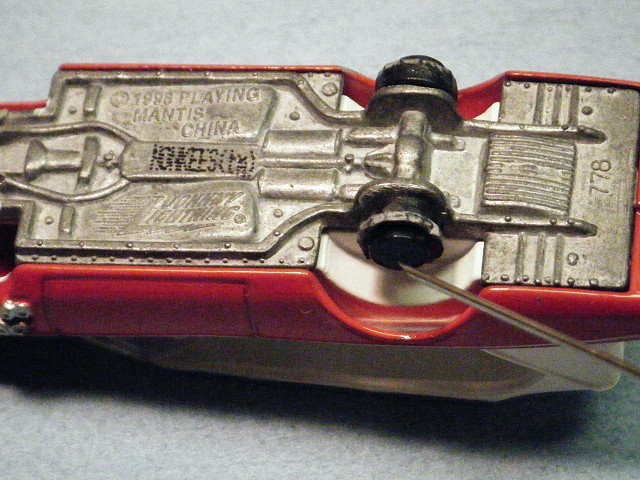
I add a drop of Zap A Gap and accelerator to the cut end of the axle.
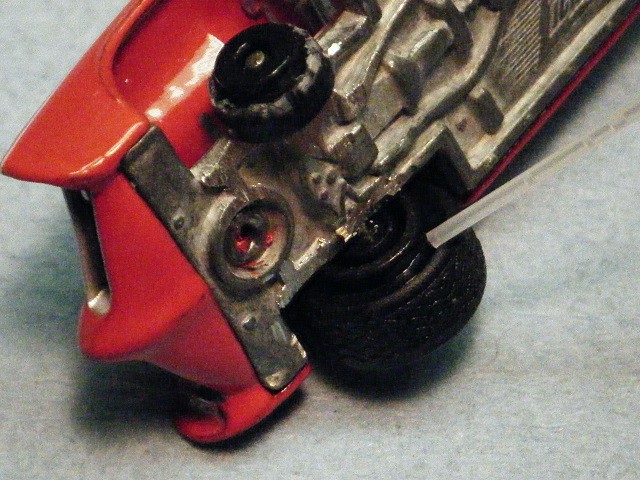
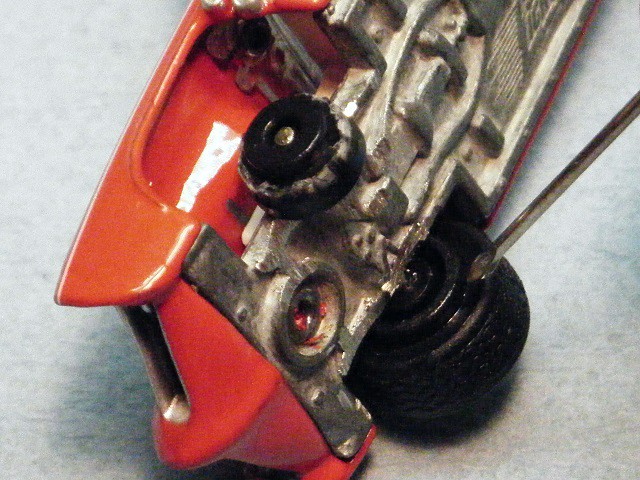
After installing wheel assembly, once again a drop of each on all four wheels.

Before
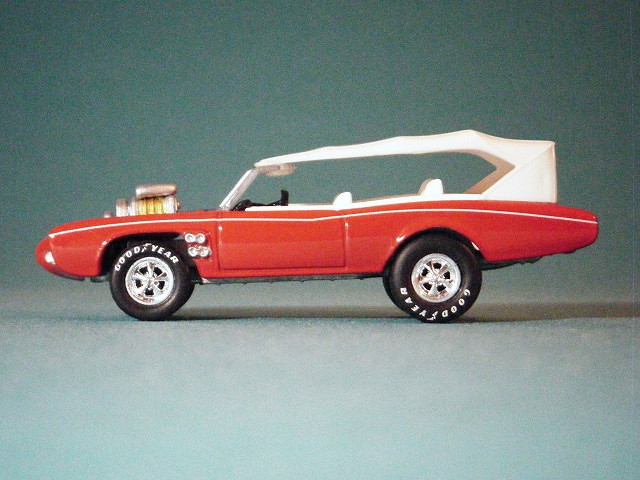
After
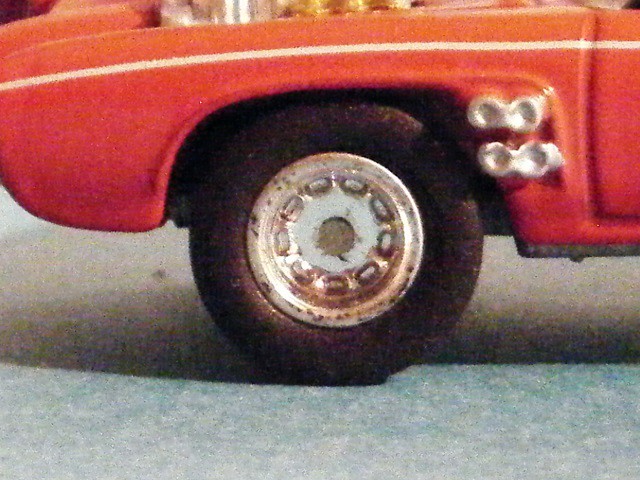
Before
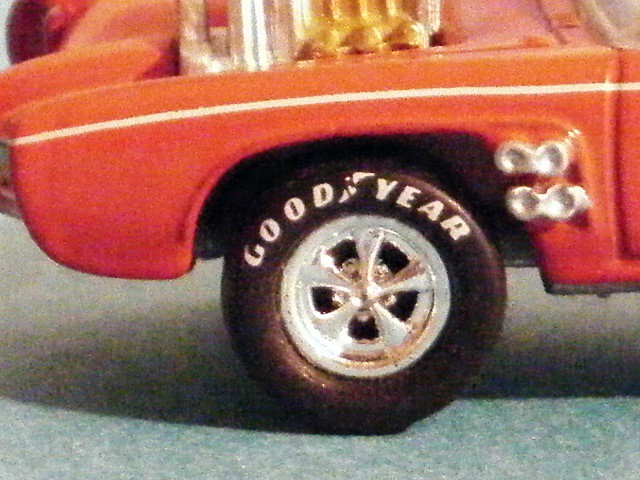
After (since seeing this picture, I decided to add a drop of black paint to the exhaust dumps)
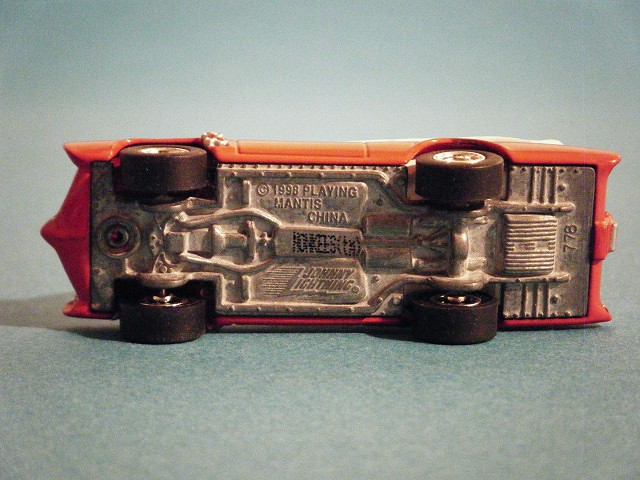
The original tires didn't have a tread pattern. I will probably use these later, perhaps on a asphalt oval track car.
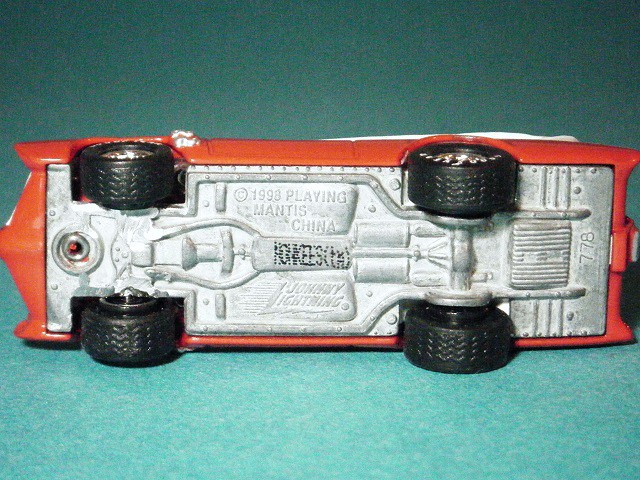
New tires have tread pattern.
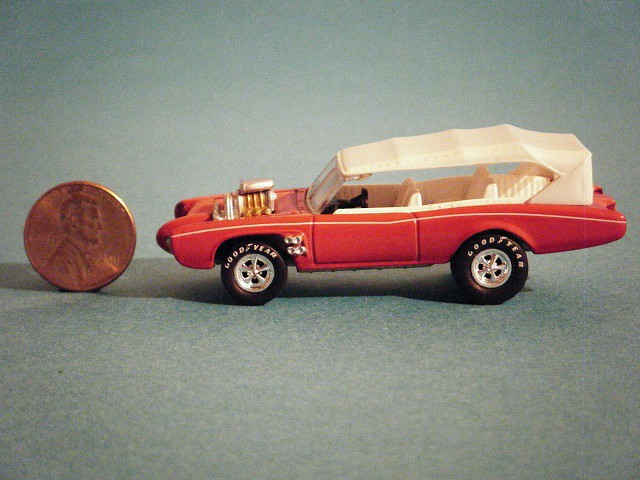
I forgot to mention that this is 1/64 scale. Hope you enjoyed this cornversion.
I am much happier with it now. They may have re released this car with proper wheels, but this is the one I had.
Also I would like to thank my lovely wife Leslie , for downloading all my photos all the time, and buying me all my toys.
She loves this stuff as much as we all do.
Jim

The tires and wheels are nice enough, but wrong for this car.
I wanted to change the wheels, but due to the fragile top and windshield, I didn't want to disassemble it.
So I started with one of my slotted screwdrivers, and slid the axle all the way to one side.


Then I was able to cut the axle with wire cutters.

Again, using the tool, I removed the axle and wheel.


After removing the front wheels, I removed the two humps on the chassis. I leave the rear ones on, because they look like leaf springs. (even if this type of car had coils).

I removed the rears in the same manner as the fronts.

On the rear I Dremeled off two bumps that would get in the way later.

The top wheels and axles are what I'm gonna use to replace the bottom ones.


I cut off the ends of the axle.

I cut off the lip on the edge of the wheel backs, because they push the rim out to far on the tire, and this also makes re installing them easier.

Then slide the new axle back into chassis.


I add a drop of Zap A Gap and accelerator to the cut end of the axle.


After installing wheel assembly, once again a drop of each on all four wheels.

Before

After

Before

After (since seeing this picture, I decided to add a drop of black paint to the exhaust dumps)

The original tires didn't have a tread pattern. I will probably use these later, perhaps on a asphalt oval track car.

New tires have tread pattern.

I forgot to mention that this is 1/64 scale. Hope you enjoyed this cornversion.
I am much happier with it now. They may have re released this car with proper wheels, but this is the one I had.
Also I would like to thank my lovely wife Leslie , for downloading all my photos all the time, and buying me all my toys.
She loves this stuff as much as we all do.
Jim


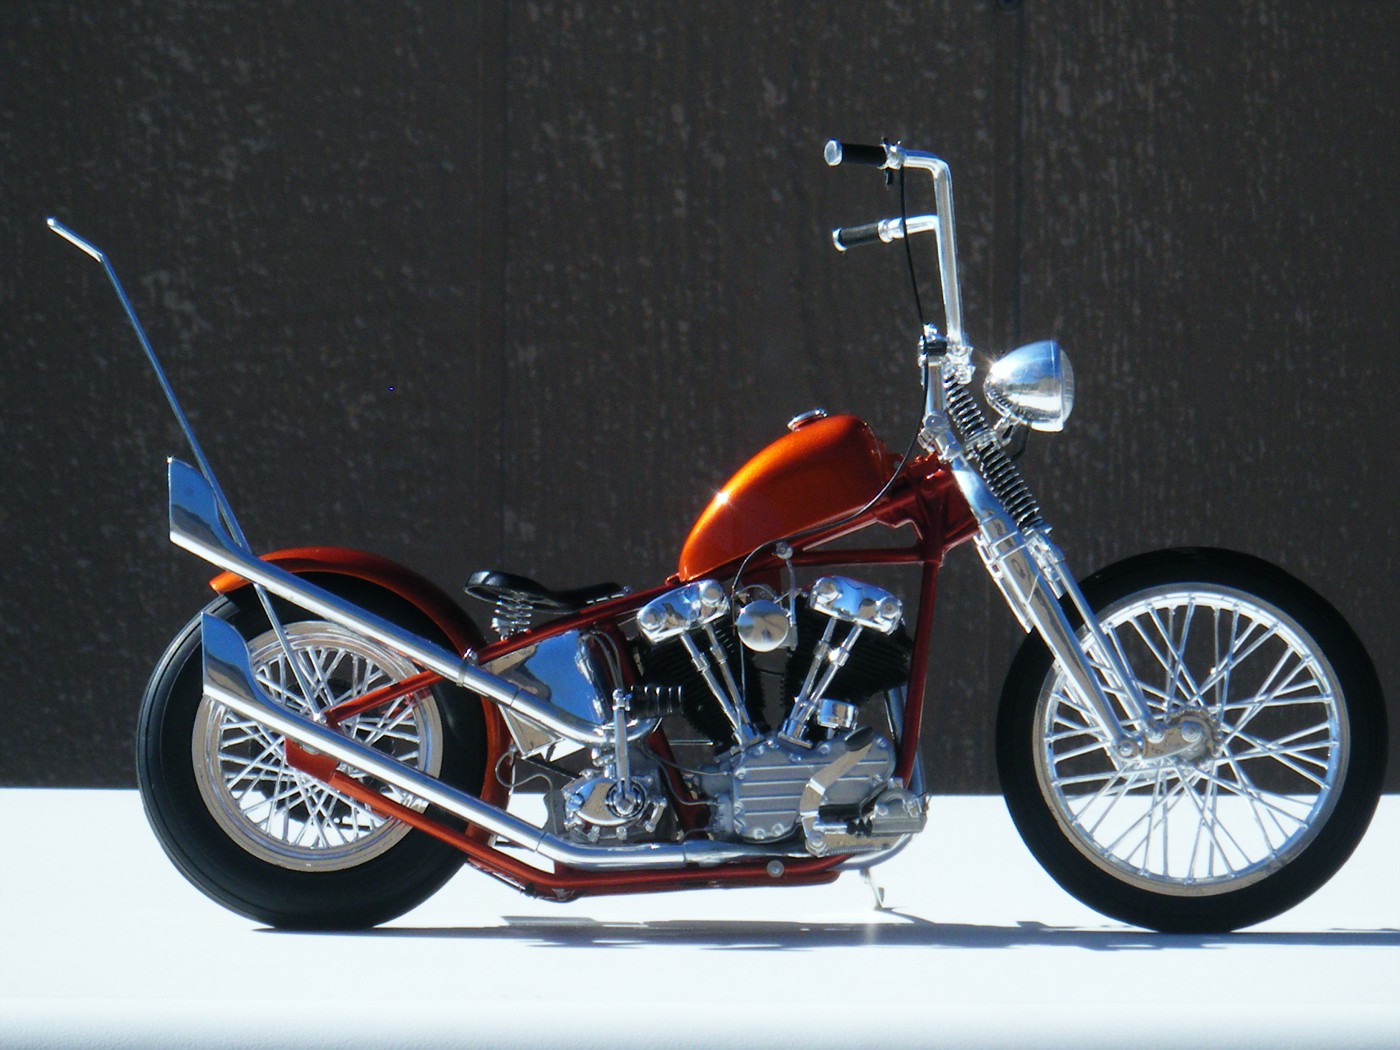


 It's an interweb thing.....