|
|
Post by mustang1989 on Apr 23, 2020 16:22:30 GMT -5
This build has been going a lot slower than a lot of my other ones just because of parts....and the money to get them. Used to I would buy everything I needed BEFORE a build. Now I'm having to spread everything out as I can afford it. Things are slowly coming together now. Sometimes it's a "one step forward and two steps backwards" gig. Like today for instance, I saw that one of the rear wheels that I shot with Molotow has cracking in the chrome finish. Dunno what happened there as the other rear wheel is ok. Guess it's a bath in oven cleaner and a re-shoot for that one though. The other thing that I've noticed was the rear bumper. There are two HUGE sink marks on the outside of the bumper where the two mounting tabs are located on the inside of the bumper. Looks like that's gonna get stripped and some body work is coming down the pike. One thing after another with this kit...………...BUT......that's modeling. The other thing that has been hampering me is myself. Like....forgetting to paint the roof white for instance. After the clear cured out it left a rough surface and I've spent the last few days wet sanding it out and polishing it back to the smooth finish that I had to start with when I first took photos of the corrected roof. And just yesterday I saw where I forgot to paint the tail light panel black. No biggie....just masked off and shot it semi gloss black this morning and it turned out ok. Updated Mock up shots: 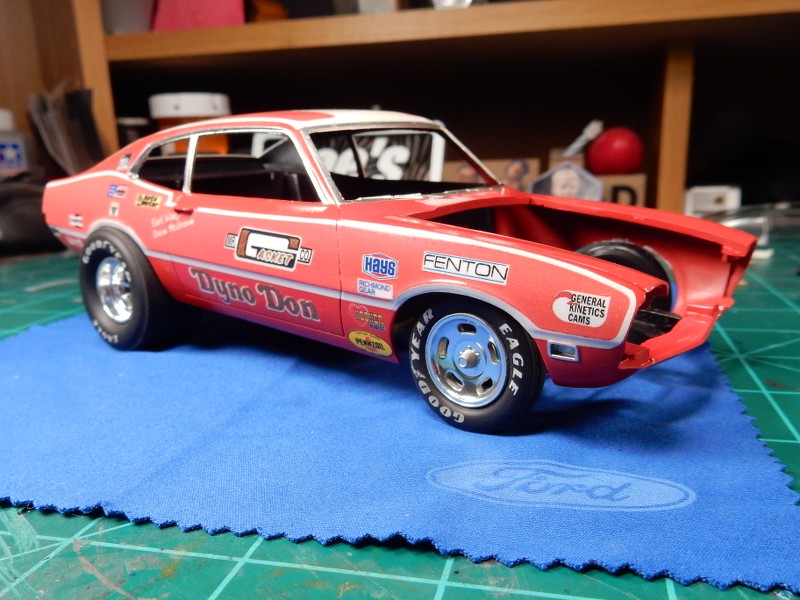 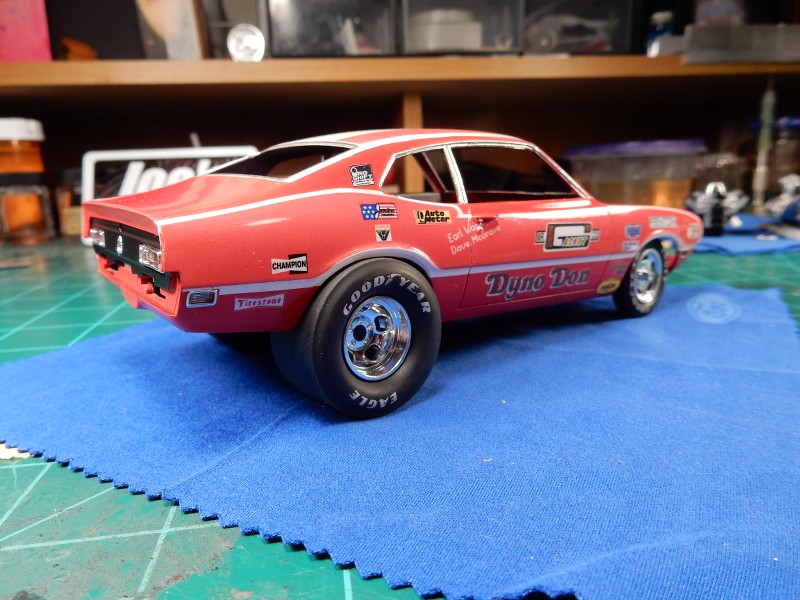 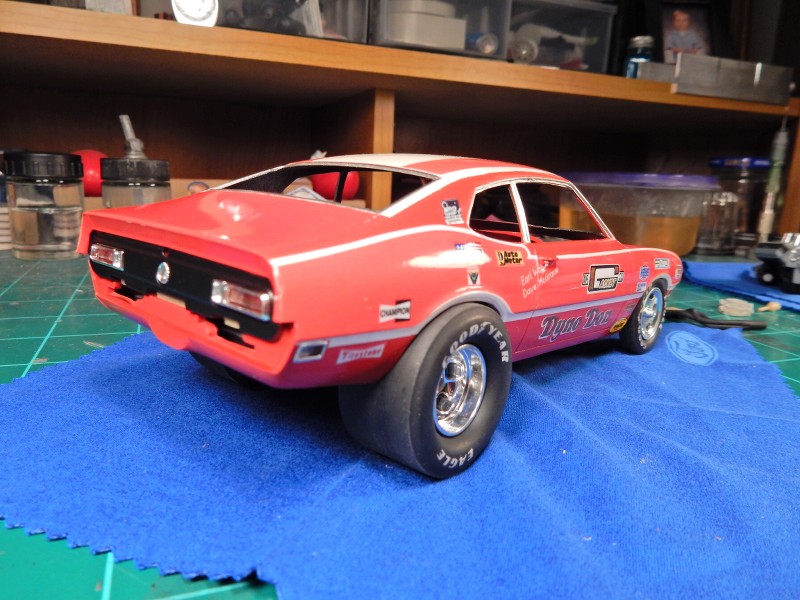 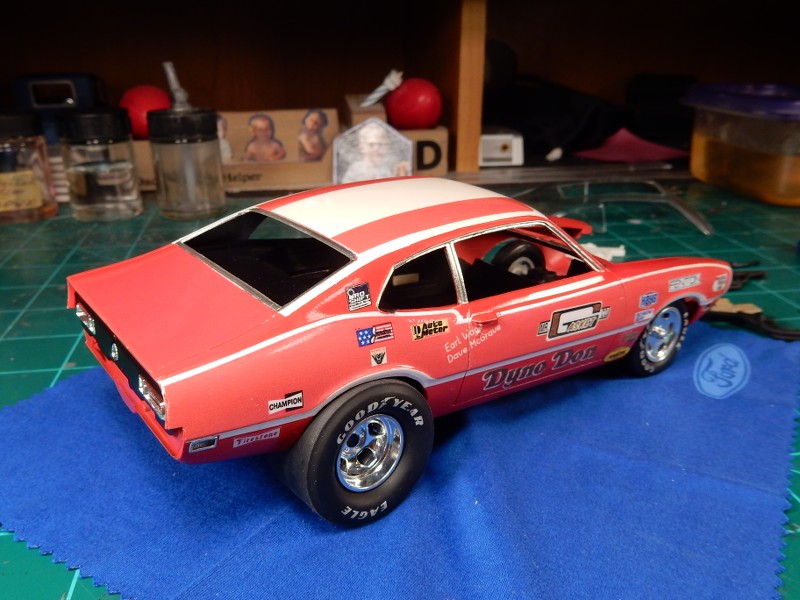 |
|
|
|
Post by mustang1989 on Apr 28, 2020 10:31:39 GMT -5
Got my carburetors a couple of weeks ago from Scott at Futureattractions. These are hands down the best Holley Dominator carburetors out there IMO. A little clean up and prep work is all that's needed. 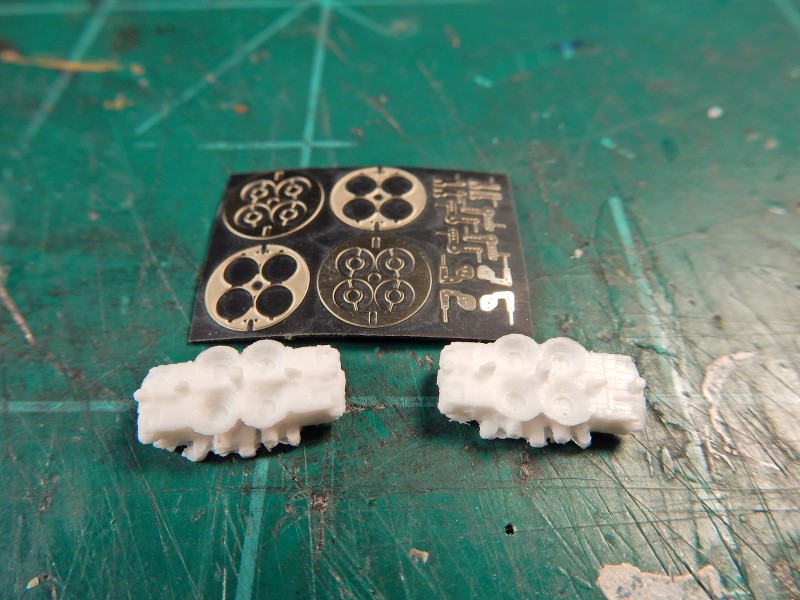 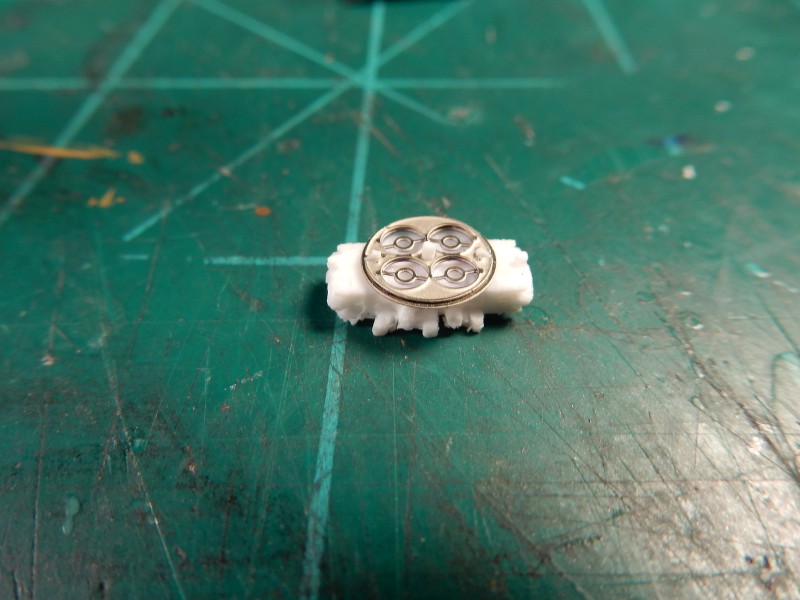 I also finished up the hood. Applying white over red was NOT an easy job to do. Fought the color bleed through thing all the way BUT....I got it! 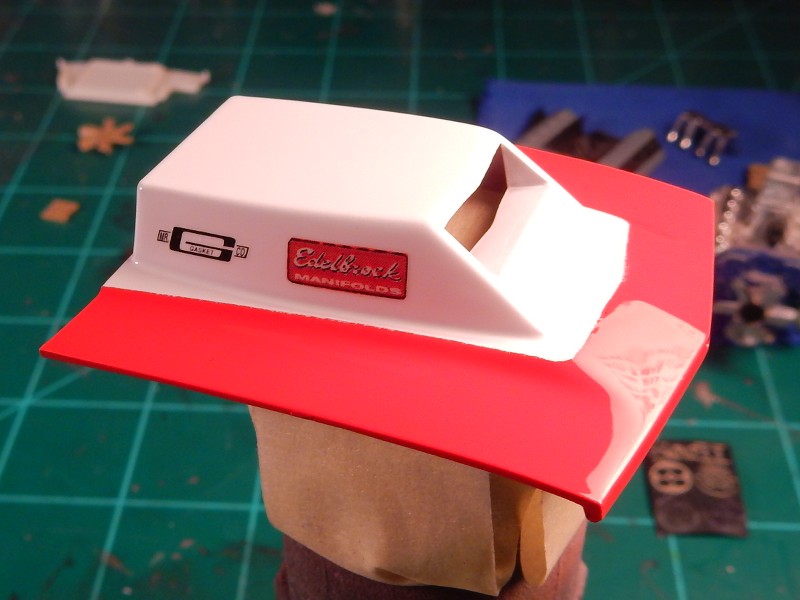 |
|
|
|
Post by mustang1989 on May 4, 2020 14:42:30 GMT -5
I'm getting pretty close to being done with the dash. I took a couple of liberties with it just to have at least a little fun. I still have the foot pedals to construct and put under it and to install a tachometer on the dash but it's pretty much where I want it. I took Macro shots against my better judgement. With that being said, the blems that show up in this pic won't be seen by the naked eye. 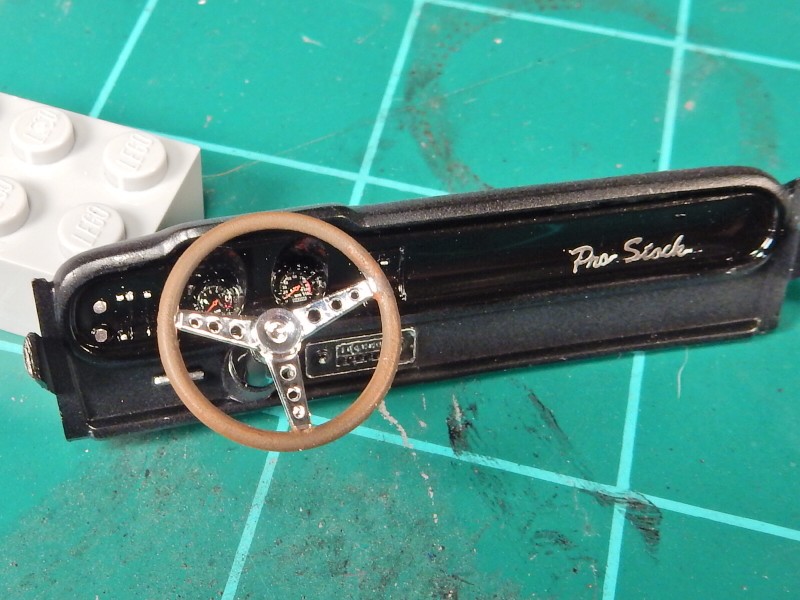 |
|
|
|
Post by jbwelda on May 4, 2020 15:17:31 GMT -5
That's looking great I always like those cars as funny cars. Sorry I didn't follow from the beginning; is that a JoHan base kit?
Next time on the hood: paint the whole thing white first, then mask the scoop part and shoot the red. Will probably be a whole lot less trouble than trying to cover the red with white. I am surprised it turned out as good as it did...have you shot clear over it yet? If not, that might bring on trouble in my experience...could encourage the red to bleed back up through the white.
jb
|
|
|
|
Post by mustang1989 on May 4, 2020 15:52:13 GMT -5
Yes siree she's a Jo-Han kit. I was lucky enough to get it for a great deal a few years ago. You can't touch one of these bad boys these days for less than $250 from what I've seen. As far as the paint goes. I think I just got lucky. However, misting the paint helped out ALOT I think. I don't do wet coats until several misting coats have been applied and it seems to have always worked out for me. And that does have the clear over it. I do the same thing with the clear as I do with the color coats in regards to misting. Thanks for taggin' along JB.  |
|
|
|
Post by fordrodnkustom on May 4, 2020 18:43:43 GMT -5
Excellent detail on that dash. How'd you do those gauges?
|
|
|
|
Post by TooOld on May 5, 2020 5:17:47 GMT -5
Excellent detail on that dash. How'd you do those gauges? I had that question also , decals or did you print them yourself ? Those Future Attraction Holley carbs look very very nice !  |
|
|
|
Post by mustang1989 on May 5, 2020 6:58:50 GMT -5
Thanks fellas. Those are decals I had from another kit. Can't remember which kit I got 'em from now but just wanted something in place for a little extra detail. The real car had an aluminum plate over the stock gauges with a couple of AM gauges mounted to that. I decided not to go that route. I've already got ALOT of work to do in the interior like it is.
|
|
|
|
Post by sharp on May 5, 2020 8:33:31 GMT -5
The dash details look great Joe!
|
|
|
|
Post by mustang1989 on May 5, 2020 12:25:55 GMT -5
The dash details look great Joe! Thanks Mike ol' buddy. I really appreciate you droppin' in.  |
|
|
|
Post by mustang1989 on May 28, 2020 16:34:23 GMT -5
After robbing the foot pedal assemblies from the AMT 1967 Mustang kit, I cut the grossly over scale levers from the back of each pedal. 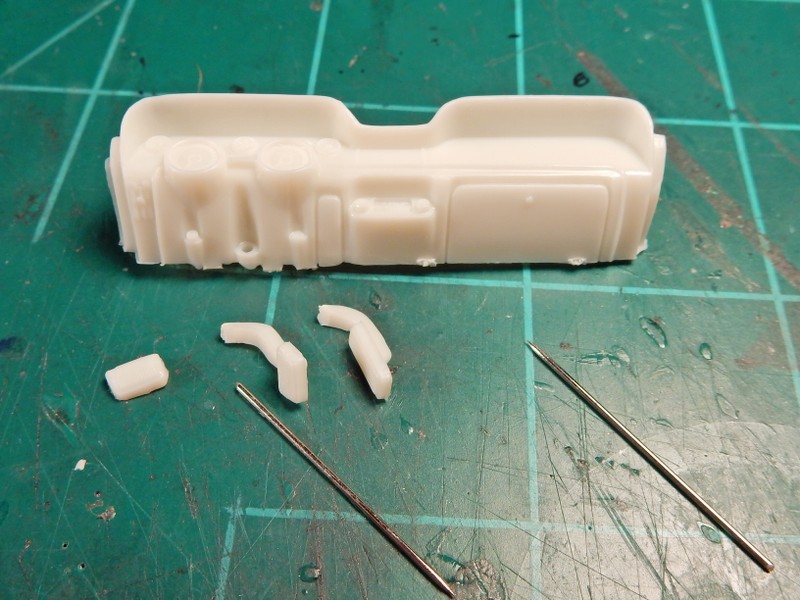 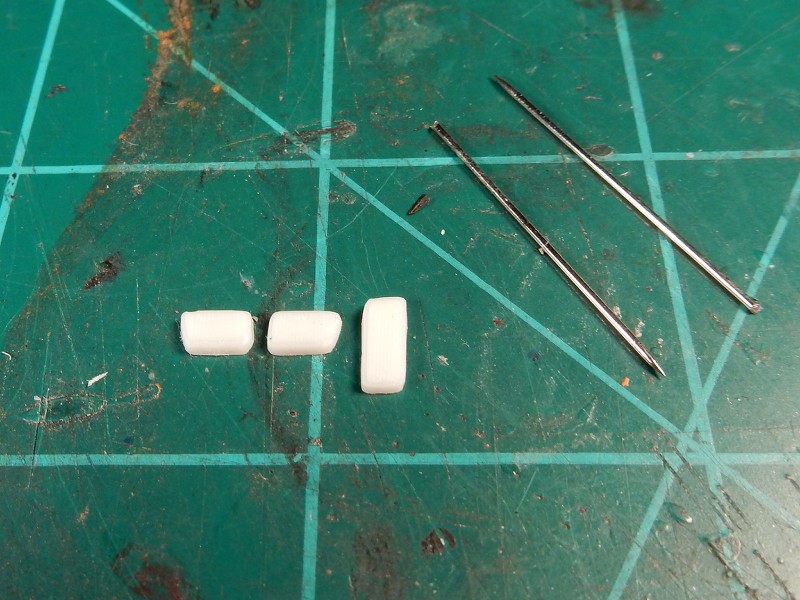 Then I formed up the levers and made some mounts on the back side of the dash in which to "swing" the pedals with... 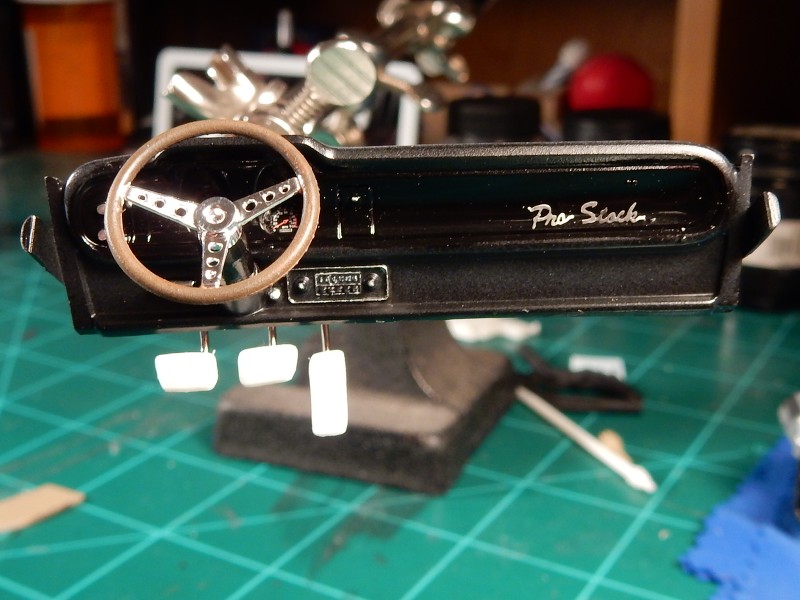 I finished this part up this morning by painting the swing levers and pedals. I also darkened the steering wheel wood areas just a tad..... 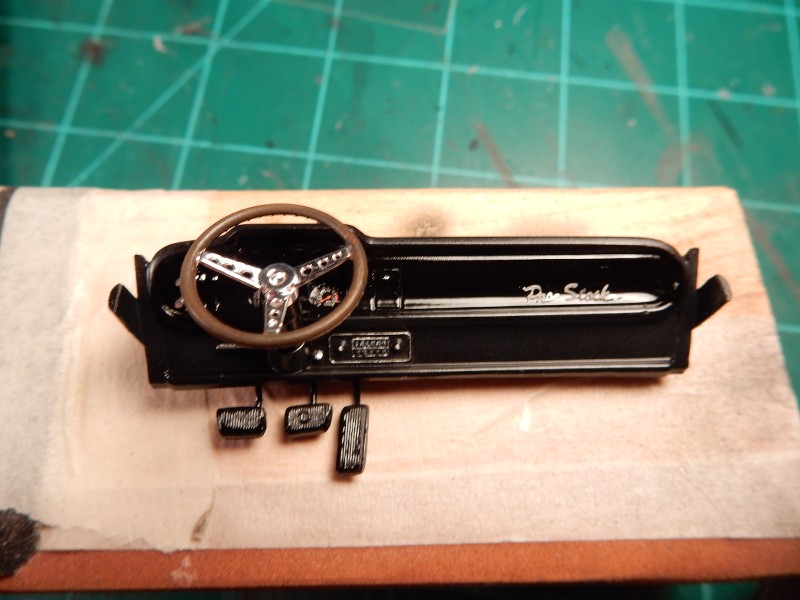 |
|
|
|
Post by mustang1989 on Jun 1, 2020 15:27:43 GMT -5
Well I got some more done on her this week. I cut the rear and two side windows out of thin clear styrene and decaled the side windows up with racing stickers. Just waiting on those to dry so I can dunk 'em in some Future so I should be going in with those tomorrow it looks like. Then came the moment I've been waiting for at the rear of the car. Upon close inspection of the deck lid you can see some lock studs, quick release pins and cables at the rear most corners of the lid. I received my lock pin set two days ago so I was able to get some progress done on that. Reference Shot: 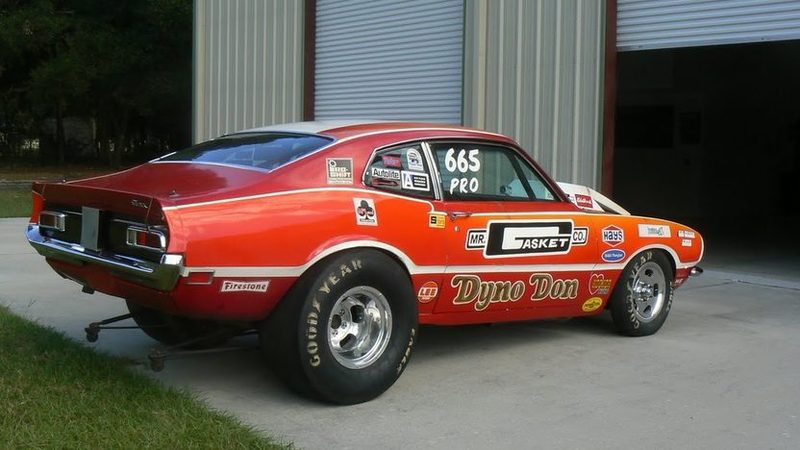 Progress so far. Still have to dot the 4 spots on each plate to simulate screws with some Molotow and add the cables later but here we are for now:  |
|
|
|
Post by mustang1989 on Jul 6, 2020 15:07:23 GMT -5
You know fellas.....every once in a while you have to negotiate a TRUE hurdle in modeling. Sometimes it's paint, sometimes it's fit and sometimes it's things like I've been going through for the past week.....the assembly process. I've been building models for a long time and lemme tell ya.....nothing....I mean NOTHING has tested my patience and my abilities as a modeler as much as this aftermarket Liberty shifter from Futureattraction. To put it lightly...this shifter looks absolutely fantastic after it's all been put together. But therein lies the hurdle.....the assembly. At 26 pieces it is one of the most intricate PE items that I have taken on yet. I kid you not....I've got every bit of 7 hours wrapped up in this thing. I had half of it pieced together one morning after spending an hour + on it and the very next day upon picking it up to continue......it all came apart.  Yeah....stuff like that and then being under the optivisor the whole time.  Eyes hurt...got a headache...got pissed off......contemplated throwing stuff and I think I made up new curse words along the way .  Feel free to contact me for the updated curse word list.  I've still got to cut that one long pin off ( I'm leaving it in place to be able to work with it for shift rods install) and have just a little clean up left to go as far as glue smears but a little thinner and that'll go away. I felt a TRUE sense of accomplishment when I got up from the bench this morning and wanted to show that to you all. The Liberty Shifter: 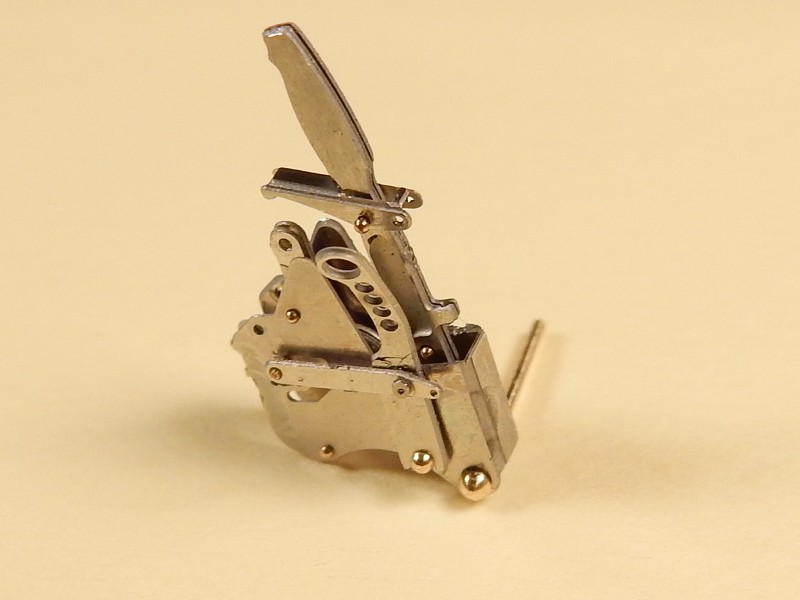 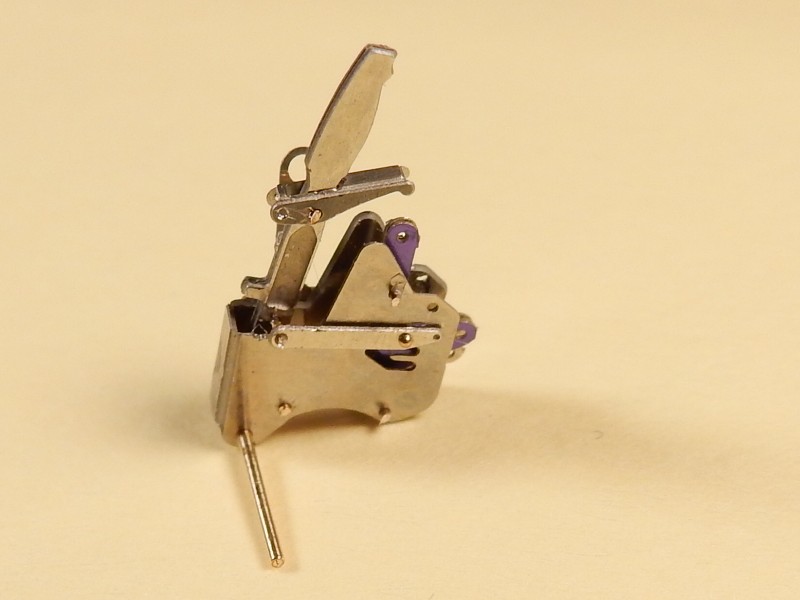 and one for scale reference: 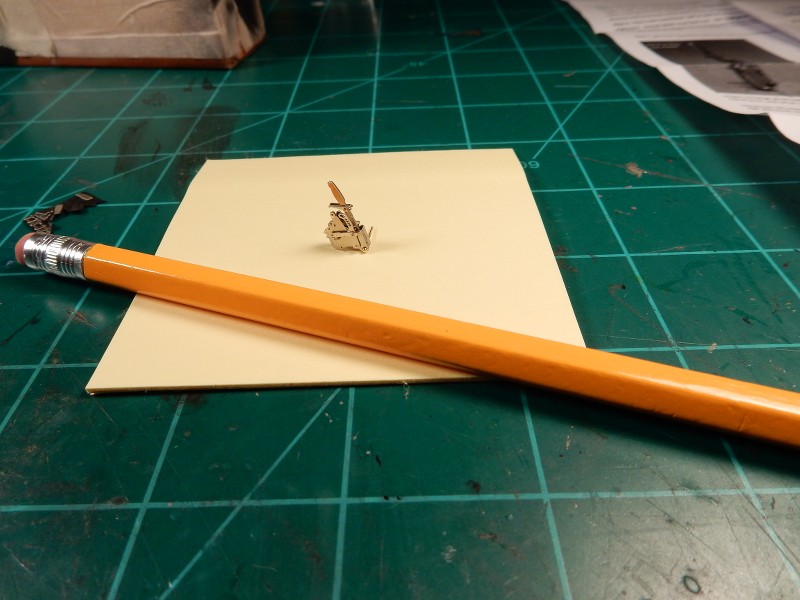 |
|
|
|
Post by deuce on Jul 7, 2020 8:35:19 GMT -5
That looks great! And by the way, I didn't see any blemishes in the dash.
|
|
|
|
Post by mustang1989 on Jul 20, 2020 14:17:48 GMT -5
That looks great! And by the way, I didn't see any blemishes in the dash. Thanks Duece!! Well gang....I made some progress on this thing this weekend. Managed to get the seat drilled and slotted to make way for the seat belt harness. The harness build up wasn't too bad outside of me not paying attention to what I was doing at times and having to go back and make some corrections along the way. This is not the period correct harness I was hoping to build but the correct one is actually harder than the Liberty shifter that I just built for this car. I'm not about to go through anything like that again on this build. lol  |
|