|
|
Post by mustang1989 on Feb 5, 2020 15:28:51 GMT -5
I haven't done a race car in I don't know how long but I've had this Jo-Han Maverick in my stash for a couple of years and wanted to build it but didn't know what theme I was going with until I saw Don Nicholson's ride. I knew right away that I HAD to build it....and so.....along with my re-intro here I'll give this my best shot. The kit (I bought this kit a couple of years back for $50......you don't want to know what it goes for these days....WOW!!) 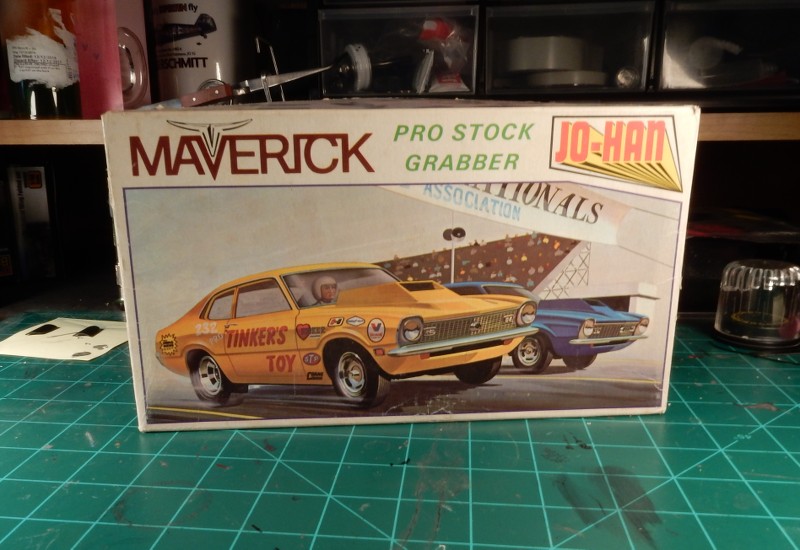 The Subject: 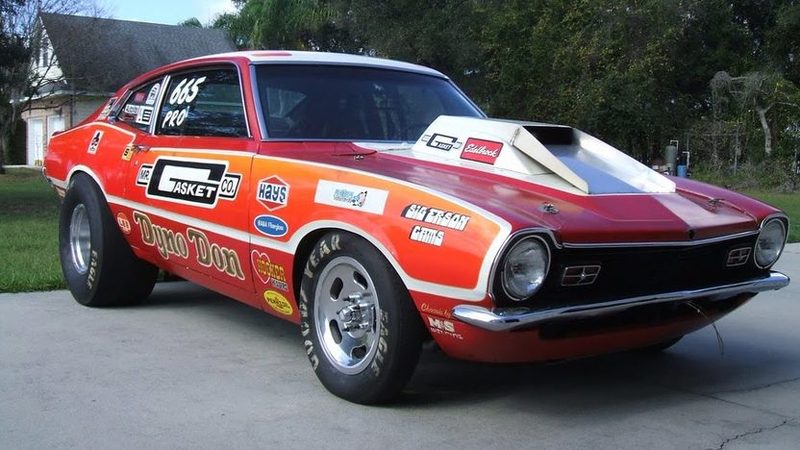 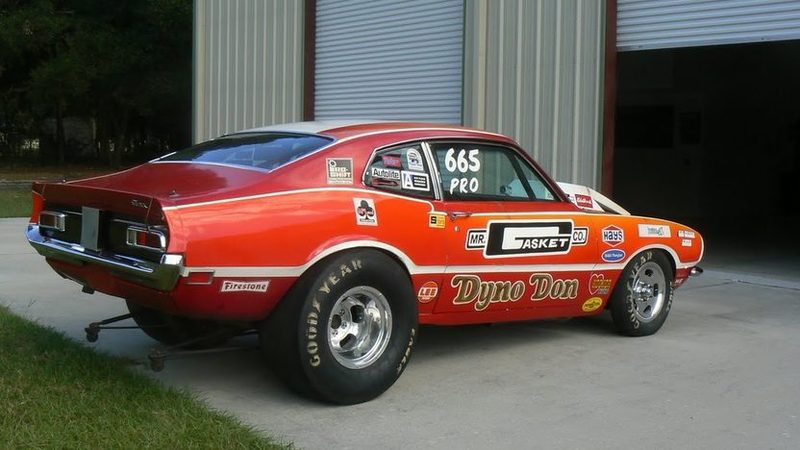 |
|
|
|
Post by mustang1989 on Feb 6, 2020 13:32:51 GMT -5
The chassis has undergone extensive modification in the last couple of weeks. Initially I was headed in a direction with the rear suspension that just wasn't looking right but have since made some changes. First off the front subframe area was shortened by 5/16 of an inch which looked ok but I had to acquire another Mustang kit in order to cut the rear frame rails from it to use in bringing both frame rails further inside to allow those rear slicks to further UNDER the car like the reference shot. Before:  and after repositioning the rear frame rails inwards towards the center of the chassis with a coat of paint: 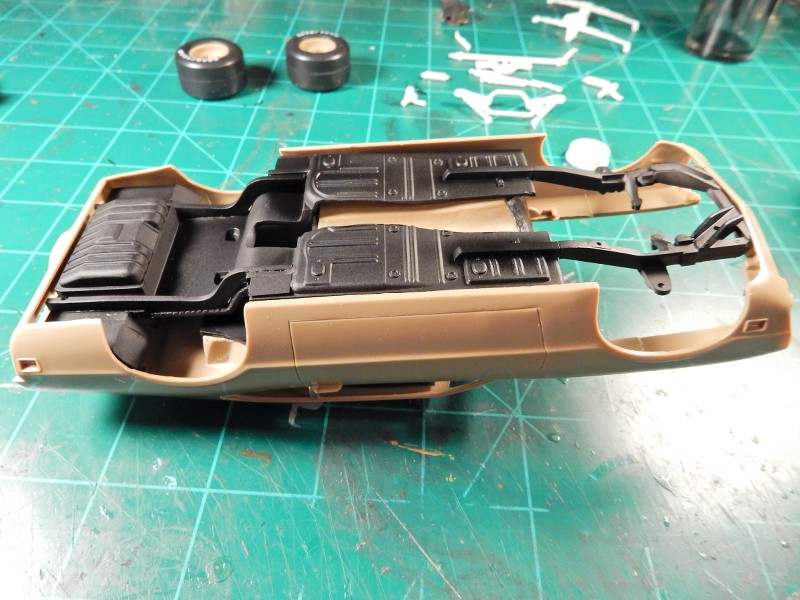 Before the chassis mods the rear tires were just hanging out there waaaay too far as in this photo (BTW....these are NOT the tires and wheels that I'll be using but the tires are the same width as what I'll be going with: 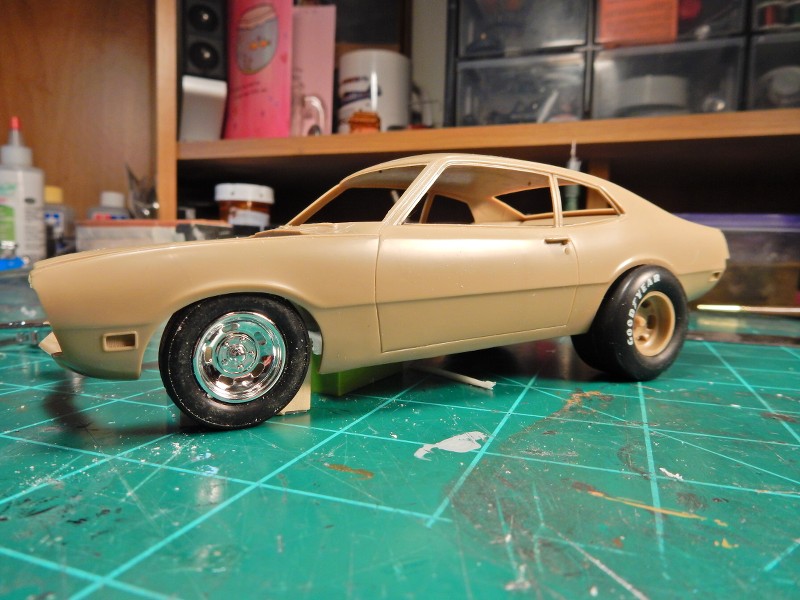 This will be alot better. Gotta get the ride height correct for the rear as well as in the front but that shouldn't be much of a problem. I've also got some better wheels inbound which should help this build out ALOT. 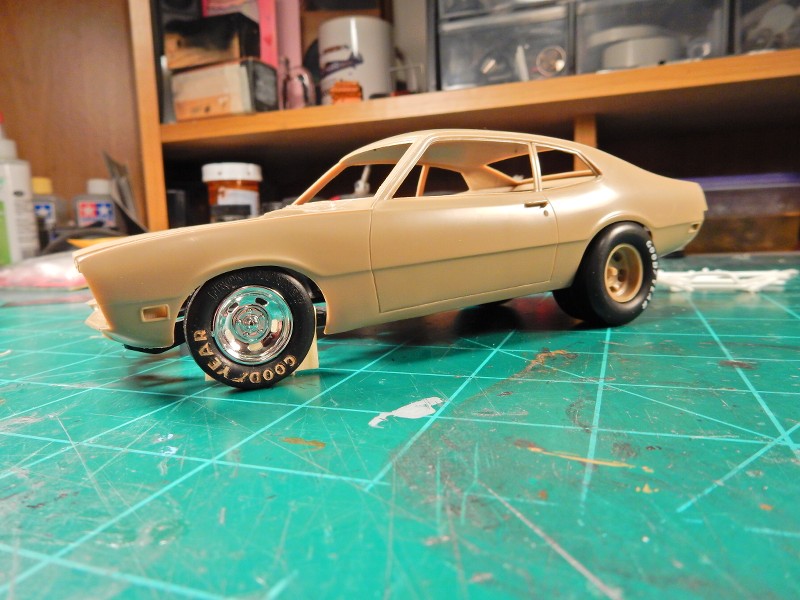 |
|
|
|
Post by TooOld on Feb 6, 2020 18:20:37 GMT -5
Nice ! I like how you moved the frame rails to make clearance for the tires .  |
|
|
|
Post by harron68 on Feb 7, 2020 10:54:52 GMT -5
Those JO-HAN Maverick/Comet drag kits were excellent. I remember the engines were particularly sharp. Go for it!
|
|
|
|
Post by fordrodnkustom on Feb 7, 2020 19:26:17 GMT -5
Outstanding subject and a good start on the build. Looking forward to following this Mav along.  |
|
|
|
Post by mustang1989 on Feb 17, 2020 17:03:04 GMT -5
Thanks fellas. Thanks for the comments everybody. I've been haggling over the tires for the last couple of days and after conversing with Ted Bowe from Ted's Modeling Marketplace back and forth through emails, going through photo shots and doing ALOT of measuring and head scratching I've come up with a new set of slicks that I'm going to use for this thing. Additionally I was concerned with how the front ride height was going to be but once I test fitted everything into place...…….it pretty much fell into place. I might go just a tad lower in the front but I'm pretty happy that I don't have to do much here as this has been quite the gaggle in the way of mods on this car. This is the way this car is going to look now and it seems like it's a lot closer to the reference photos that I have of this car. Now I've just gotta score a Goodyear decal sheet to put the scripts onto the tires. Reference shot:  Updated parts and stance: 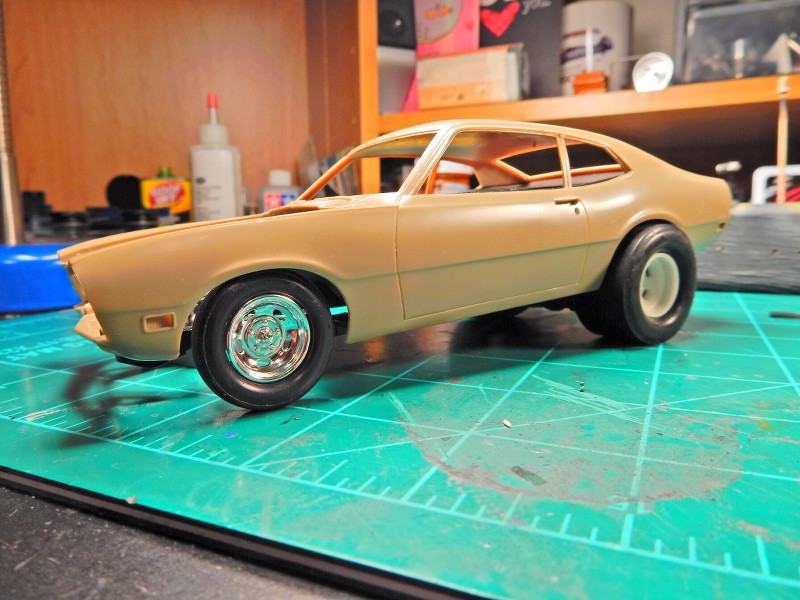 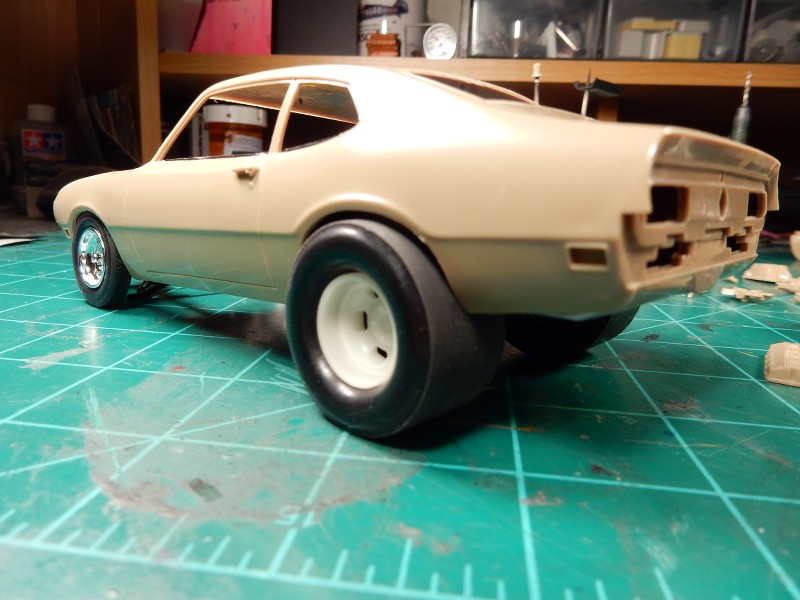 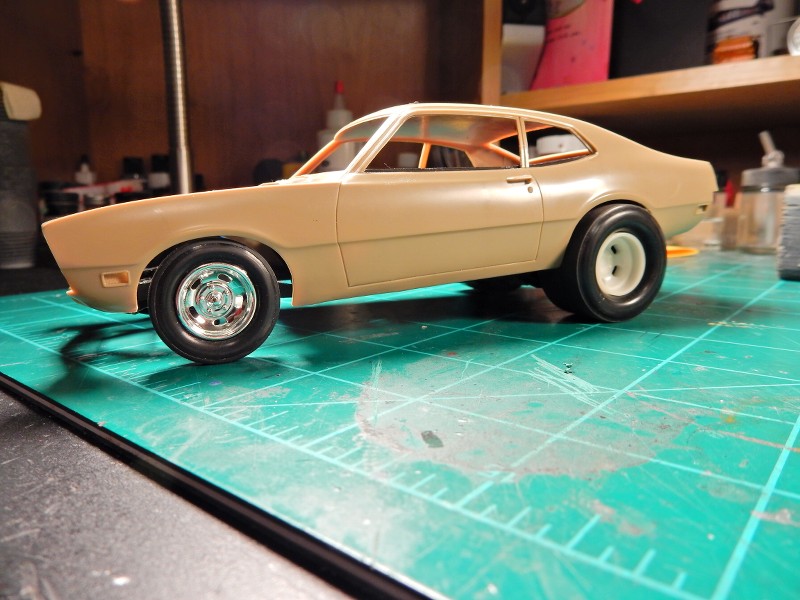 Still need to work on getting those rear tires inward some but this is a FAR cry from where I had it:  |
|
|
|
Post by fordrodnkustom on Feb 17, 2020 18:50:19 GMT -5
Looks good. You nailed the stance....very important on these early pro stocks. I have some extra Good Year tire decals I can send you if you are interested.
|
|
|
|
Post by mustang1989 on Feb 18, 2020 17:16:41 GMT -5
Looks good. You nailed the stance....very important on these early pro stocks. I have some extra Good Year tire decals I can send you if you are interested. Thanks Ron. I do appreciate the offer for the decals but I've already got them in stock. I managed to get the wheels coated in Molotow and the tires all decaled and completed. I didn't use the front wheels with the Molotow on them in the following pictures because this stuff has a minimum cure out of 48 hours. Warning about the Molotow….DO NOT TOUCH BEFORE THE CURE TIME and even after really. I'm going to coat the wheels with Spaztix Ultimate Chrome Clear so that they can be handled safely without tarnishing the chrome coating. The rears I could handle somewhat because of the dish in the wheels but here's where we're at right now with the wheels/ tires. After applying the decals and allowing to dry, the sidewalls were coated with acrylic flat coat cut with isopropyl alcohol to flatten the finish even more. After that I ground up some black pastel and dry brushed over the sidewalls to give the lettering a more worn look. I'll be bringing those rear tires a smidgen more inwards so they line up with the top edge of the rear fender. Anyways.....progress.... 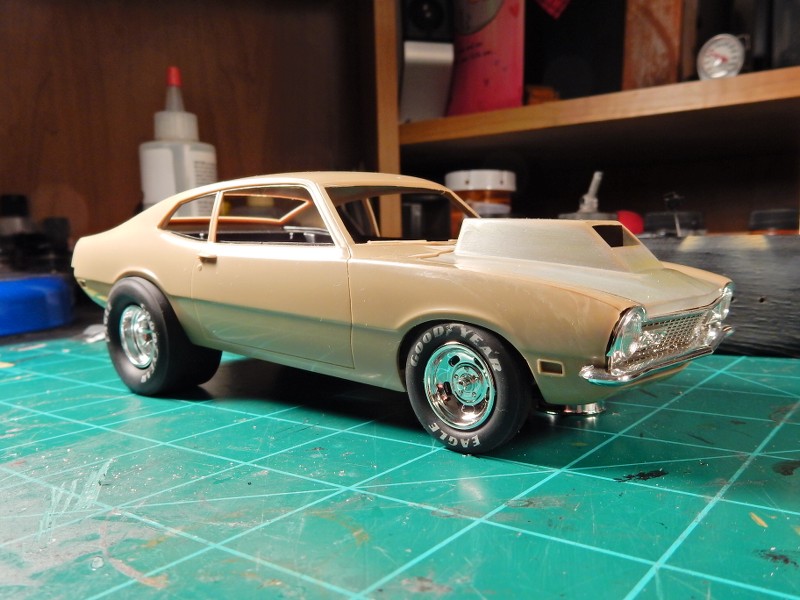 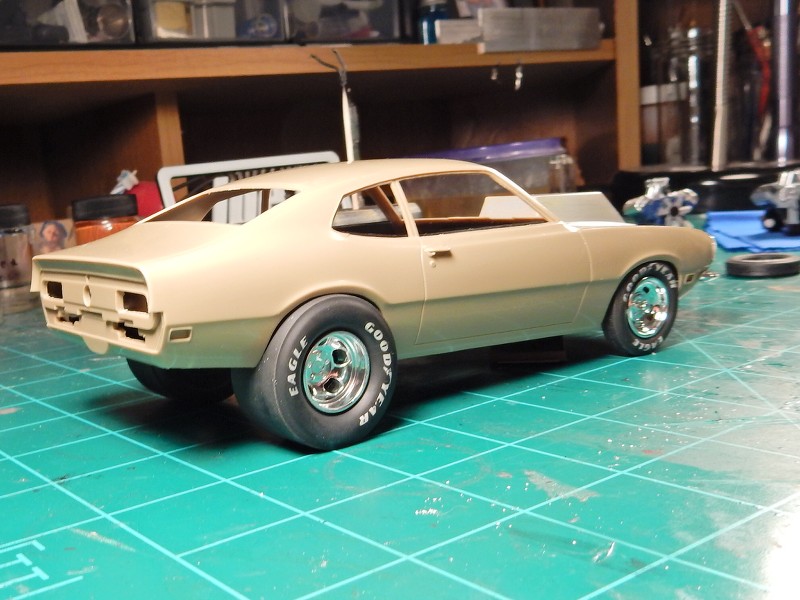 |
|
|
|
Post by mustang1989 on Feb 25, 2020 10:18:46 GMT -5
I didn't like the interior much on this kit. For one....I cannot STAND molded in foot pedals and I don't care for the ejector pin marks in all four corners of the flooring either. And they are like in painfully obvious and highly visible places. It's not "correct" but I had to modify the rear of the interior to move those slicks further inboard so they don't protrude outside of the rear fenders all crazy looking. I also had to modify the rear of the chassis alot (which I am still working on) for the same reason. Secondly, this kit is severely lacking in detail so I'm hoping to improve on that as time goes along here. A shot showing the OOB molded in pedals and flooring. 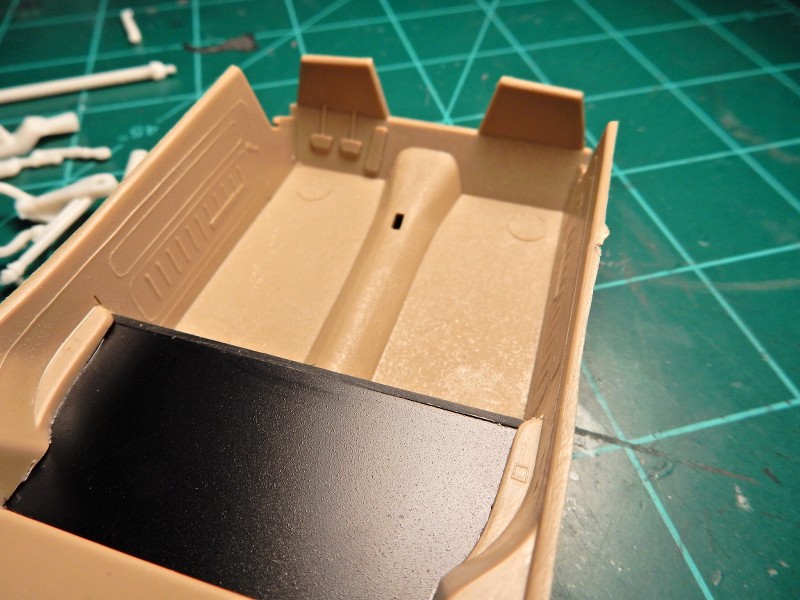 another shot showing the interior mods a little clearer:(as well as those nasty ejector pin marks). Armrests...or lack thereof...will be addressed: 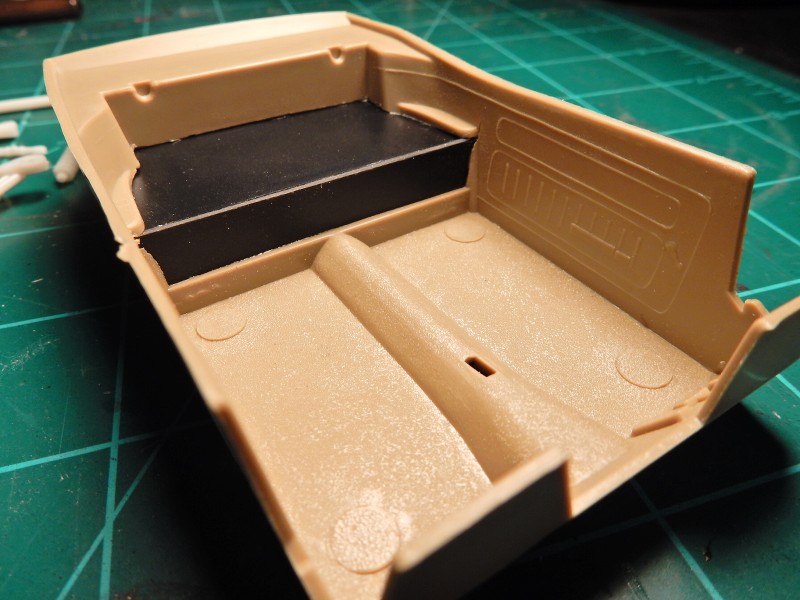 We start the mod process by sawing off the foot board/ lower firewall area of the interior: 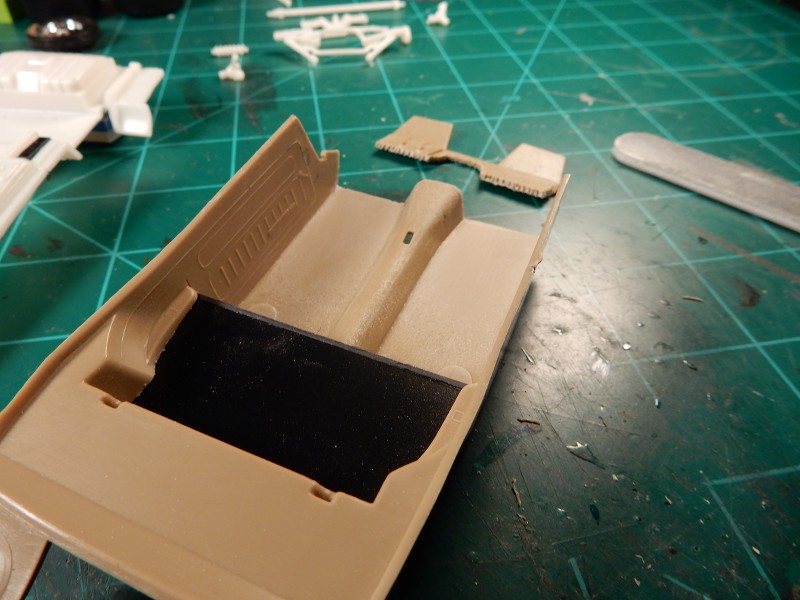 and then after the new Evergreen floor and lower firewall area were cut to fit and moved into place. There....much better. 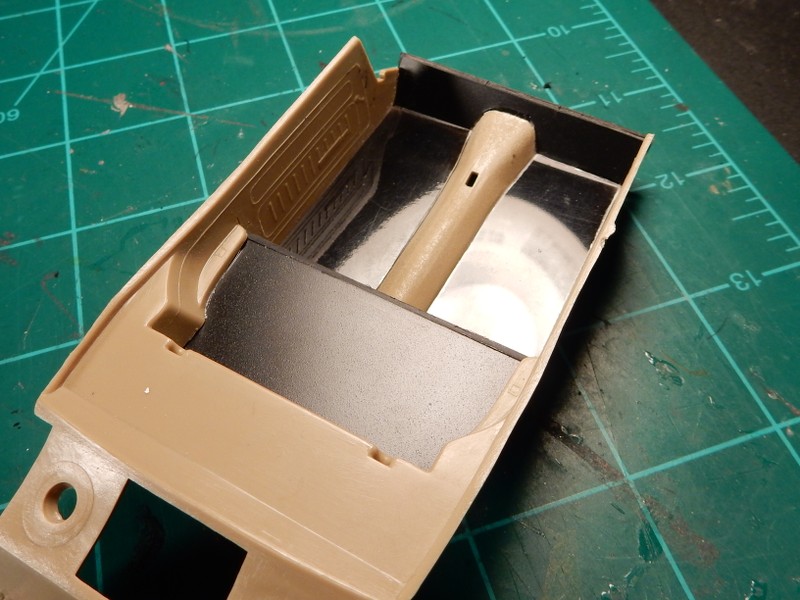 |
|
|
|
Post by mustang1989 on Mar 16, 2020 16:12:33 GMT -5
Sorry bout the lack of pictures folks...….corrected it..
|
|
|
|
Post by mustang1989 on Mar 19, 2020 15:34:18 GMT -5
Well gang....progress at last. I've been hard at work on this bad boy and have not posted anything due to trying to hit the bench a little harder. Here she is in the primer stage:  and after I let that all dry out I hit it with color (Tamiya Pure Red dispensed from the can and shot through the AB) the next day. Didn't have to do ANY sanding to the primer coat. 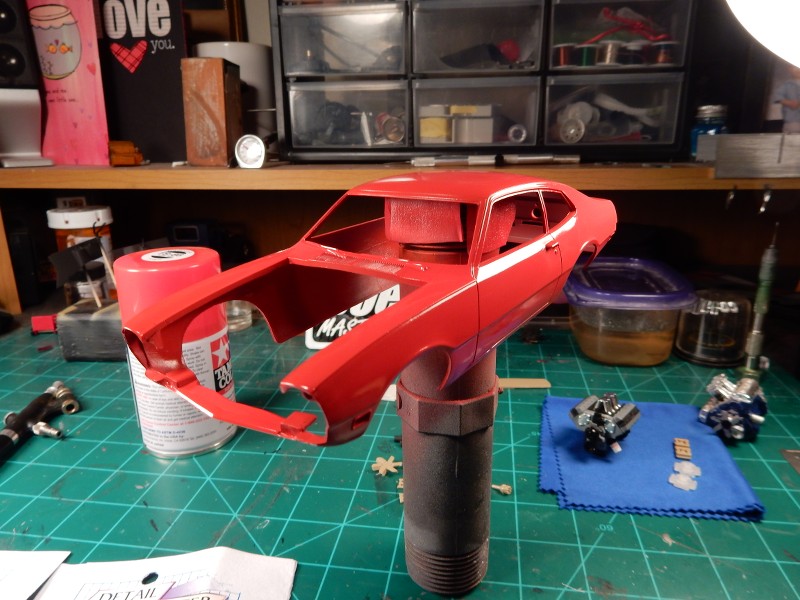 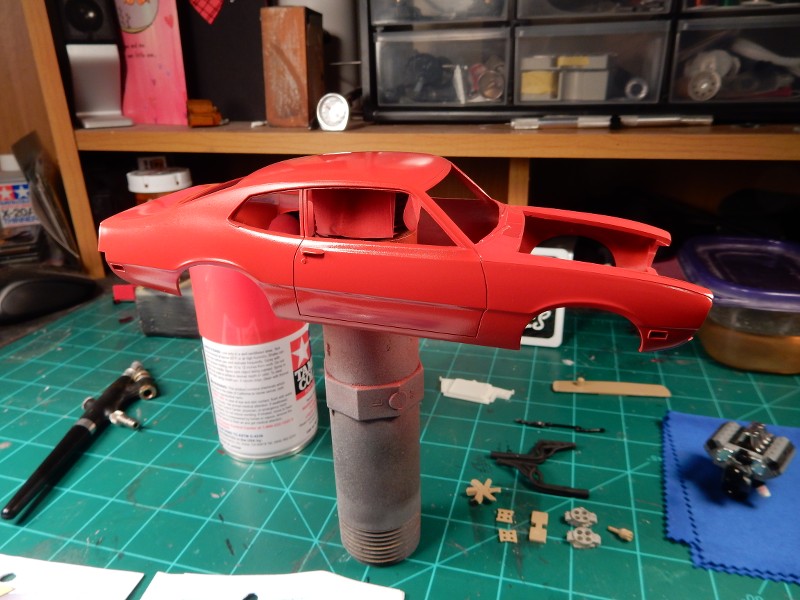 A couple of mock ups once the color coat had dried....couldn't help myself but to do this but have to admit that Mavericks look a little out of the ordinary in red:  Was able to tuck the rear tires a little further inward as well:  |
|
|
|
Post by mustang1989 on Mar 26, 2020 15:55:47 GMT -5
|
|
|
|
Post by mustang1989 on Apr 13, 2020 15:29:00 GMT -5
Ok gang....the first of the corrections has been accomplished. Where I cut the decals to fit what I thought was a little bit better and turned out being too much above the wheel openings has now been corrected. I've gotta touch up the interior headlining a little bit now but that's small stuff. The more I looked at this the more it bugged me. Before...paying close attention to the white area above the wheel openings... 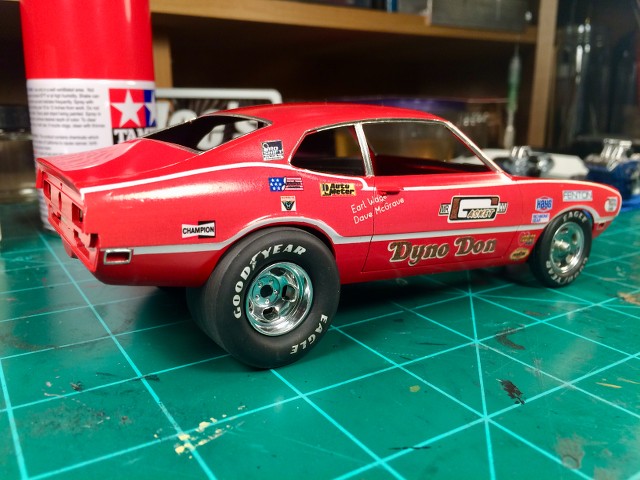 And after the corrections.....Next Up....Roof Corrections.... 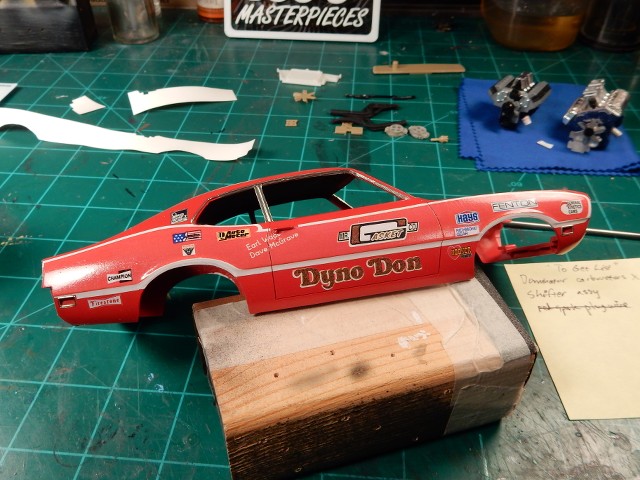 |
|
|
|
Post by fordrodnkustom on Apr 13, 2020 16:16:55 GMT -5
|
|
|
|
Post by mustang1989 on Apr 22, 2020 12:44:31 GMT -5
Thanks Ron! Ok fellas......I managed to mask off and paint the roof white without destroying the rest of the paint/ decal work that I've done. It aint perfect in regards to "correctness" but I got it close enough for me to be able to live with. I've also applied the gloss coat over everything... 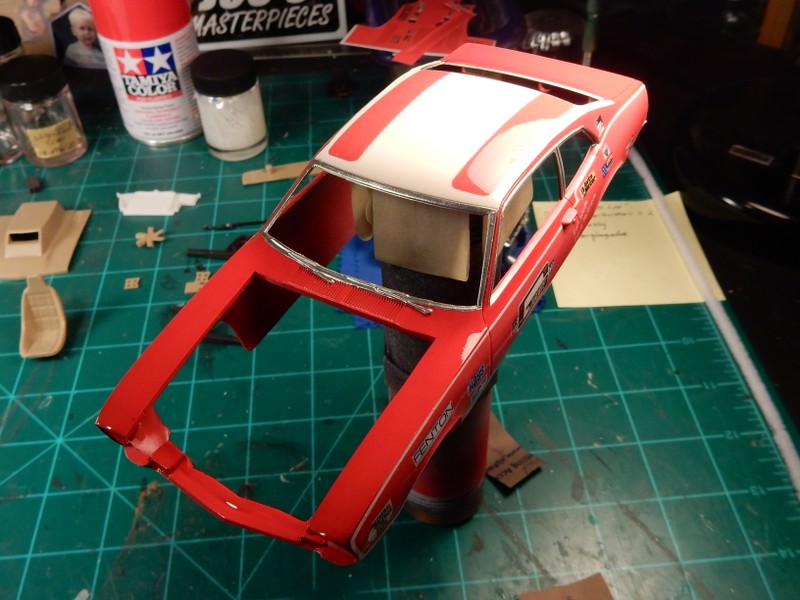 |
|