|
|
Post by TooOld on Sept 24, 2019 10:35:54 GMT -5
Time to try this one again , I was going to build it back in the spring but got sidetracked and did the Eliminator II instead . I've got two of these original issue kits but I just noticed that the body in one of them is warped pretty bad (sigh) . These kits are so wrong in so many ways but they were one of my favorites as a kid so this one is purely a nostalgic build . 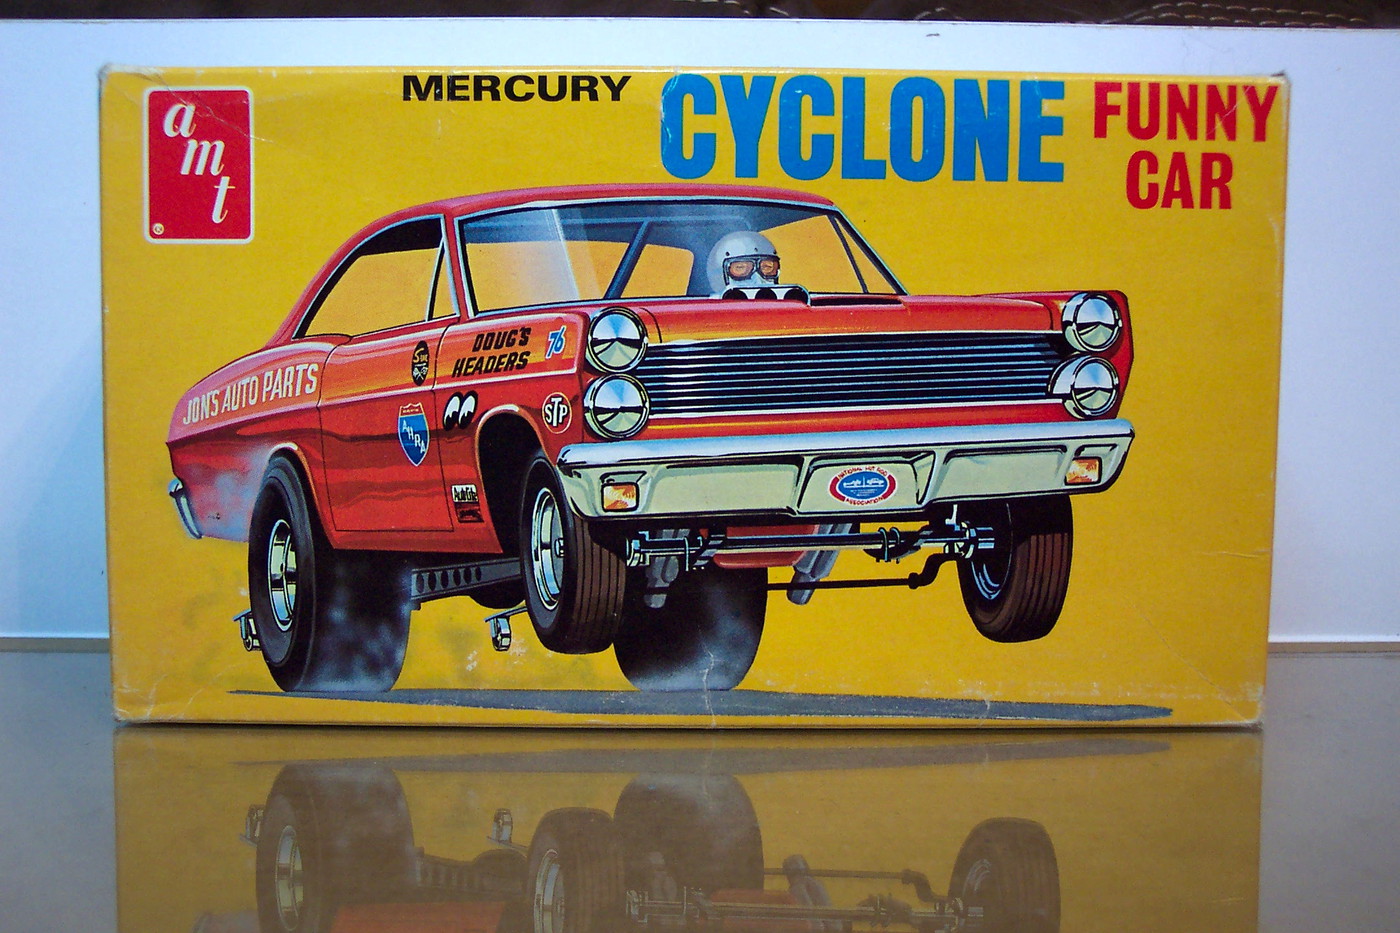 A look at the contents show the basic frame and inner panels used in AMT kits along with basic suspension parts . The engine actually builds up into a pretty nice looking piece . 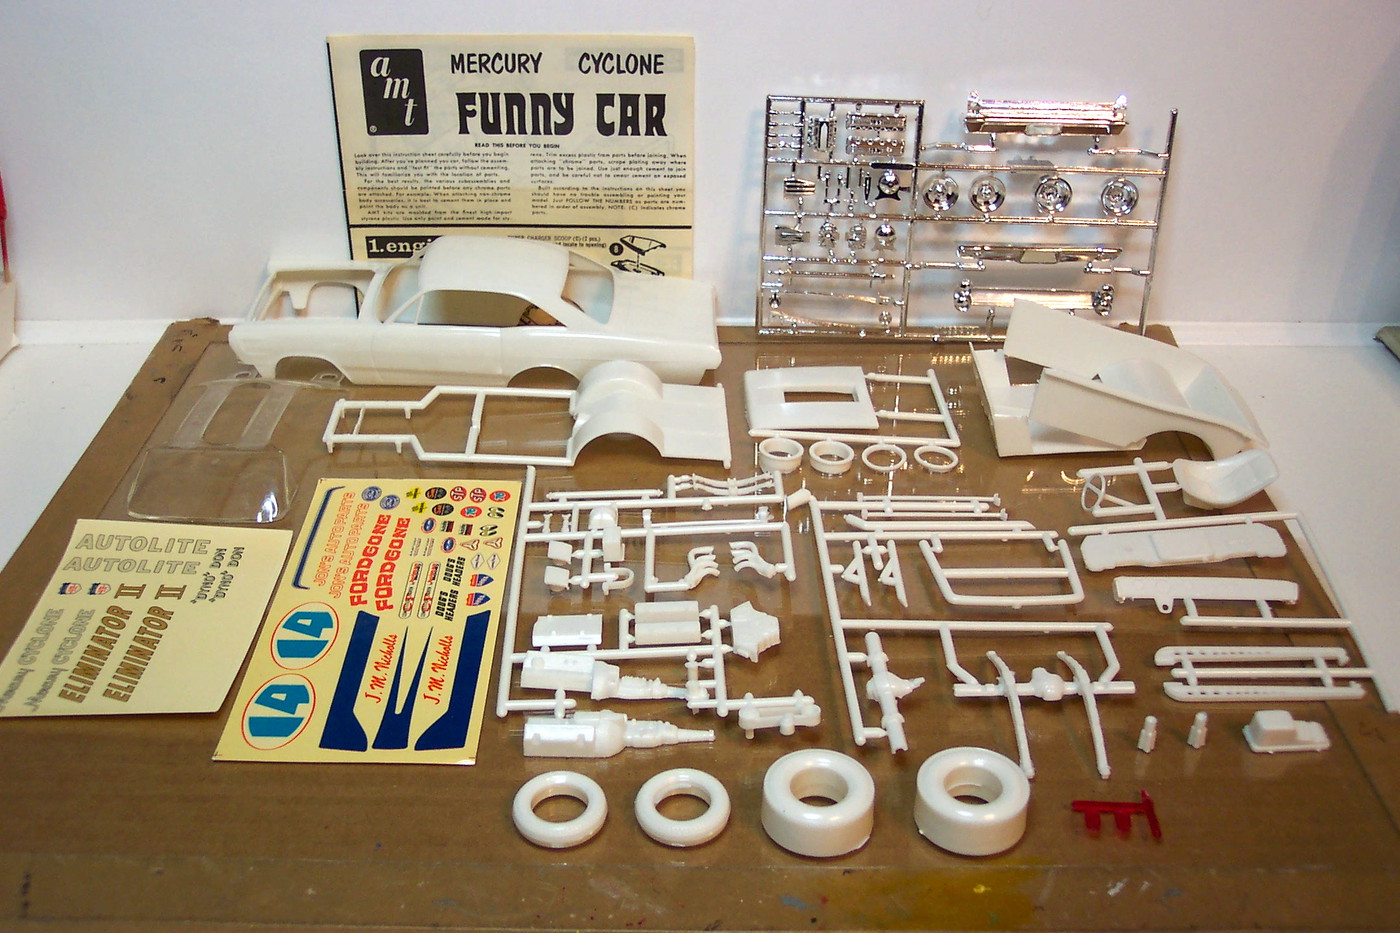 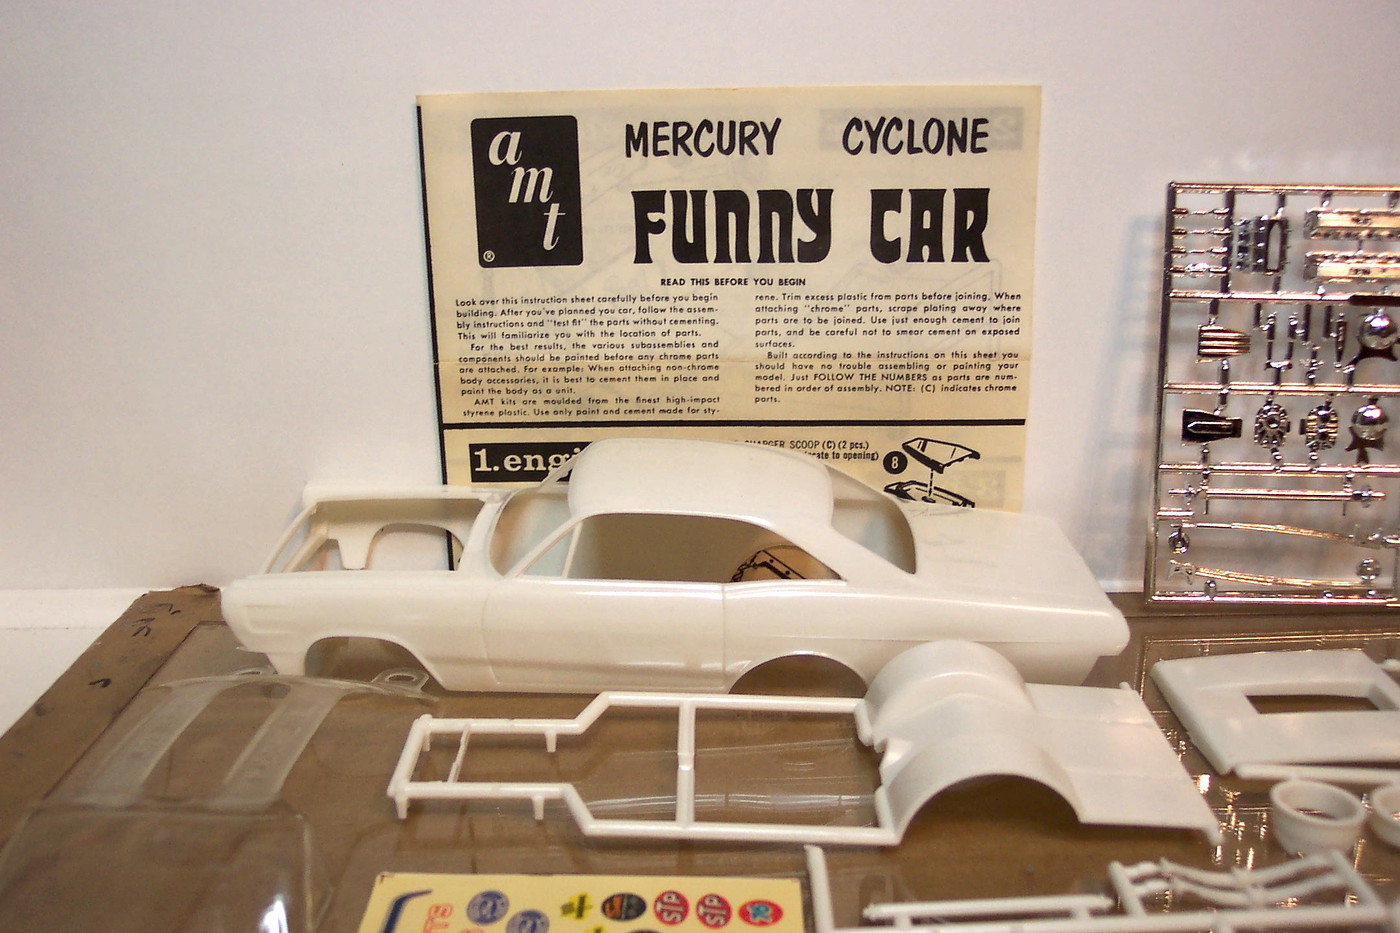 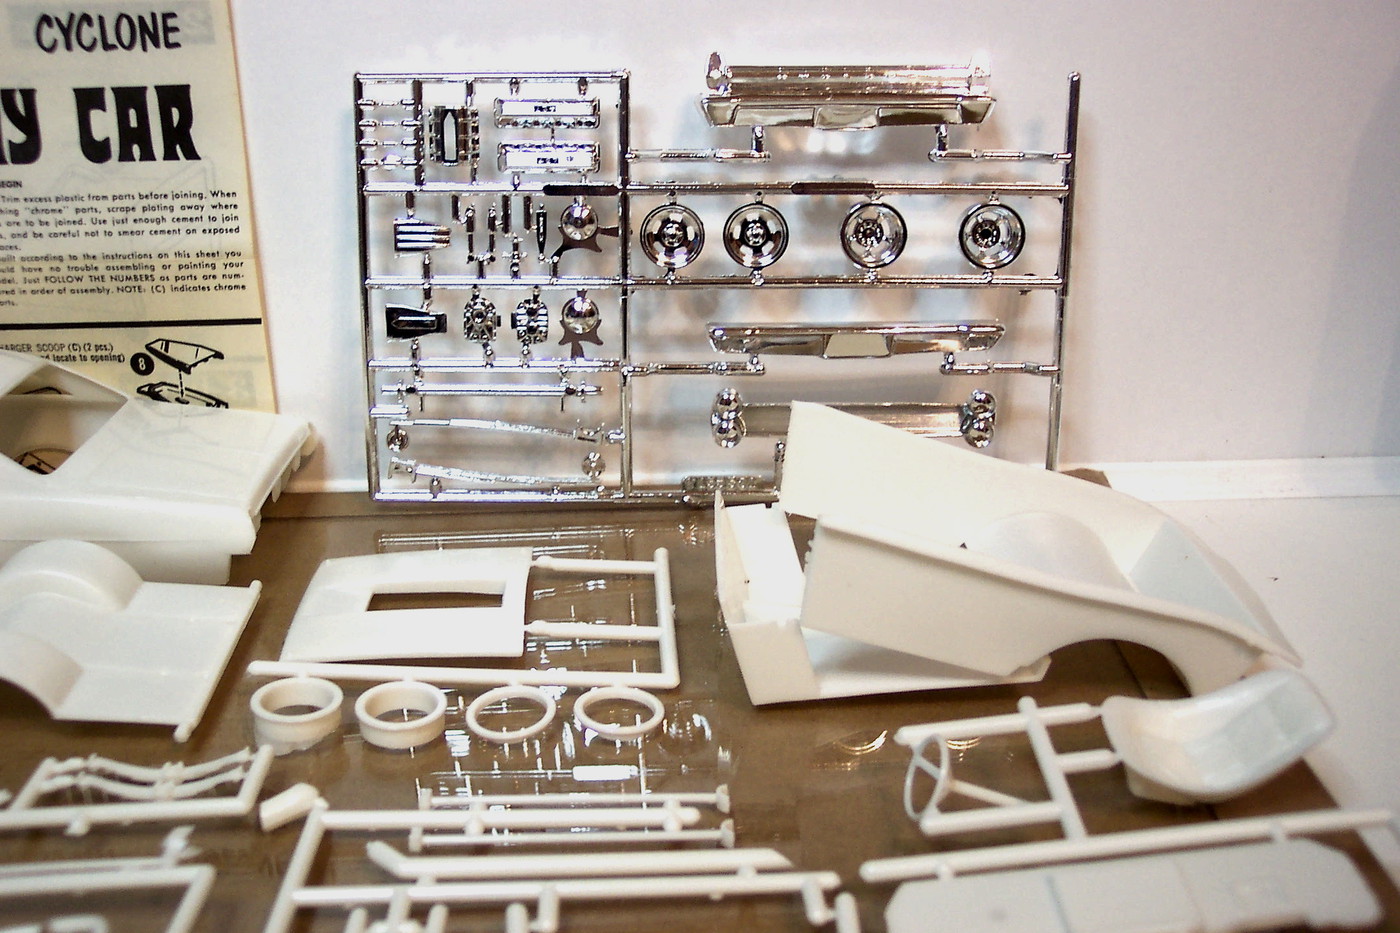 I've got both sets of original decals , not sure I'll use either of them . 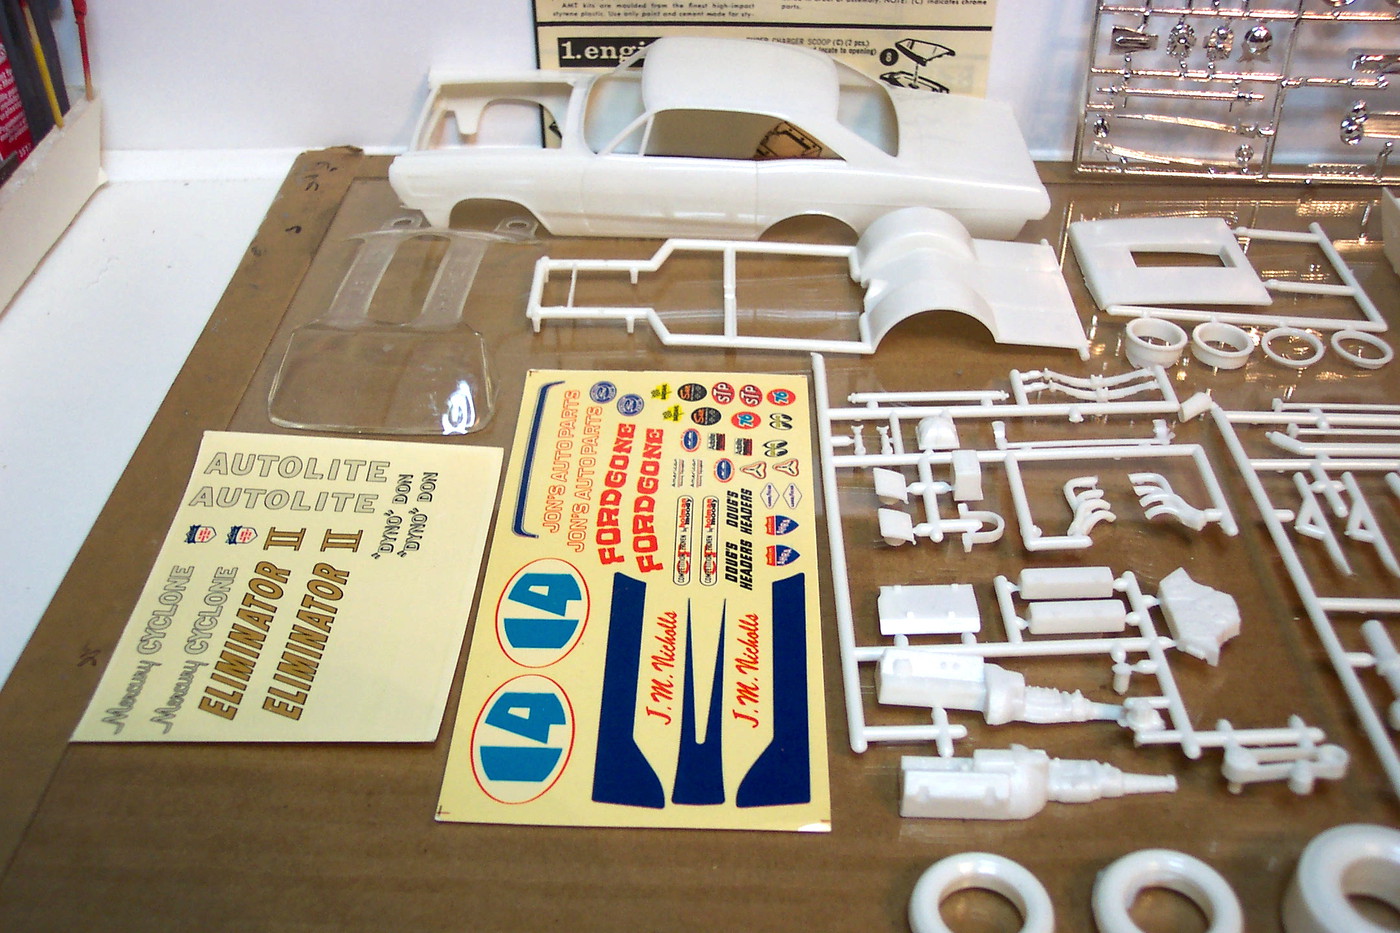 I've already started the assembly so updates are coming real soon !  |
|
|
|
Post by harron68 on Sept 24, 2019 17:46:29 GMT -5
Yep, plastic tires! I remember way back when, opening the box and my jaw dropped. No wonder the price was so reasonable. You got a cool one there.
|
|
|
|
Post by TooOld on Sept 25, 2019 6:55:43 GMT -5
Yep, plastic tires! I remember way back when, opening the box and my jaw dropped. No wonder the price was so reasonable. You got a cool one there. Guess I'm kind of weird 'cause I like the plastic tires .  This kit is pretty simple and goes together quickly but first I need to make sure everything will line up when it's finished . There are two small parts that glue inside the body for it to pivot on (forgot to take a photo) but the suspension needs to be installed temporarily to center the tires in the openings . 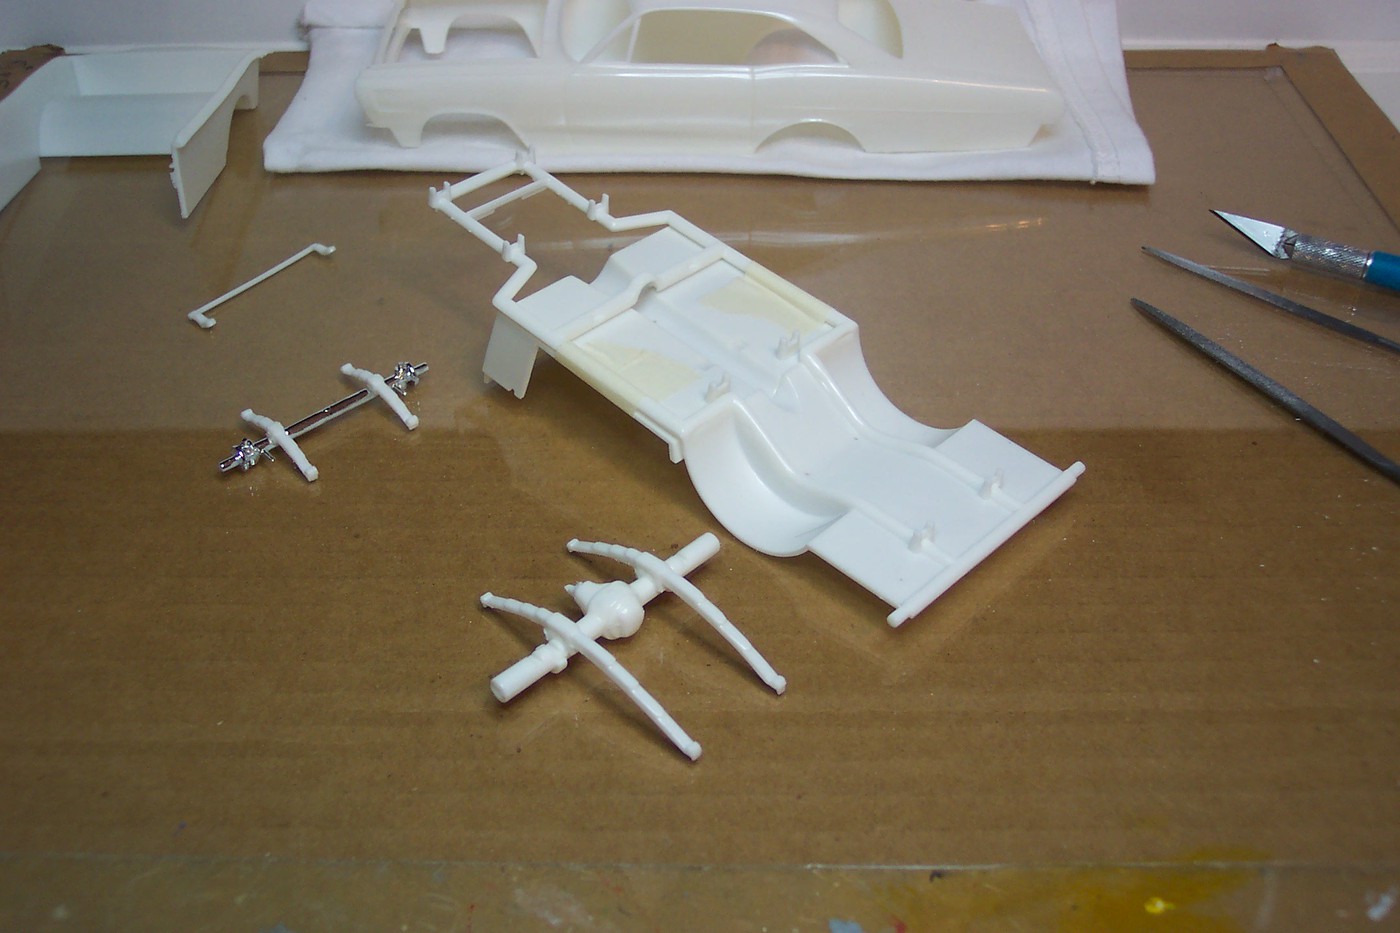 Once the tires and body are aligned the pivots are glued and clamped in place . 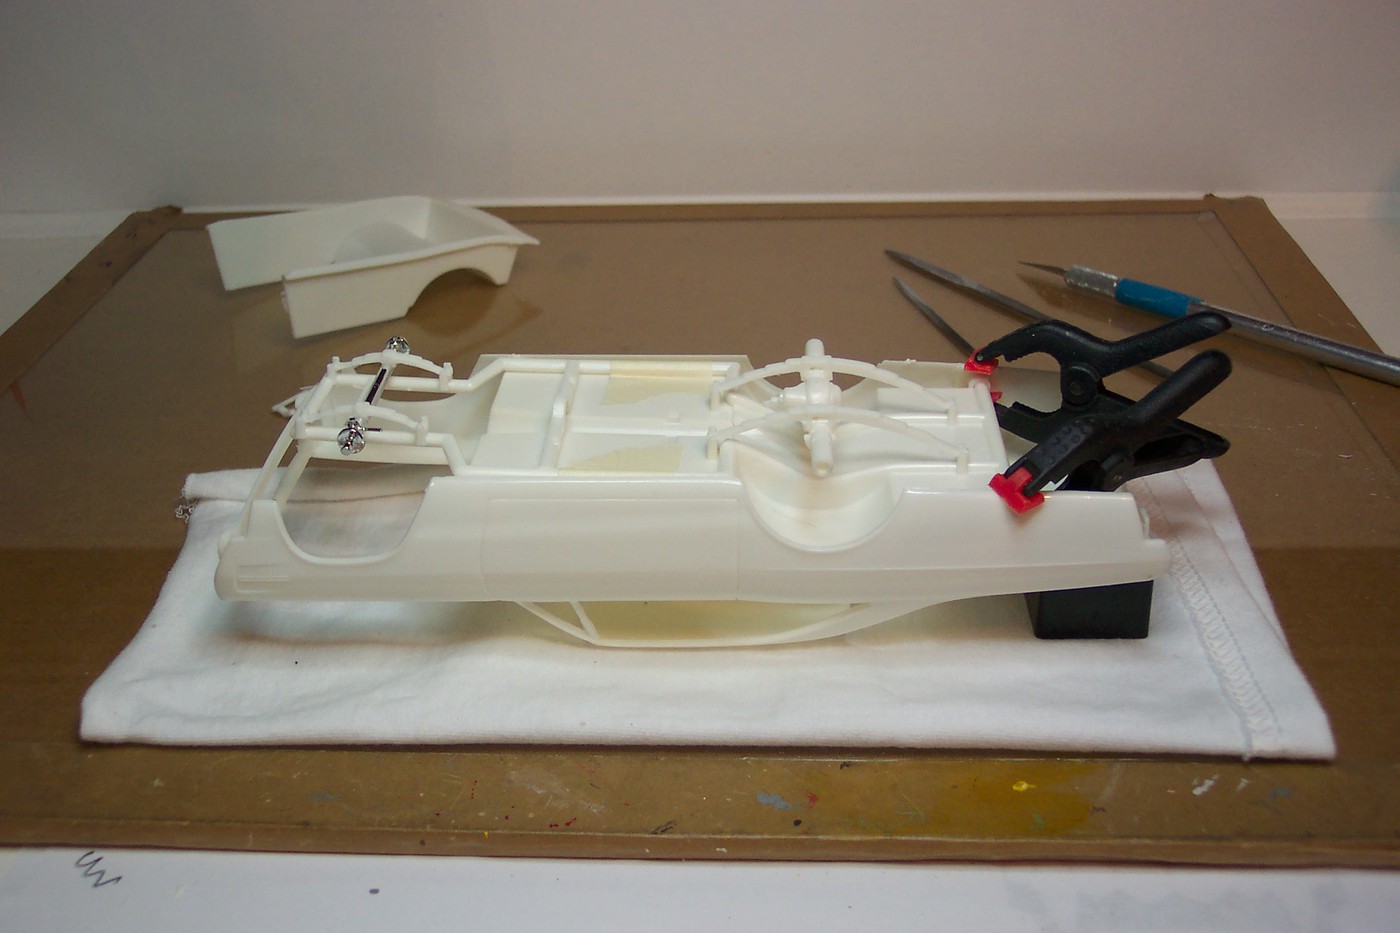 Out of the box the pivot is too wide and really spreads the lower quarters so I filed notches and filed the resulting step on the studs . The studs were also shortened by about 3/32" on both sides . 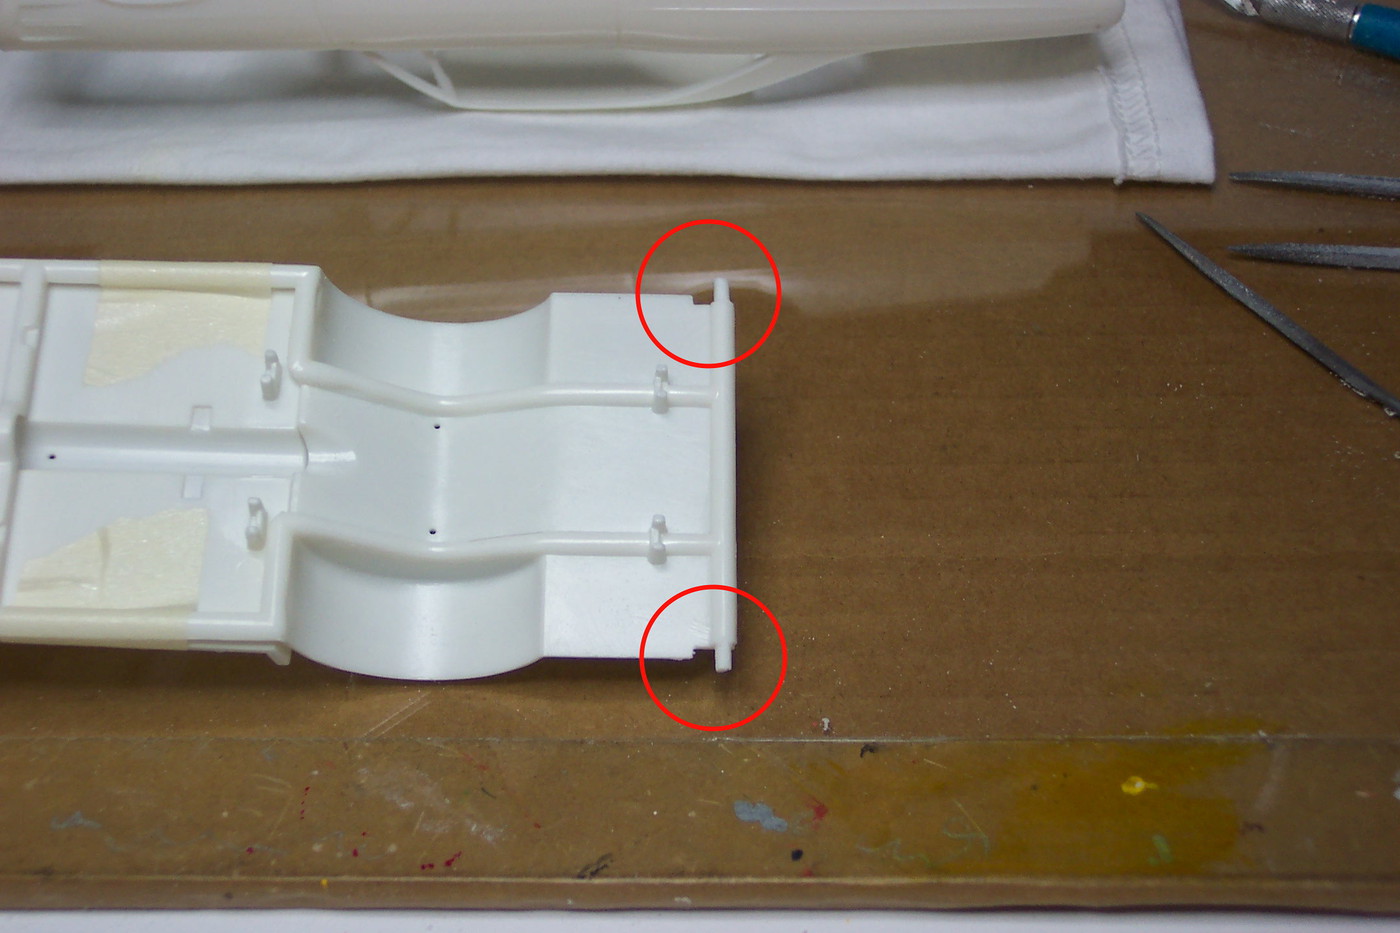 Here's the finished pivots , you can still see a slight bulge in the body . I think that's from when I first glued the pieces in place , hopefully it won't be too noticeable . 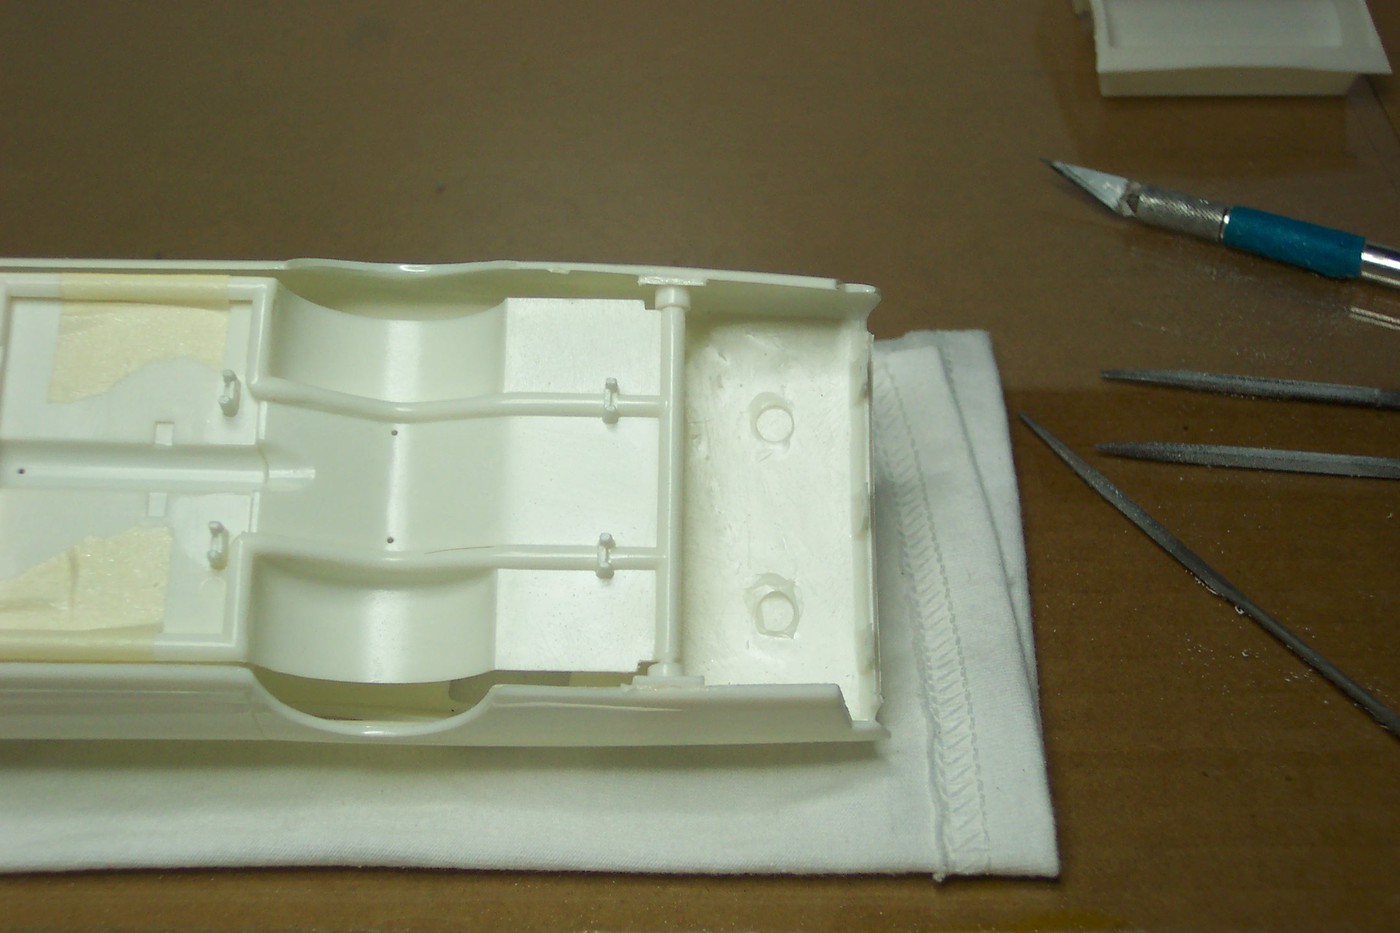 And up on all fours . There was very slight interference between the two inner panels so I removed about 1/16" from the lower edge of the rear panel , more than needed but I don't want it to come back and bite me later . 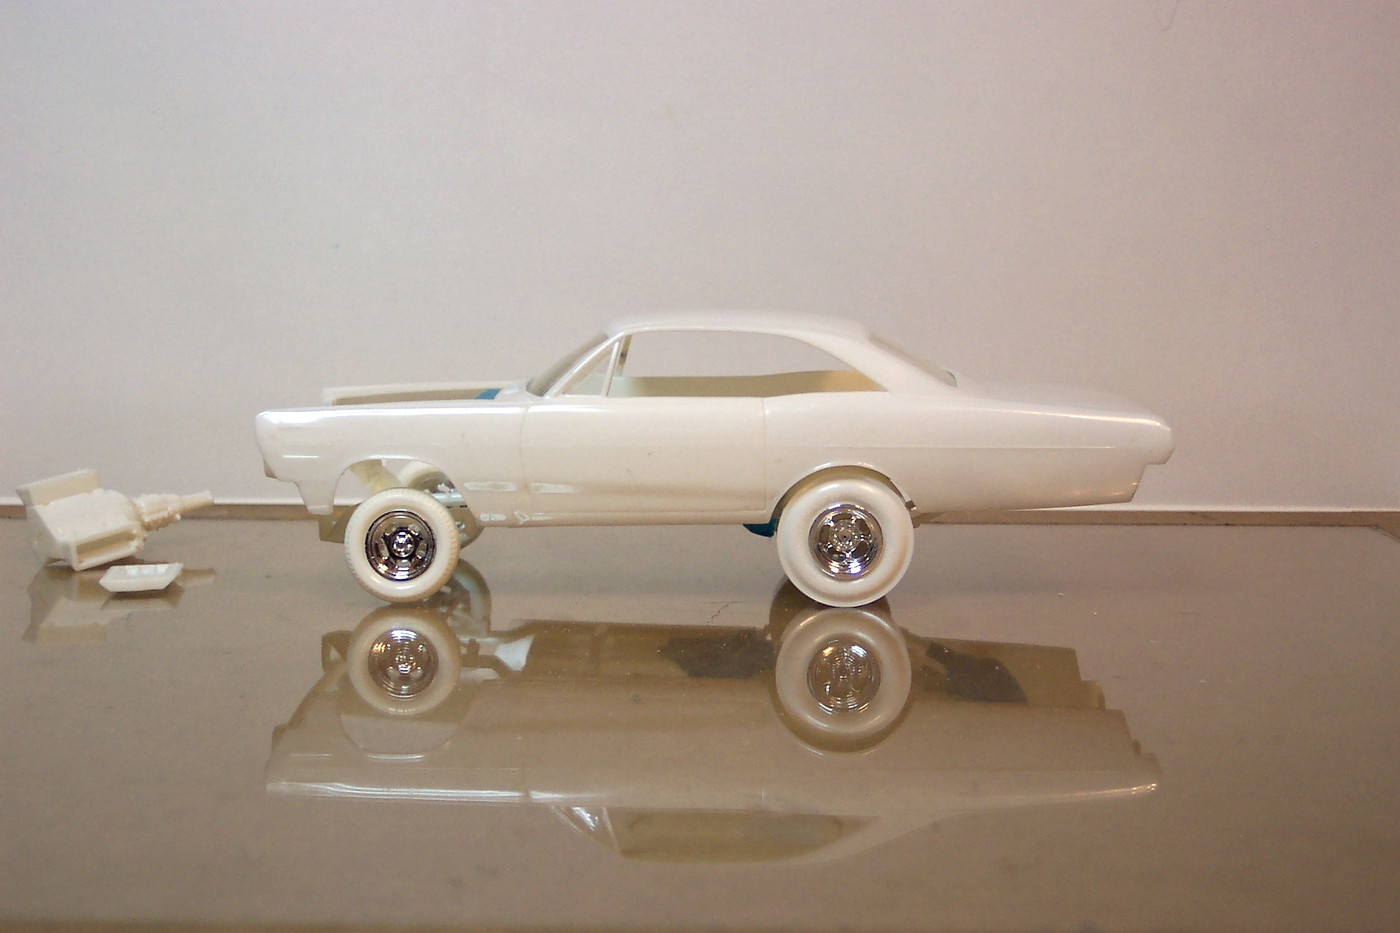 More coming soon !  |
|
|
|
Post by jimrichards on Sept 25, 2019 8:19:30 GMT -5
Hi Bob,
Cool build.
Yes. I like the plastic tires too. Sometimes I would fill them with some ballast so the car didn't slide around too much, because of the lightness of them.
They didn't eat the rims years later like the vinyl ones. That's why I sandblast all my vinyl tires to eliminate the plasticizer (spl?) effect.
I didn't even remember the pivot points, I had to look inside one of my kits. Like always, Bob, good building tips.
Thanks
Jim
|
|
|
|
Post by TooOld on Sept 27, 2019 6:29:45 GMT -5
Hi Bob, Cool build. Yes. I like the plastic tires too. Sometimes I would fill them with some ballast so the car didn't slide around too much, because of the lightness of them. They didn't eat the rims years later like the vinyl ones. That's why I sandblast all my vinyl tires to eliminate the plasticizer (spl?) effect. I didn't even remember the pivot points, I had to look inside one of my kits. Like always, Bob, good building tips. Thanks Jim Thanks Jim ! Being able to spend less than an hour a day it took a few days but I got just about all of the parts painted . . . nothing fancy . Those plastic tires will be the very last to be painted so there's no chance of them getting dinged up during the assembly process .  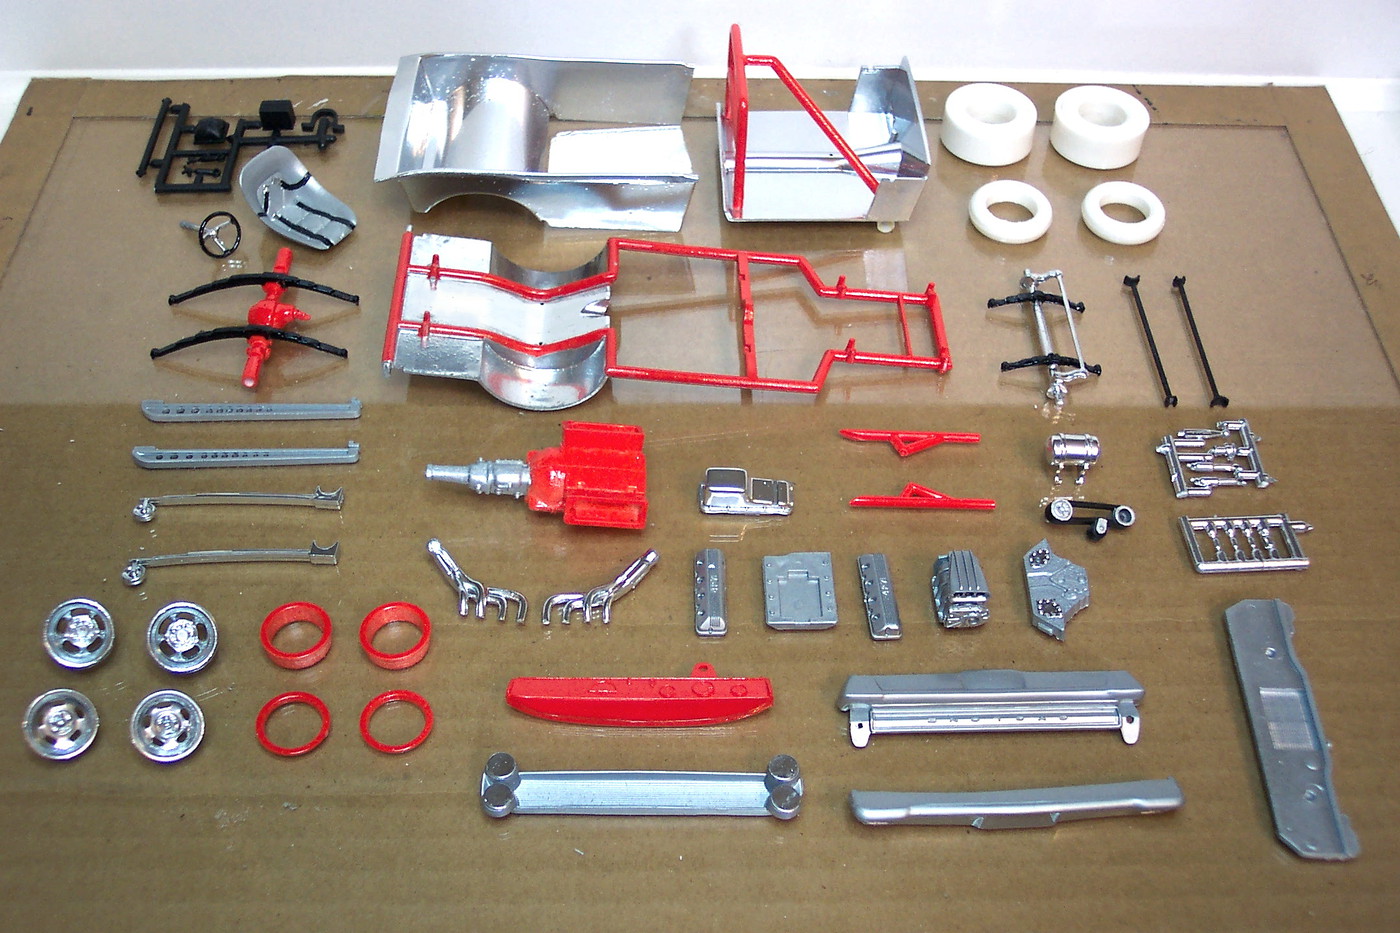 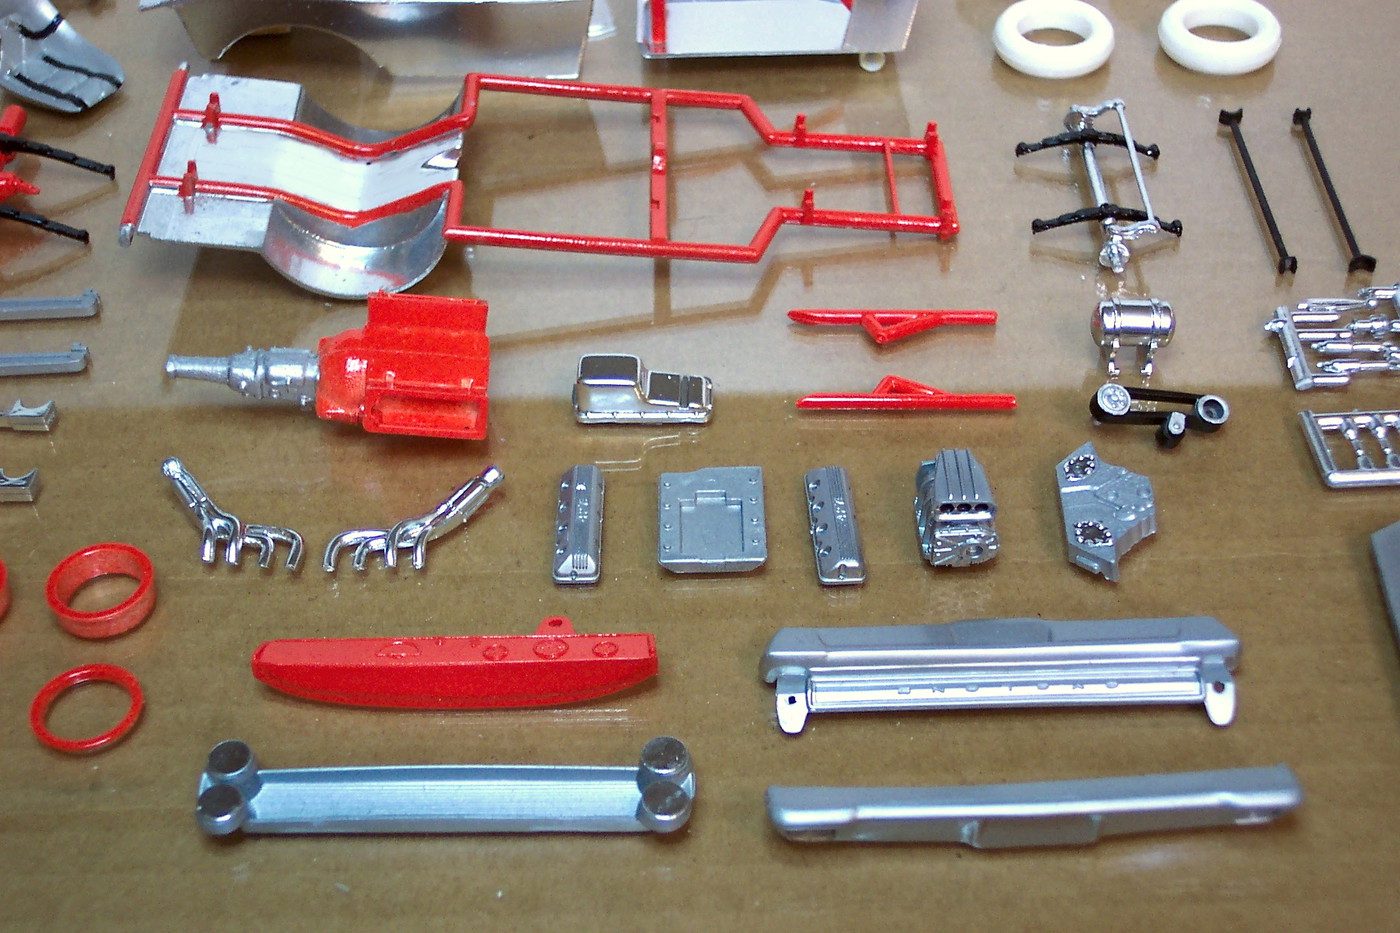 The engine is now assembled . Like I said it looks nice right out of the box . 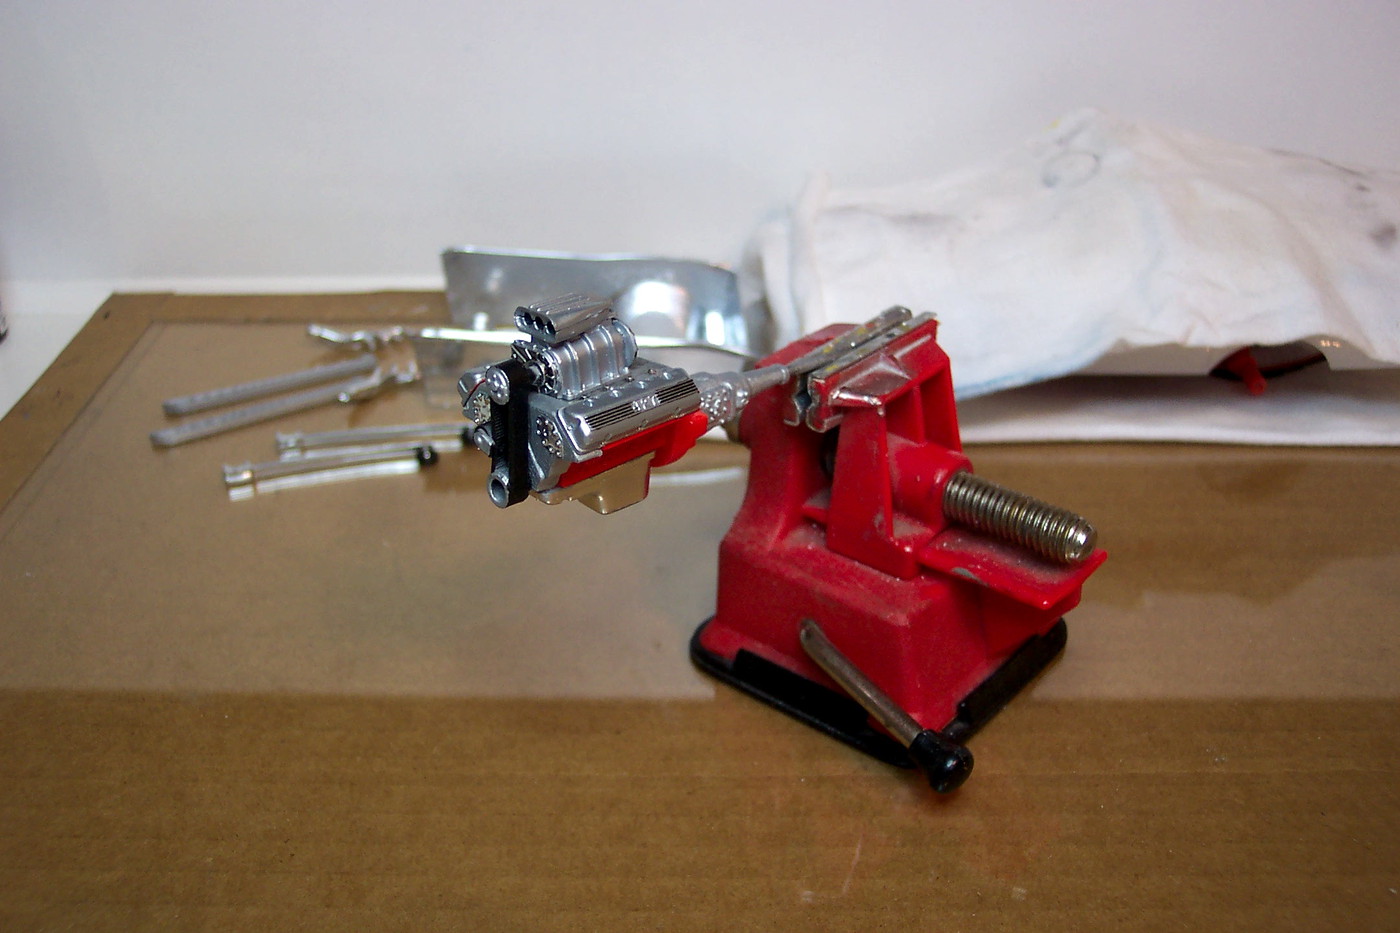 |
|
|
|
Post by TooOld on Sept 28, 2019 8:55:40 GMT -5
The kit has this early 60's Magneto , first time I've seen one but I did find it doing a search . For the heck of it I'm going to add a MAD distributor cap to it . 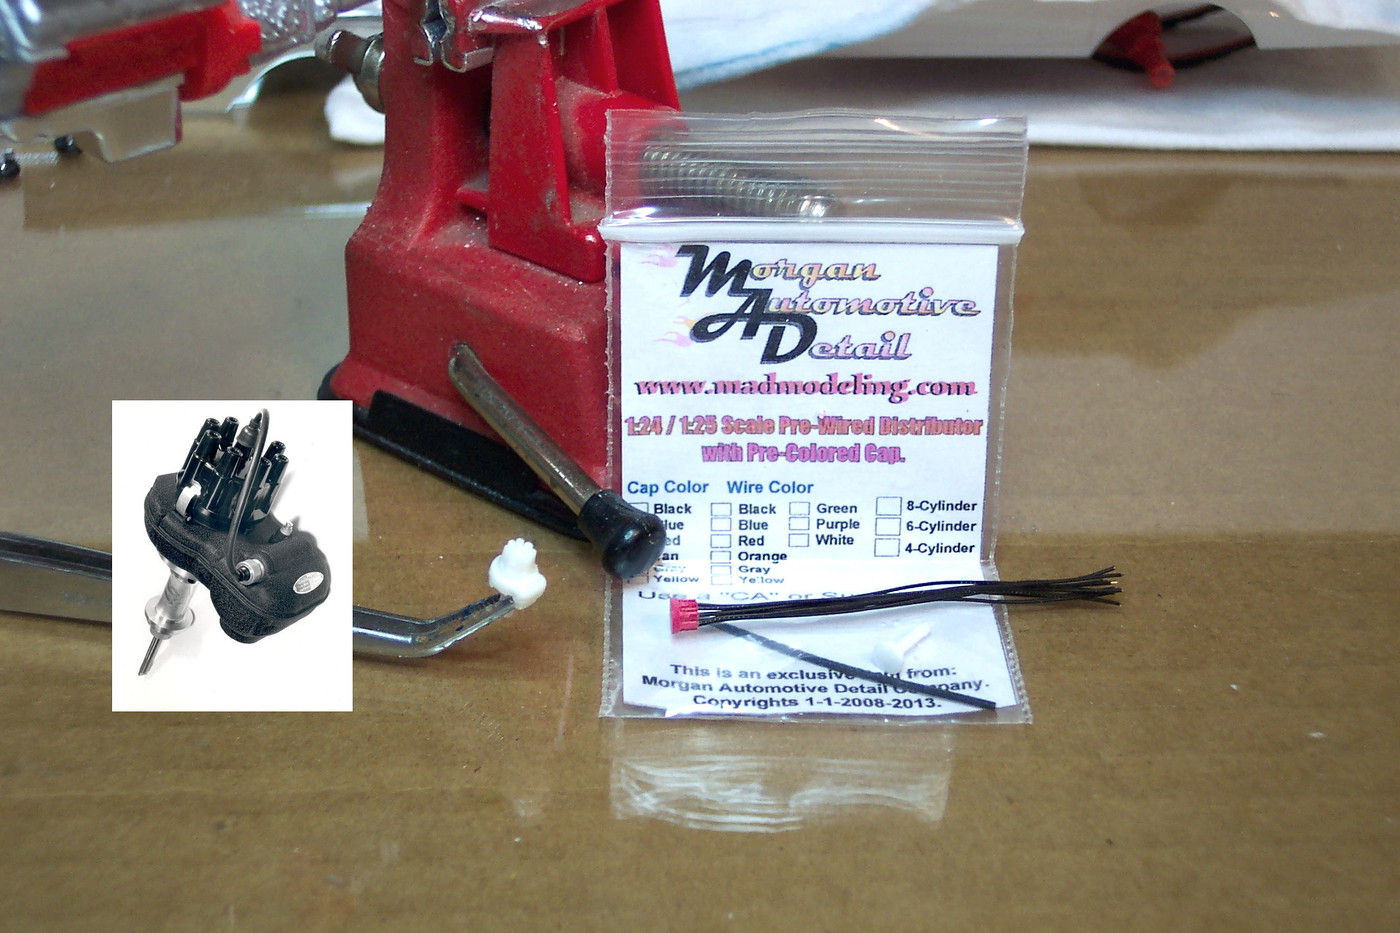 Pretty simple chopping the old cap off and gluing the new one in place . Hard to see but I added a piece of half round to run the coil wire to . 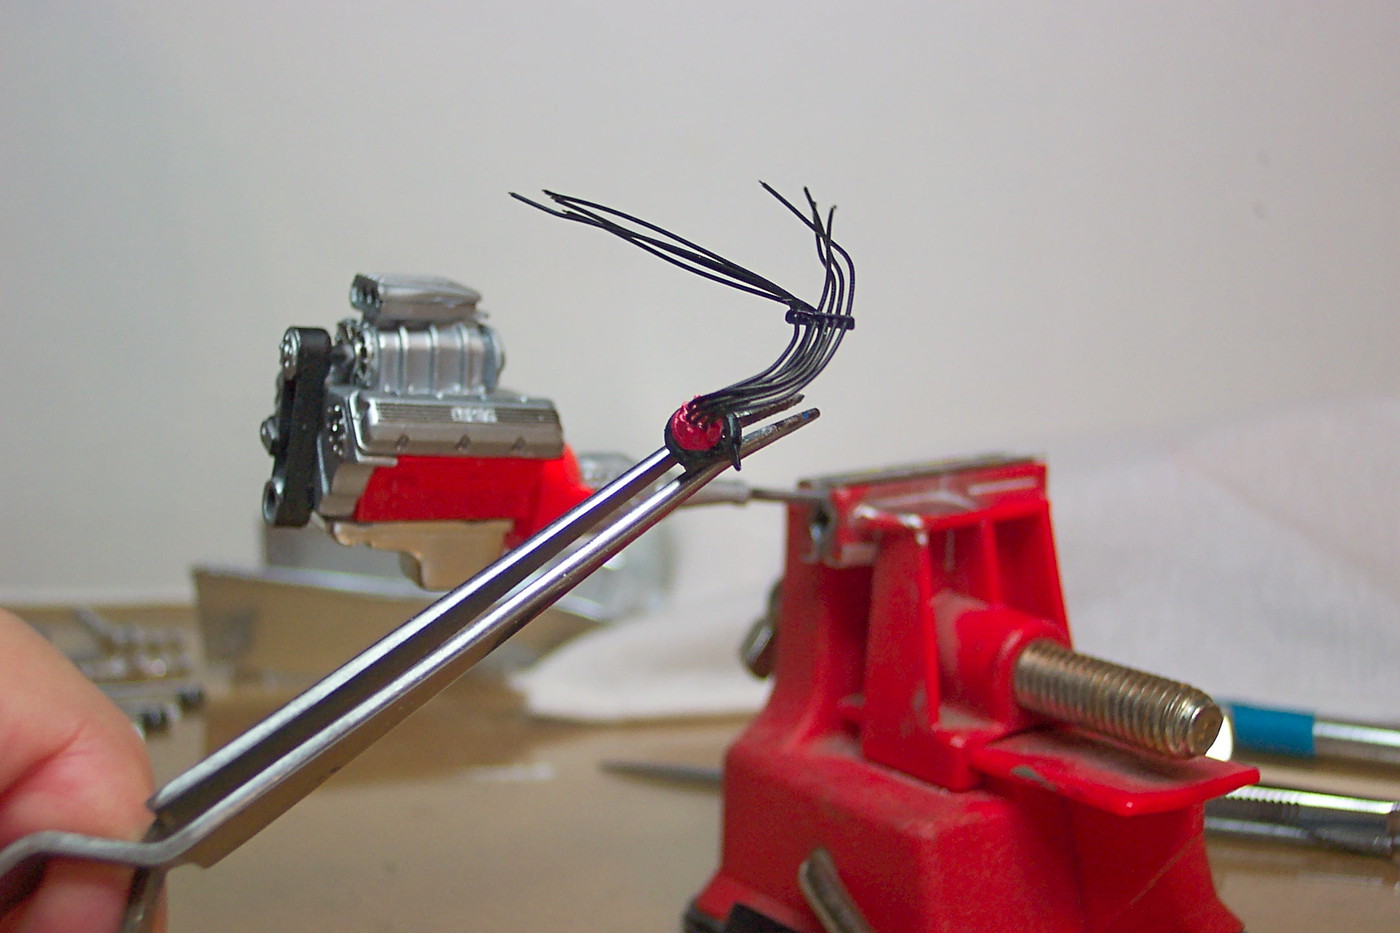 The finished engine .  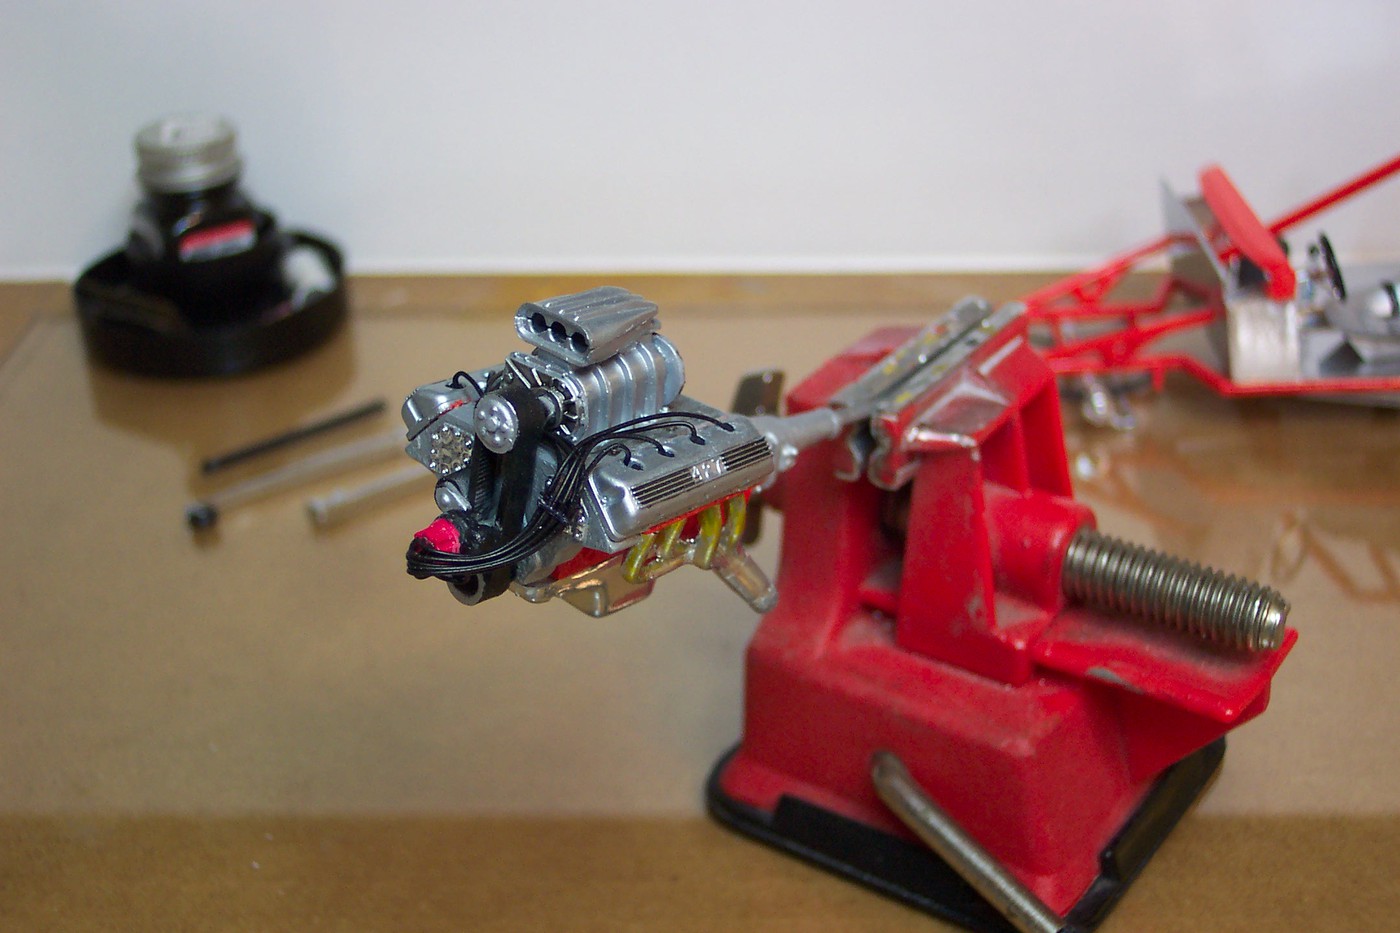 And the finished chassis . I took the front shocks off , they looked really stupid the way they "don't" attach to the front braces . This would be a good place to add some actual mounts and make a better pair of shocks . . . maybe next time . The battery was a coin toss . . . I lost so it's installed per the instructions .  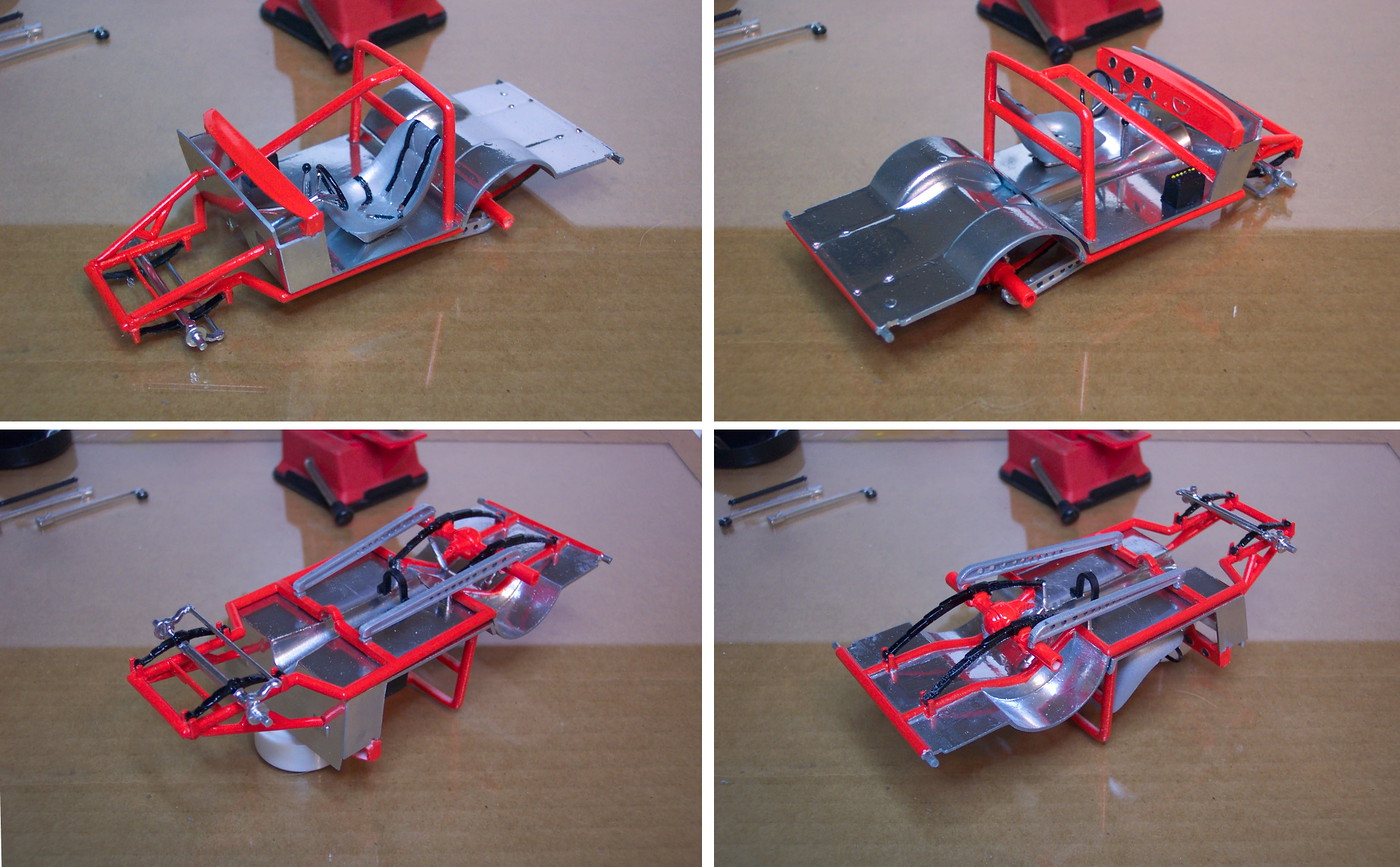 That catches up to where I'm at today . Going to test fit the body again today before prepping for paint .  |
|
|
|
Post by jbwelda on Sept 28, 2019 12:22:46 GMT -5
That's looking totally great, and I especially love the engine, very nice improvements over what looked to be pretty good to begin with. I have never built one of these FC kits but you are making me want to look into one.
About the engine, I am puzzled a bit because I always heard there wasn't a good representation of the SOHC Ford engine but this one looks very good to me. Are there some glaring inaccuracies about it that I don't know about? To the untrained eye (mine) it sure looks sweet, but maybe I am overlooking the obvious.
Funny thing about the tires too, when I was at the GSL this year and went over to the model museum, Don Emmons was there talking to people and one of the things I heard him talking about was how he kept pushing AMT to use plastic tires instead of the (ultimately) gooey rubber ones. I was kind of puzzled so I asked him if I was hearing and understanding him right, and he confirmed it. He said he much preferred them but thought he was in the minority. I do think they look great but never knew anyone "in the know" thought that, I still think they are good if done right like I know you will and there sure are definite advantages to them.
thanks for showing us this build, darn inspiring to tell the truth.
jb
|
|
|
|
Post by TooOld on Sept 29, 2019 5:41:47 GMT -5
That's looking totally great, and I especially love the engine, very nice improvements over what looked to be pretty good to begin with. I have never built one of these FC kits but you are making me want to look into one. About the engine, I am puzzled a bit because I always heard there wasn't a good representation of the SOHC Ford engine but this one looks very good to me. Are there some glaring inaccuracies about it that I don't know about? To the untrained eye (mine) it sure looks sweet, but maybe I am overlooking the obvious. Funny thing about the tires too, when I was at the GSL this year and went over to the model museum, Don Emmons was there talking to people and one of the things I heard him talking about was how he kept pushing AMT to use plastic tires instead of the (ultimately) gooey rubber ones. I was kind of puzzled so I asked him if I was hearing and understanding him right, and he confirmed it. He said he much preferred them but thought he was in the minority. I do think they look great but never knew anyone "in the know" thought that, I still think they are good if done right like I know you will and there sure are definite advantages to them. thanks for showing us this build, darn inspiring to tell the truth. jb Thanks much JB ! I expected this build to be on the boring side but the kit really does have potential and just screams "Detail Me !". As wrong as it is some extra work on the suspension and interior would really make it a top shelf model . I've read all of the comments about there being no "good" SOHC engine available until the new Moebius Comet came out . The biggest complaint seems to be that nobody got the valve covers right , they're missing the 4 bulges along the lower side to clear the exhaust valves . Probably other things"wrong" with this engine but it still looks good , image one detailed with fuel lines , linkage , etc . . . Interesting to hear Don Emmons say that . . . guess we're in good company !  |
|
|
|
Post by TooOld on Sept 29, 2019 13:58:43 GMT -5
When I attached the body to the chassis there was an immediate problem , the dash is too wide ! By at least 1/16 inch on both sides ! Never heard this one before , maybe it's just my luck .  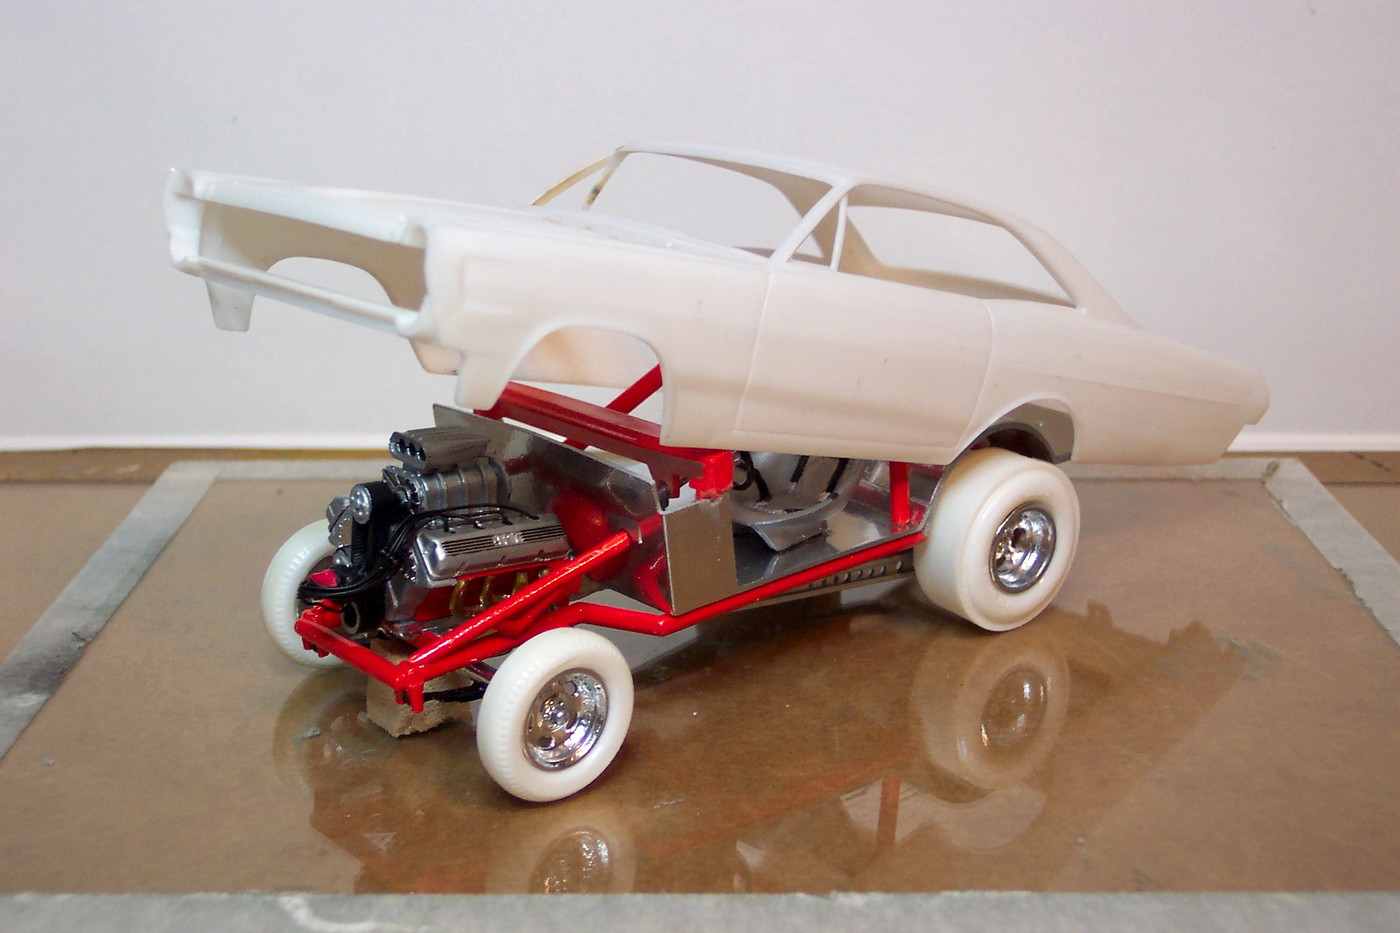 So the dash came off and I sanded down both ends until the body would clear , I also filed a bevel onto that top edge of the inner panel . It was barely hitting the body , but you can see where it was scraping the paint . 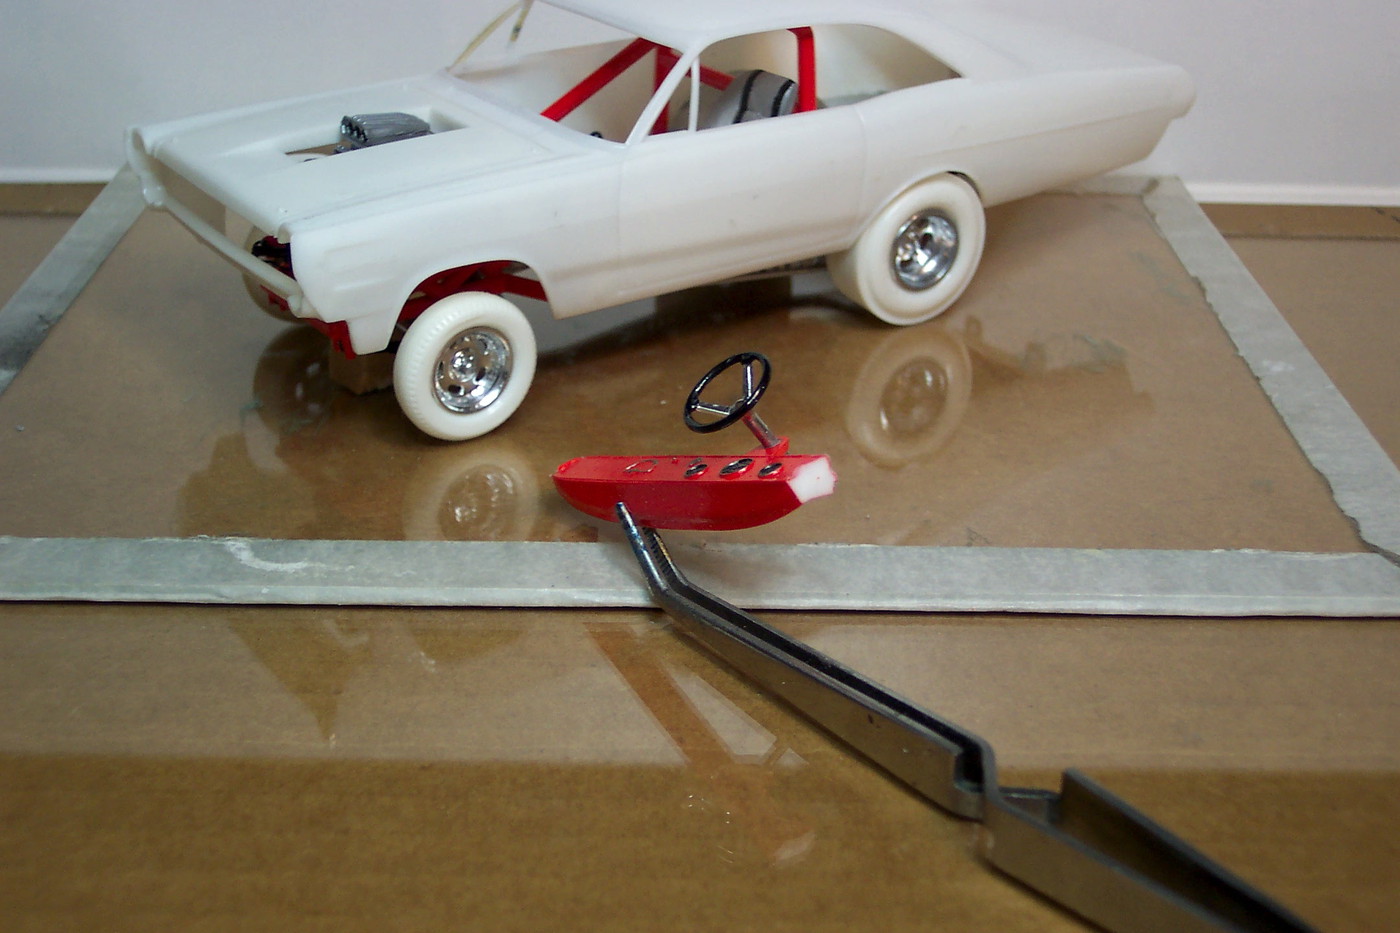 The way my luck's going I decided to tape the windows in place and insert the rear panel . . . the dash and windshield always hit right ? Well sure enough now the body wasn't dropping down all the way , but the dash wasn't hitting the windshield . After looking from every possible angle I found the culprit , the roll bar was hitting the connecting straps for the windows ! Now that's a first ! But it was an easy fix . 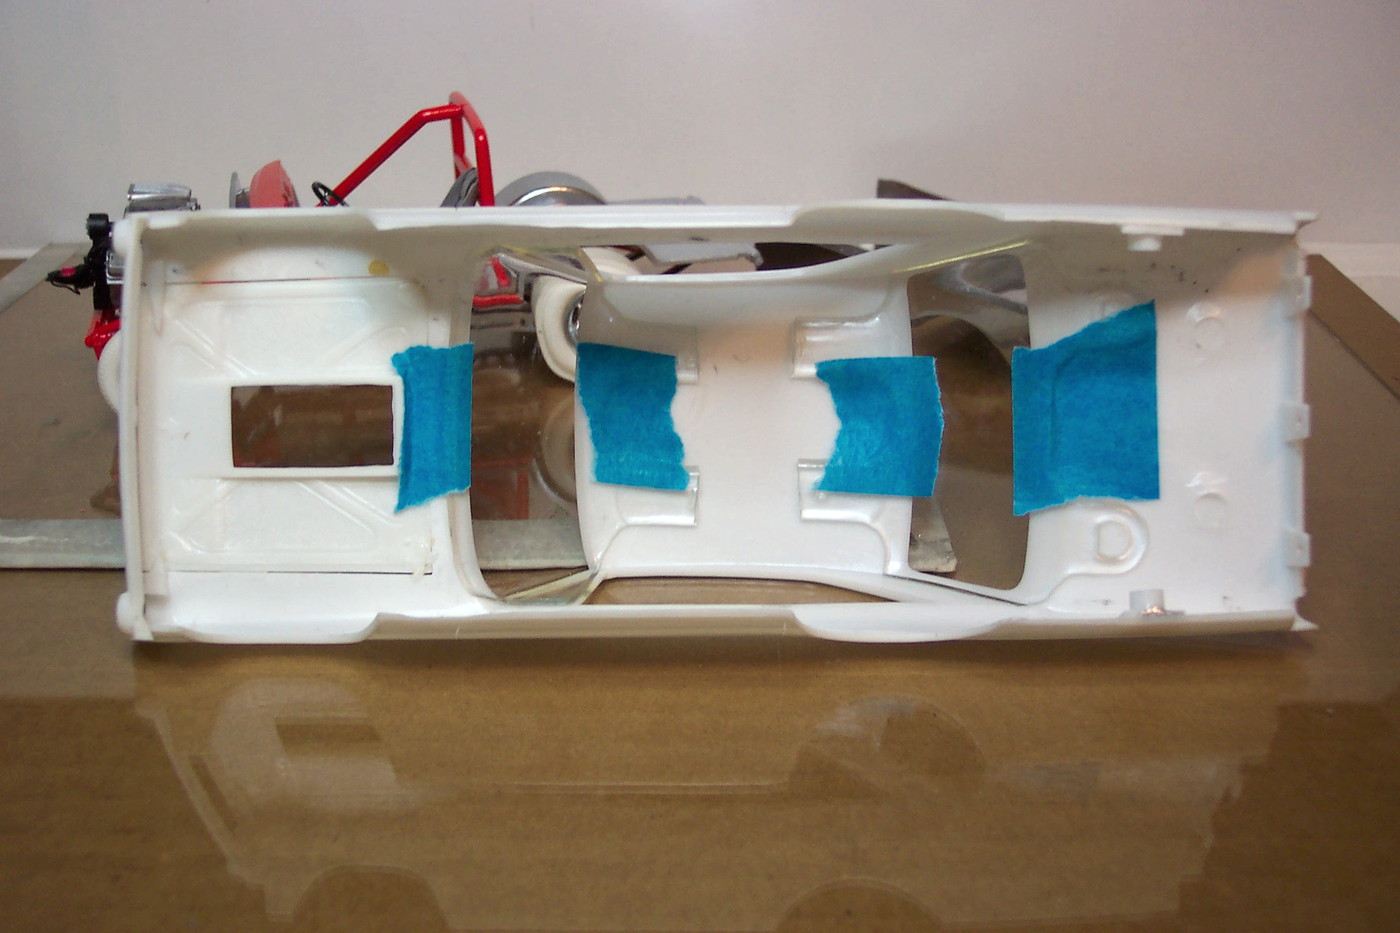 Looks like Murphy is hiding under my workbench so it's break-time for a couple of days .  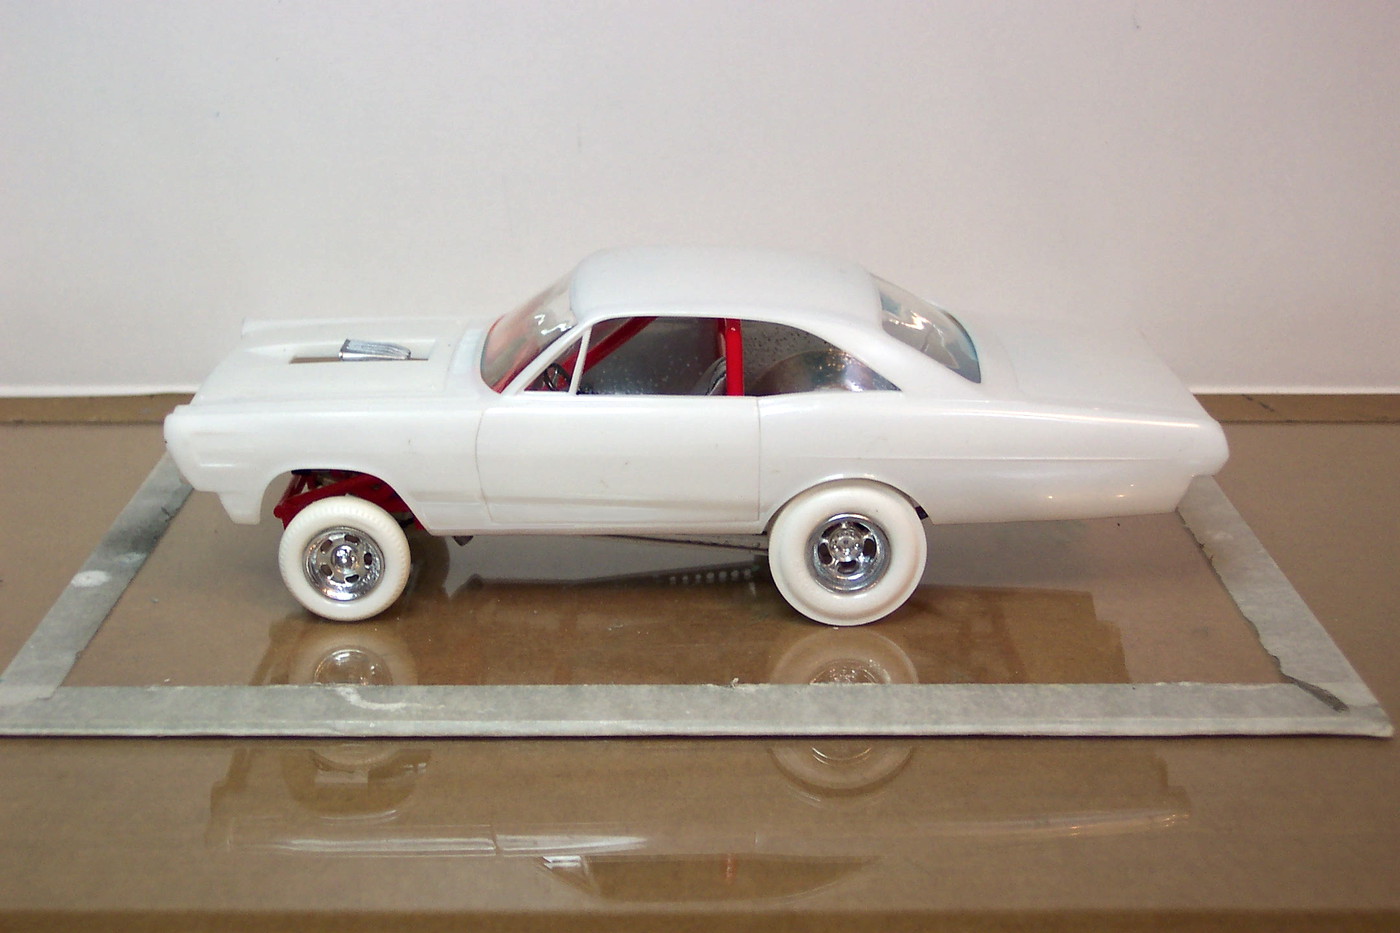 |
|
|
|
Post by jbwelda on Sept 29, 2019 19:57:21 GMT -5
And here I thought I was the only one that kinda stuff happened to! Well its always something, the point is to overcome the problems and I have faith in you!
Looks great other than those problems though, at this point it should be a cool breeze (always a sign something else will go wrong).
jb
|
|
|
|
Post by TooOld on Oct 3, 2019 11:04:46 GMT -5
Time for some paint ! After washing I scuffed the body with some Scotchbrite to remove the shine then sprayed two coats of Duplicolor Automotive Primer . 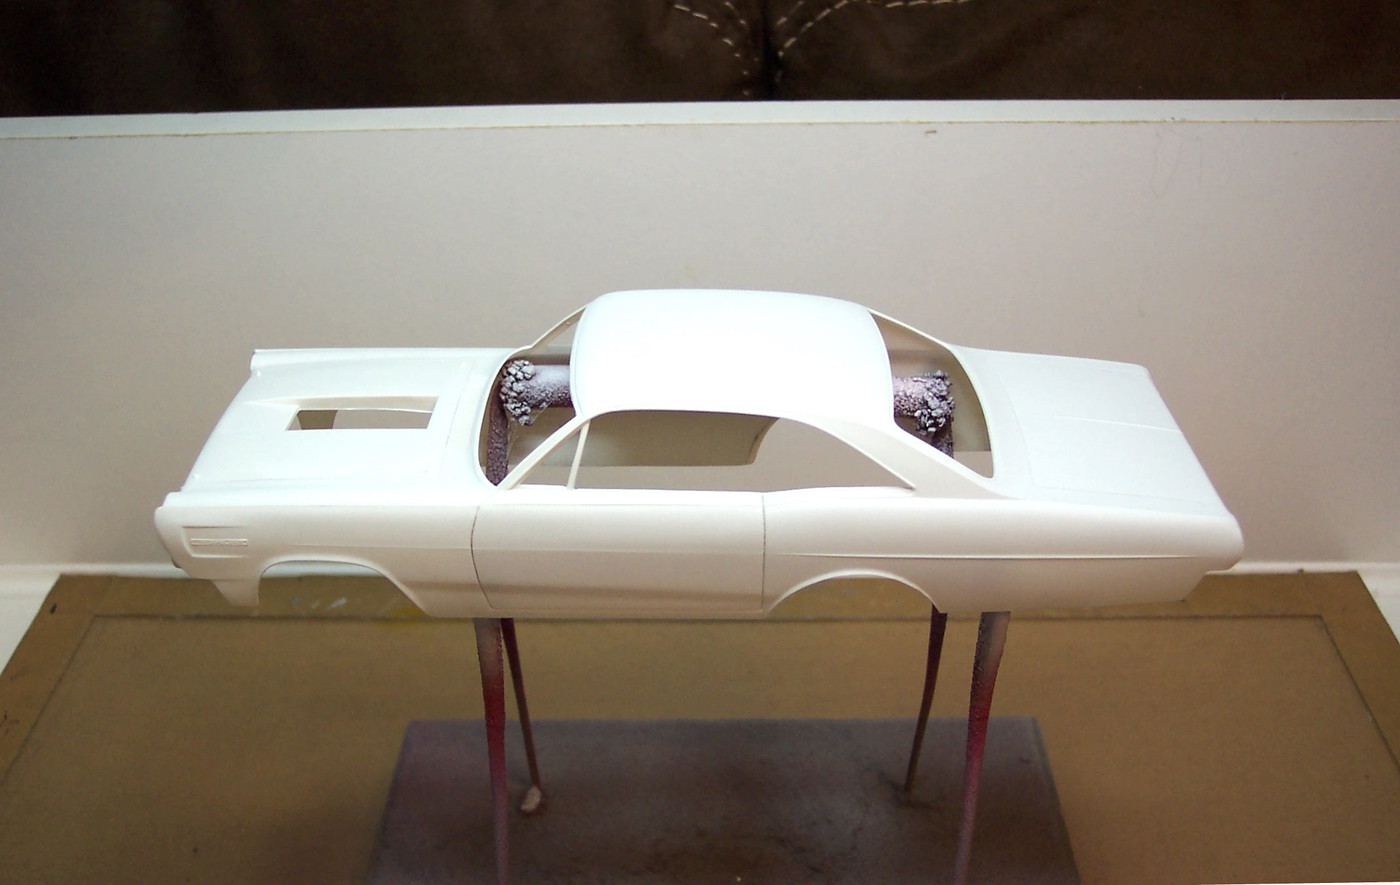 Then three coats of MM Hugger Orange Lacquer . 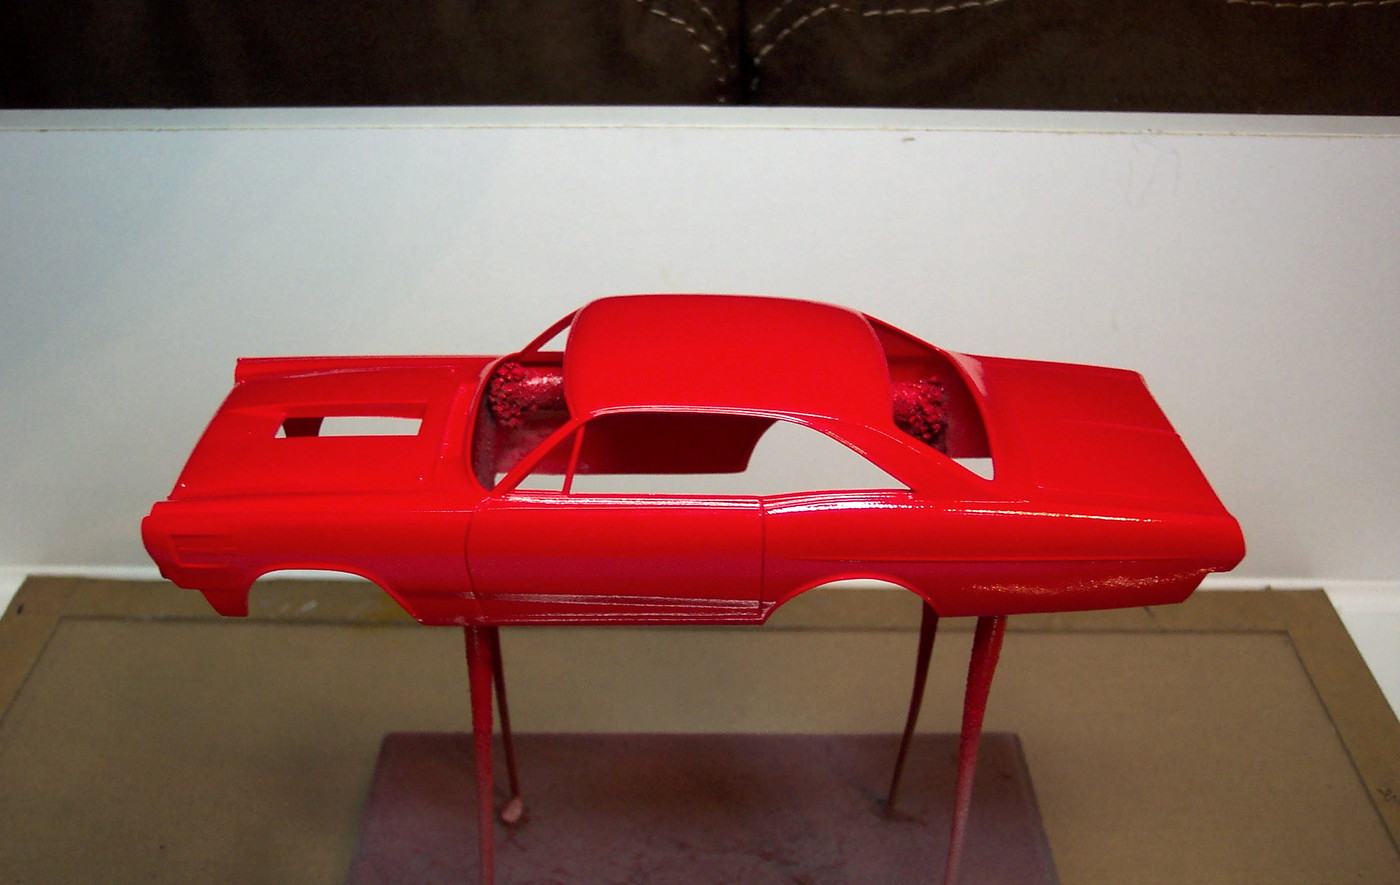 I've decided not to use the kit decals so this weekend I'll be making my own . After that the tires and then final assembly , should be finished next week .  |
|
|
|
Post by TooOld on Oct 12, 2019 7:07:55 GMT -5
Haven't spent much time on this lately but I did get the wheels & tires finished and installed . Also printed some decals . I kept them pretty basic as this is an unfunded racer building his own car in his garage . 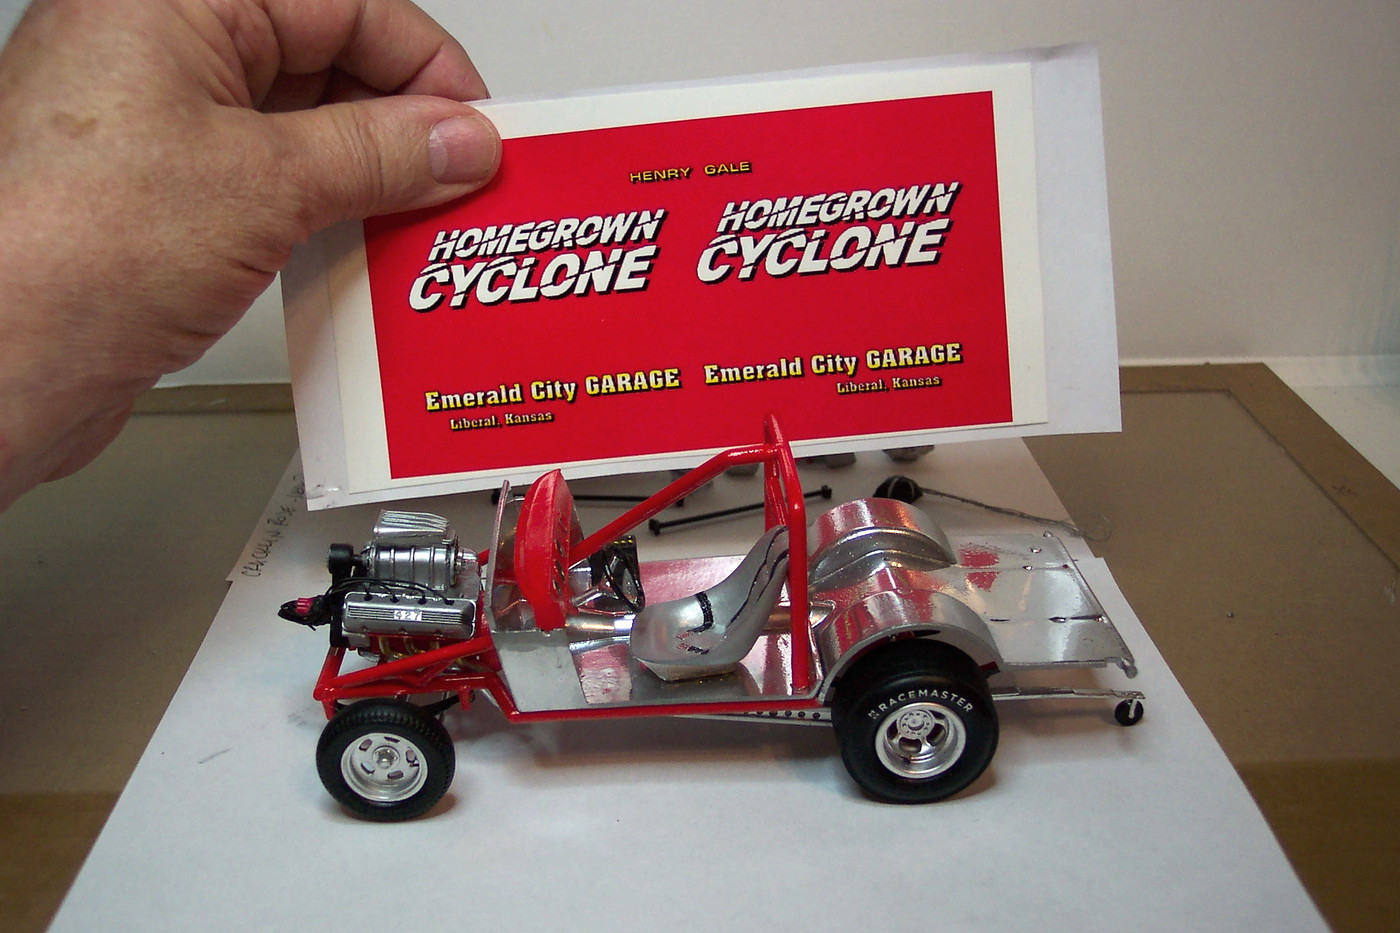 Not much left so maybe it'll be finished this week .  |
|
|
|
Post by TooOld on Oct 15, 2019 17:45:02 GMT -5
Finished up today and will be taking some photos tomorrow . Does anyone know what year this kit was first released ? I think I built it around '68-'69 but I'm not sure .  |
|