|
|
Post by harron68 on May 21, 2018 13:35:32 GMT -5
You are the REAL THING! So careful in duplicating, it's to your credit as close a scale copy will be the result. Most excellent and helpful for us all, thanx!
|
|
|
|
Post by TooOld on May 21, 2018 16:42:36 GMT -5
You are the REAL THING! So careful in duplicating, it's to your credit as close a scale copy will be the result. Most excellent and helpful for us all, thanx! Thanks very much ! Been dodging raindrops in Florida for a few days and painting in a damp garage is challenging but it's getting done . An unusual item I found in the instructions are plugs for the holes where the exhaust would pass thru the body on the Big "T" , so what the heck I added them to mine . If nothing else I'll be asked what they are . The turtle deck was sealed with Future before spraying both with white primer . 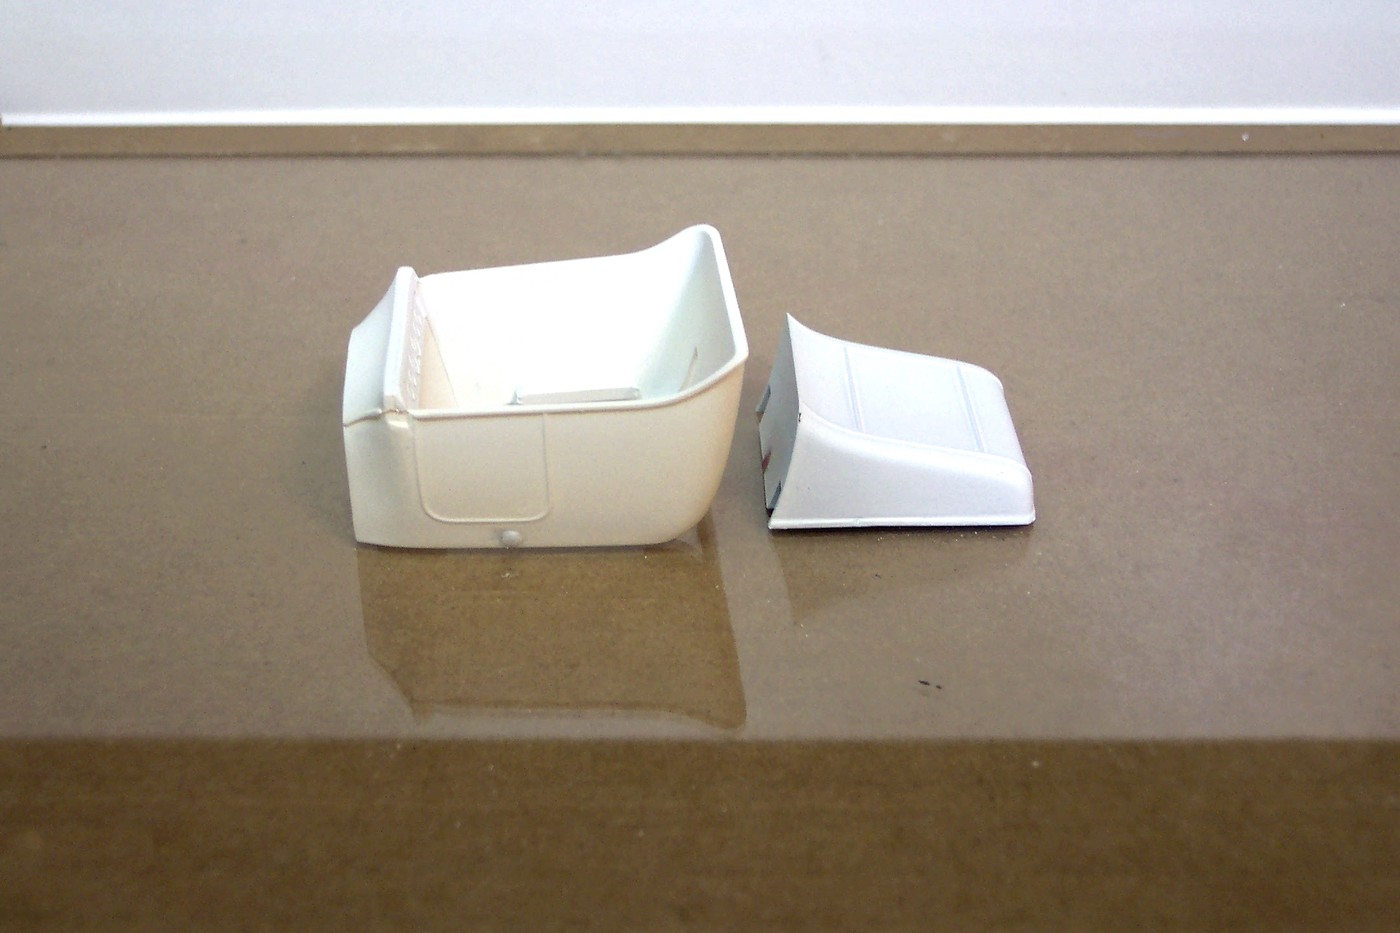 The frame and engine got some French Blue . 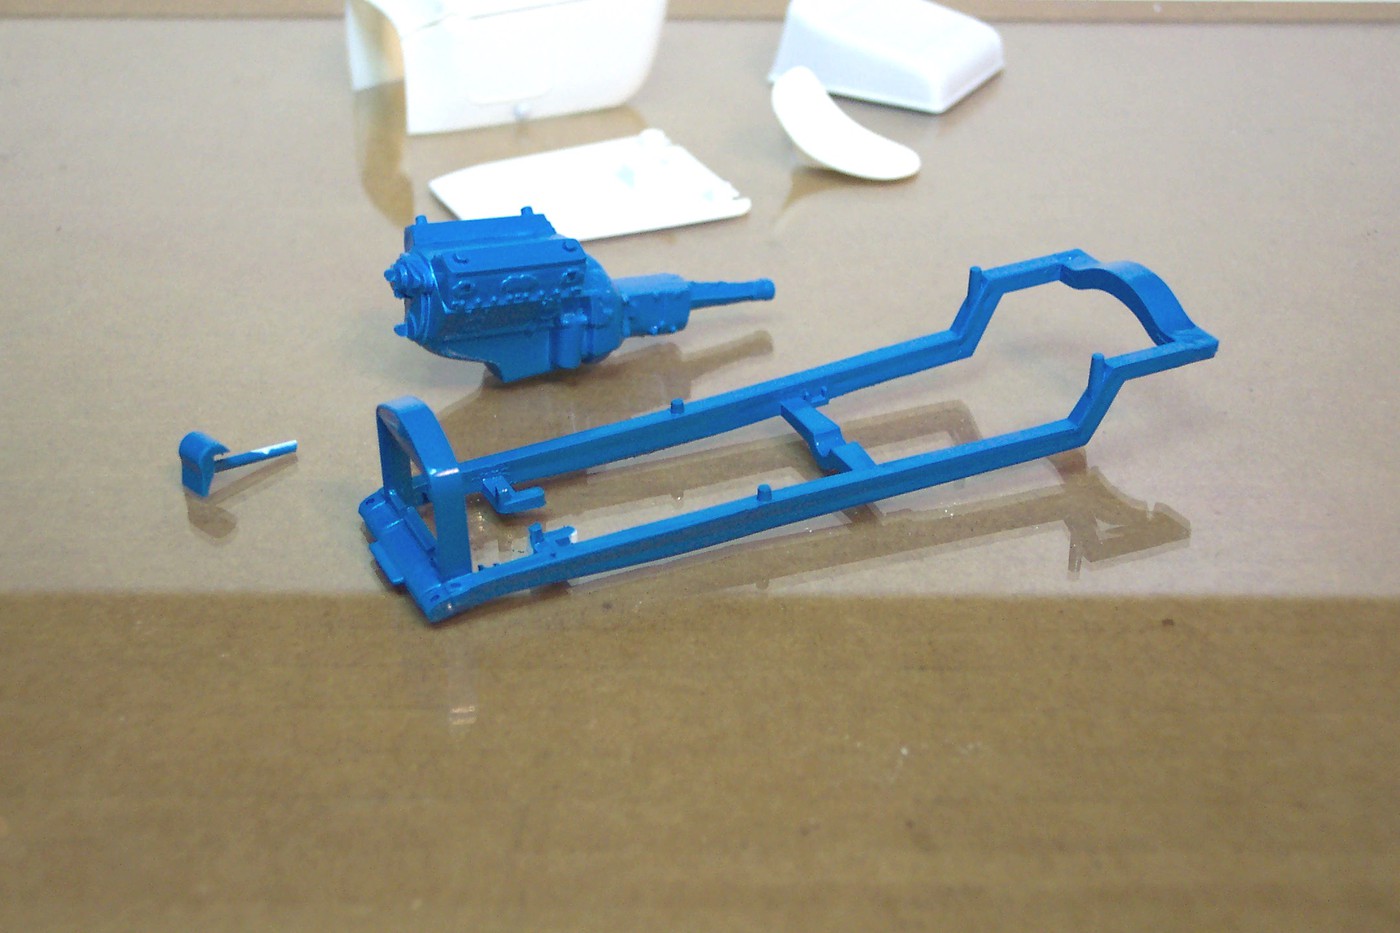 |
|
|
|
Post by jffj on May 22, 2018 17:14:10 GMT -5
Looks like blue plastic to me Bob 👍👍
John
|
|
|
|
Post by jbwelda on May 22, 2018 20:22:55 GMT -5
Bob, on BD, frame is black except the front area under the radiator shell (and that is blue because it is part of the radiator shell). That of course doesn't mean it couldn't be painted blue like you have it. The engine block is blue as you have it. Firewall on body is chrome when you get to it.
jb
|
|
|
|
Post by TooOld on May 23, 2018 6:31:34 GMT -5
Bob, on BD, frame is black except the front area under the radiator shell (and that is blue because it is part of the radiator shell). That of course doesn't mean it couldn't be painted blue like you have it. The engine block is blue as you have it. Firewall on body is chrome when you get to it. jb I knew that . . . another brain fart . Thanks JB ! |
|
|
|
Post by TooOld on May 23, 2018 14:58:00 GMT -5
A little more paint work finished . Time to a start puttin' her together ! 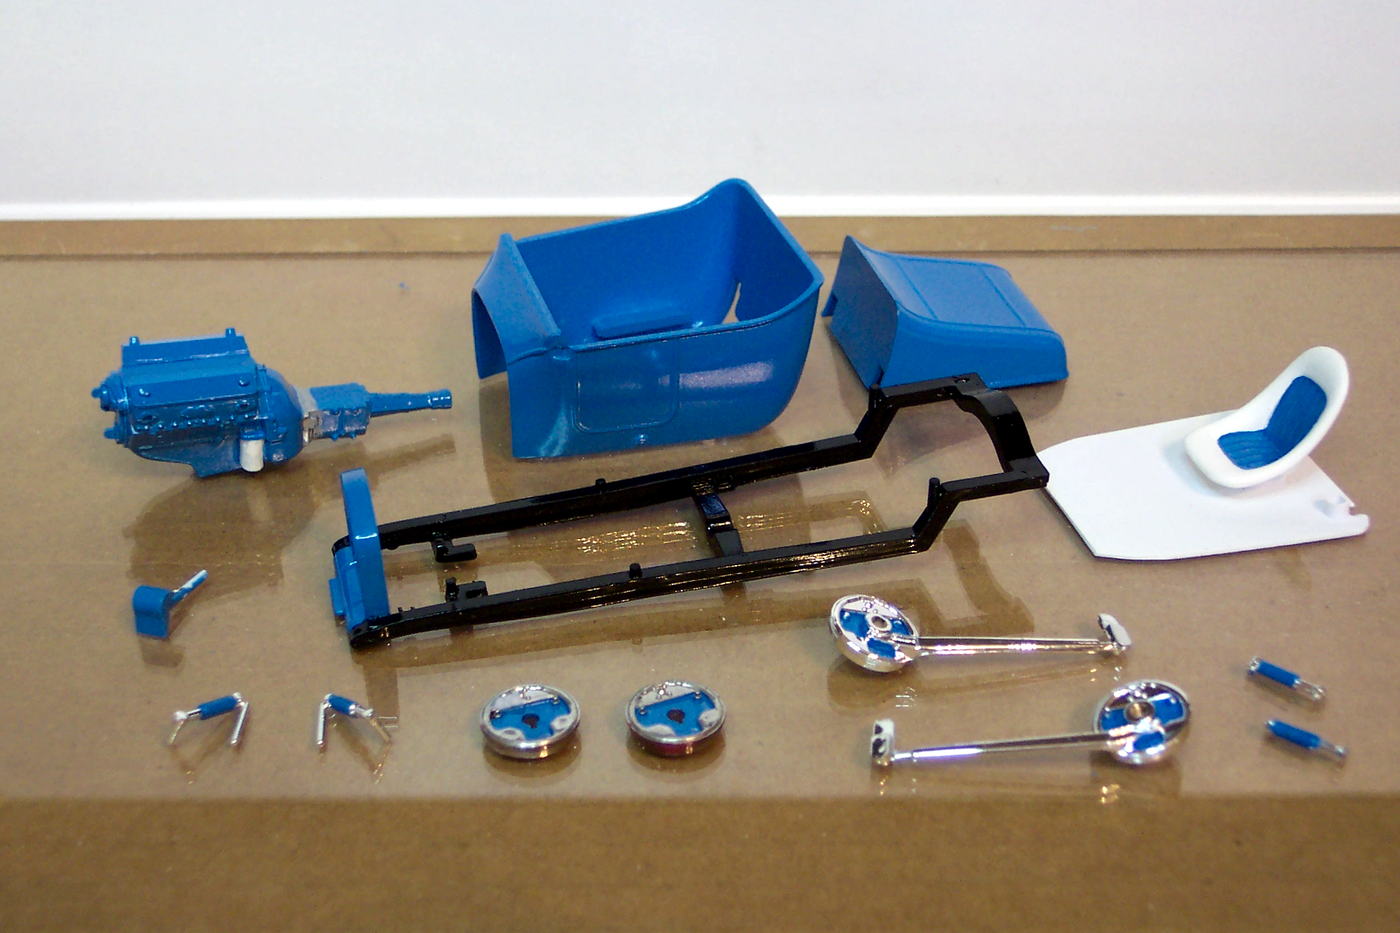 |
|
|
|
Post by jbwelda on May 23, 2018 16:04:39 GMT -5
Wow moving right along! looks great too, love that detail painting.
jb
|
|
|
|
Post by yekoms on May 23, 2018 17:32:24 GMT -5
Yup.. They left me in...I stumbled onto your awesome Little Rod build,lurked around a bit, and figured that if I didn't mention that I knew you maybe I could slide in. Hah it worked. That's really cool stuff that you have goin' on. There is a bunch of cool stuff on here. Thanks to all involved. Cheers,Smokey
|
|
|
|
Post by TooOld on May 27, 2018 12:20:37 GMT -5
I managed to make some progress the last few days so here's some pics . First up is the chassis . 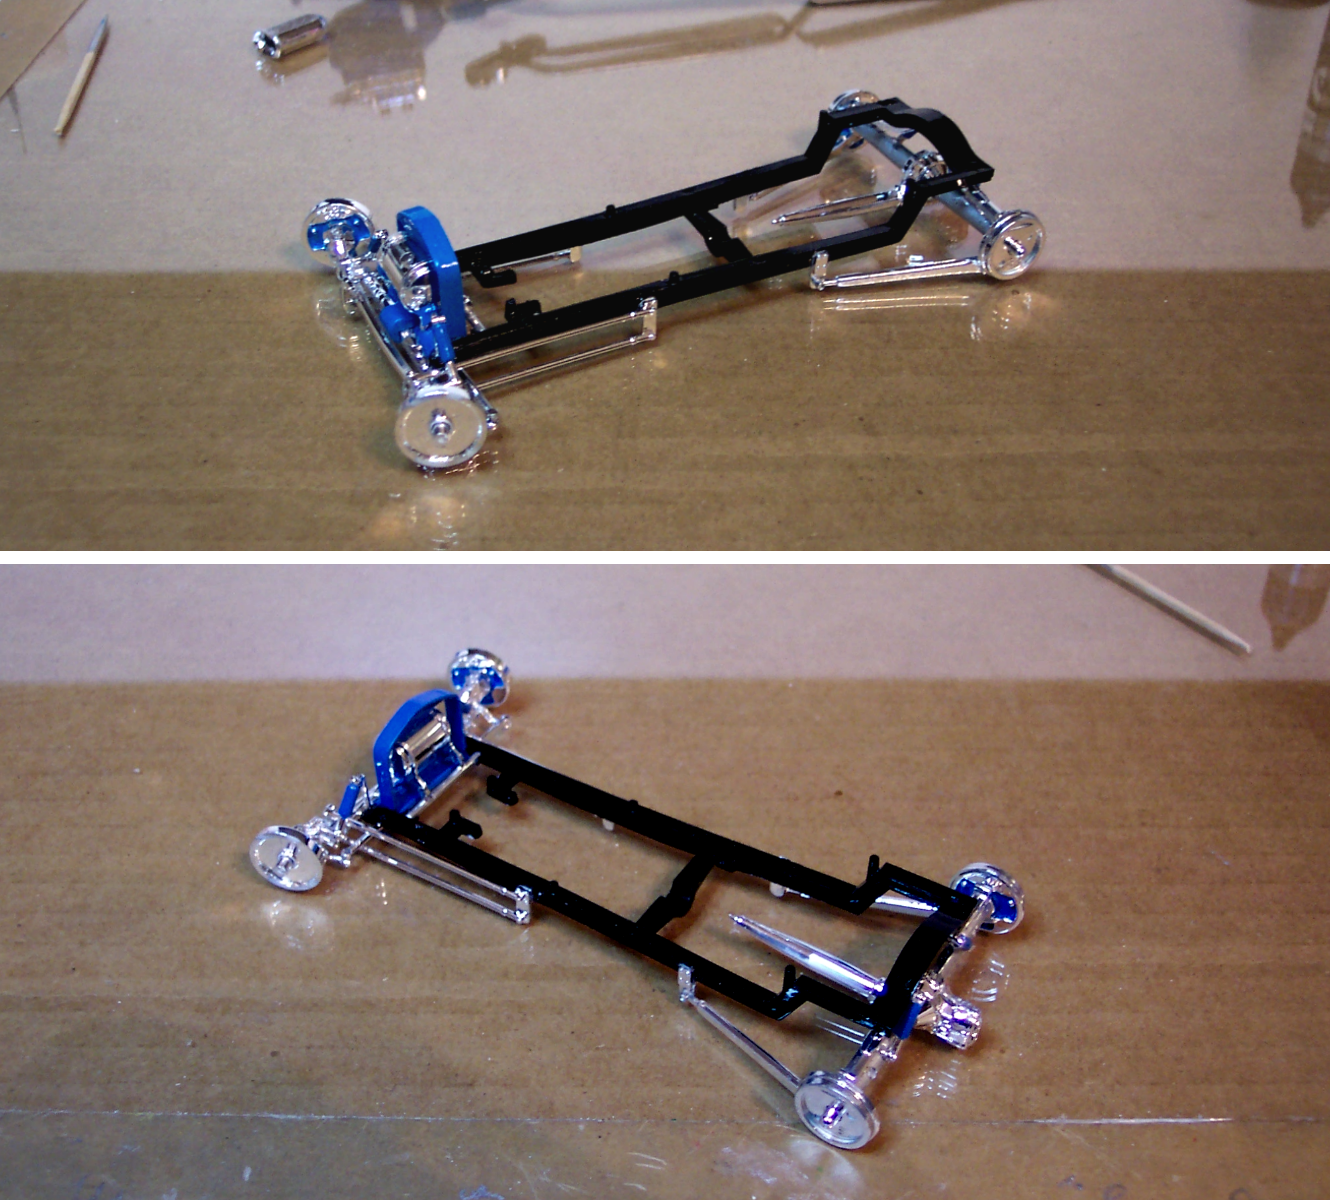 Last weekend I did some shopping and found an online shop selling the Boss Nova for $25 + shipping . Since I was going to pay almost that much just for the engine I went with the whole kit . 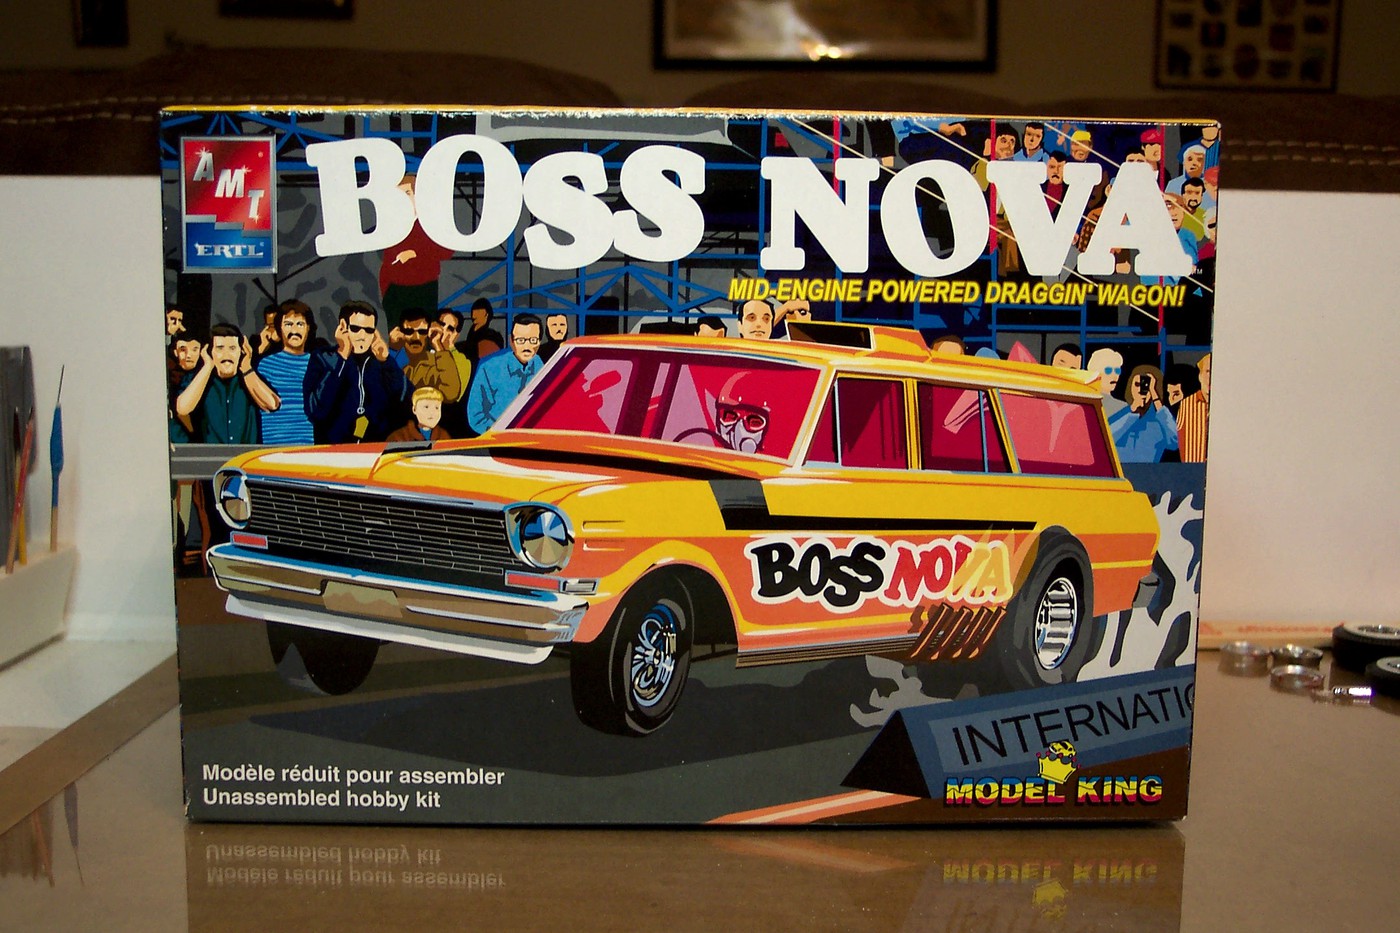 Here's a comparison of the parts . The Boss Nova blower is a bit taller , all it needs is the front plate swapped so there's a longer snout . And the Boss Nova scoop would work but it's nowhere as nice as the one out of the Wild Willy Borsch kit . I've decided to go with the parts I have , the Monogram blower just looks like a better mold to me . 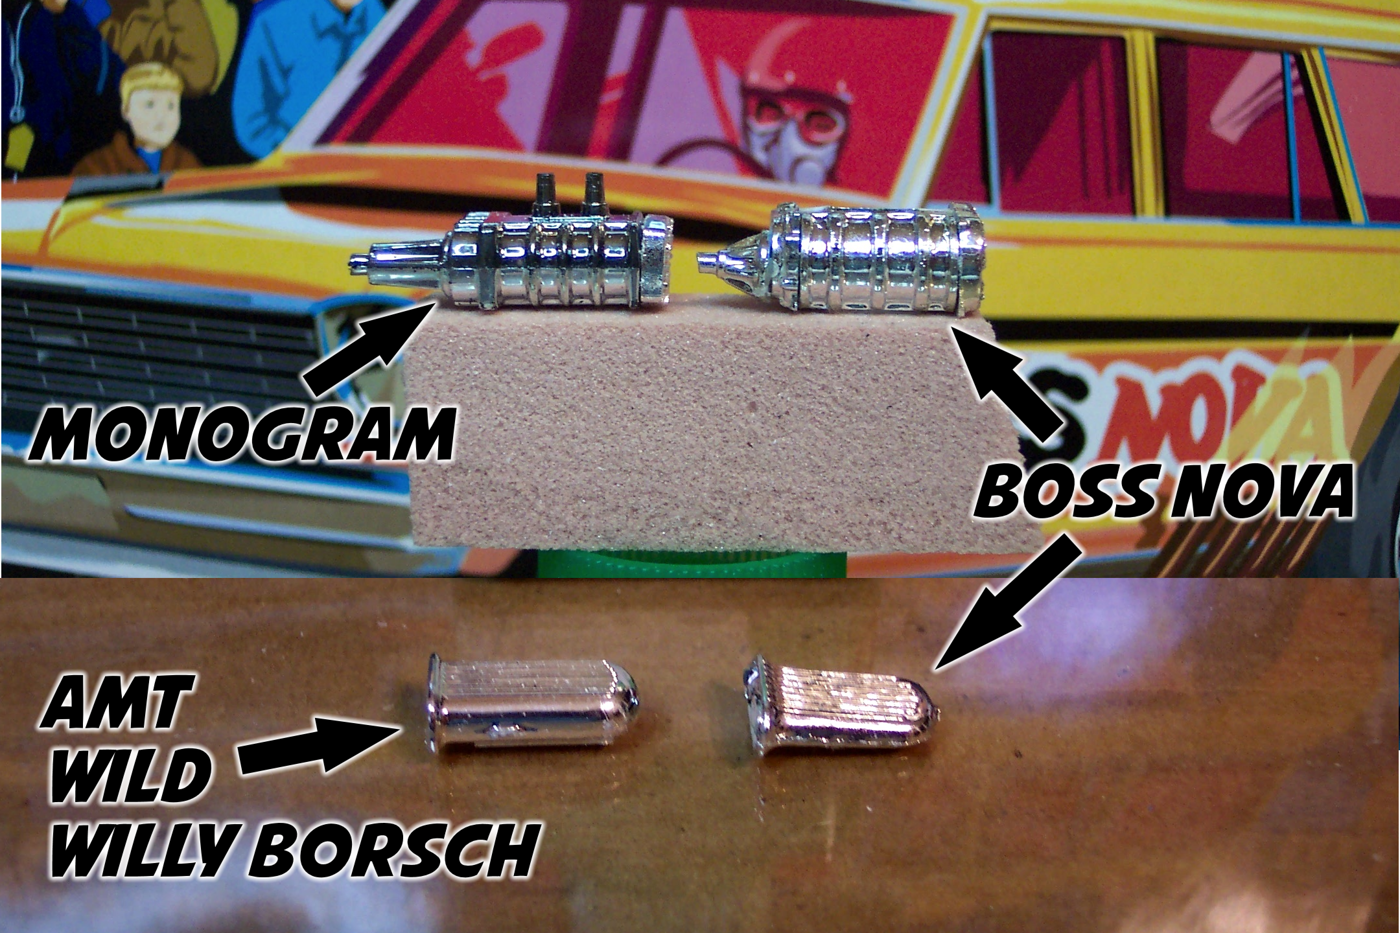 The Slingster headers needed so much clean-up that I cut them apart between the center tubes , this made it much easier to remove the web molded between them . I also drilled out the ends before glueing the headers to .010" thick strips and the flanges were also filed to give them the correct mounting angle . 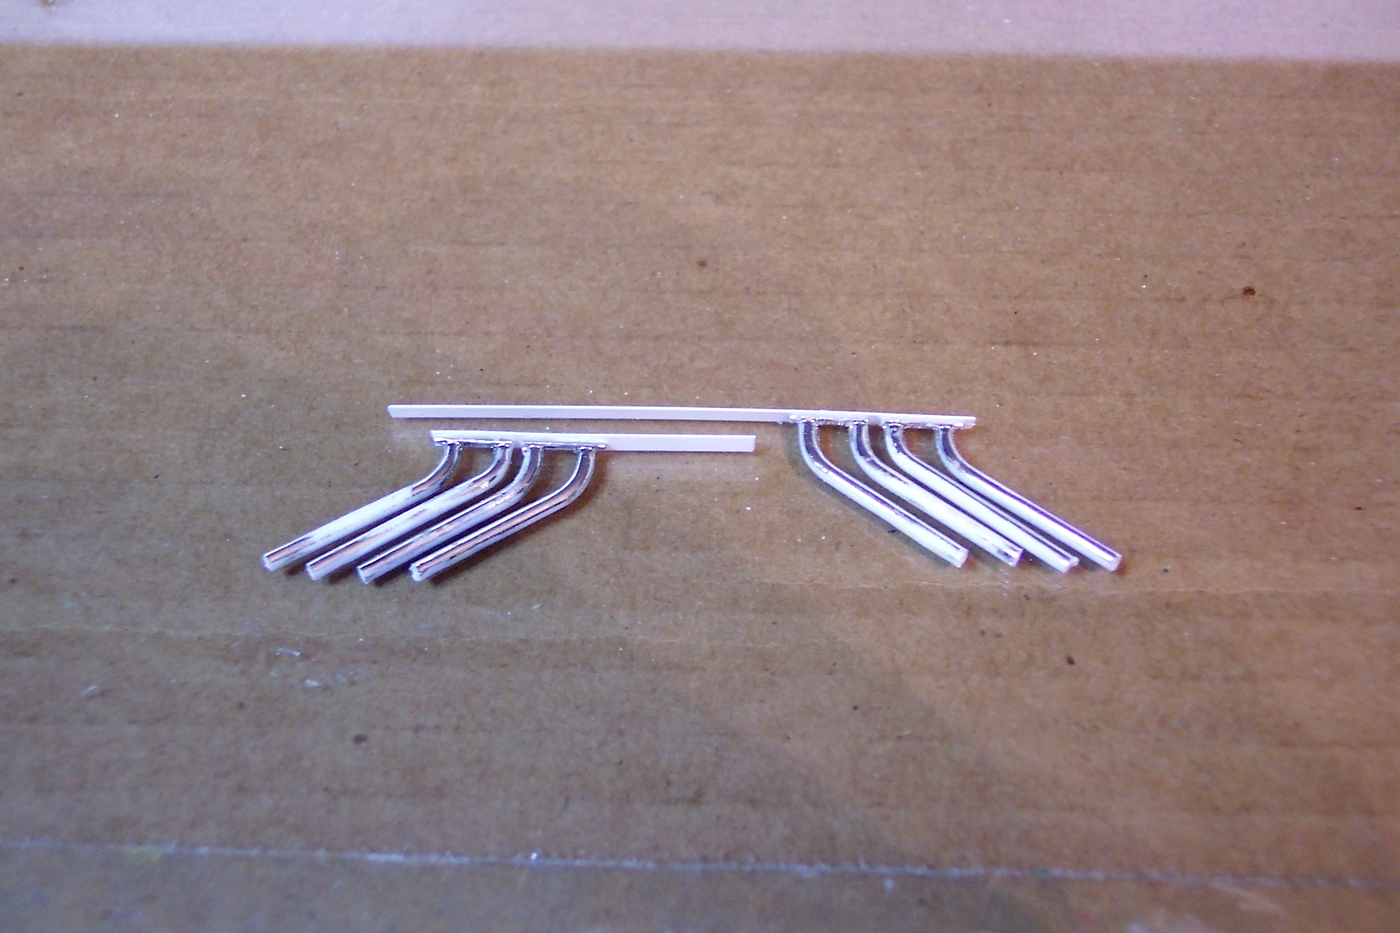 And the finished engine . It's hard to see but I added an oil fill tube from a Little "T" . 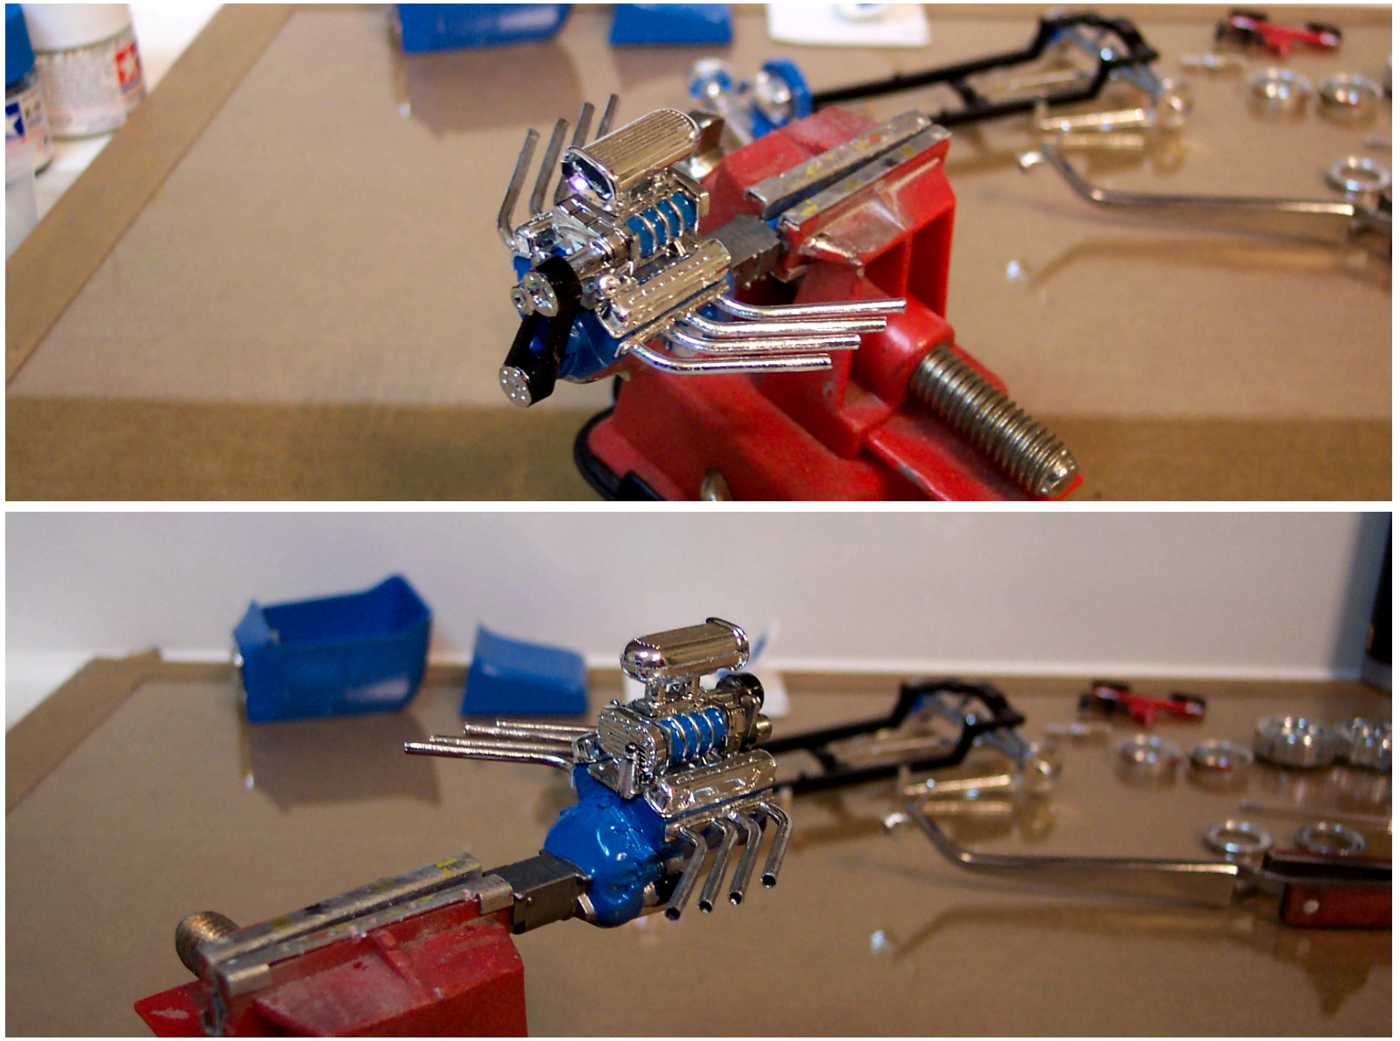 To be continued . . . |
|
|
|
Post by fordrodnkustom on May 27, 2018 12:34:13 GMT -5
Looking great Bob!
|
|
|
|
Post by jffj on May 27, 2018 14:47:11 GMT -5
Nice idea, and nice work, on those headers Bob 👍👍
John
|
|
|
|
Post by jbwelda on May 27, 2018 16:24:47 GMT -5
Nice work all around and those headers look every second of effort you put into them. Drilling out the ends that fine is tough. And the supercharger looks great with the relief painting.
jb
|
|
|
|
Post by TooOld on May 29, 2018 14:36:12 GMT -5
Thanks much Ron and John ! Nice work all around and those headers look every second of effort you put into them. Drilling out the ends that fine is tough. And the supercharger looks great with the relief painting. jb Thanks JB ! I didn't really drill out the headers , that would be a tough one . I drilled a pin hole in each one then used a 1/16" bit to countersink each tube . A drop of black paint and the illusion of open tubes works pretty good ! One quick photo of the finished wheels and tires . The fronts had the slots opened and I added the trim rings to make deep dish steelies like on the Big Drag . 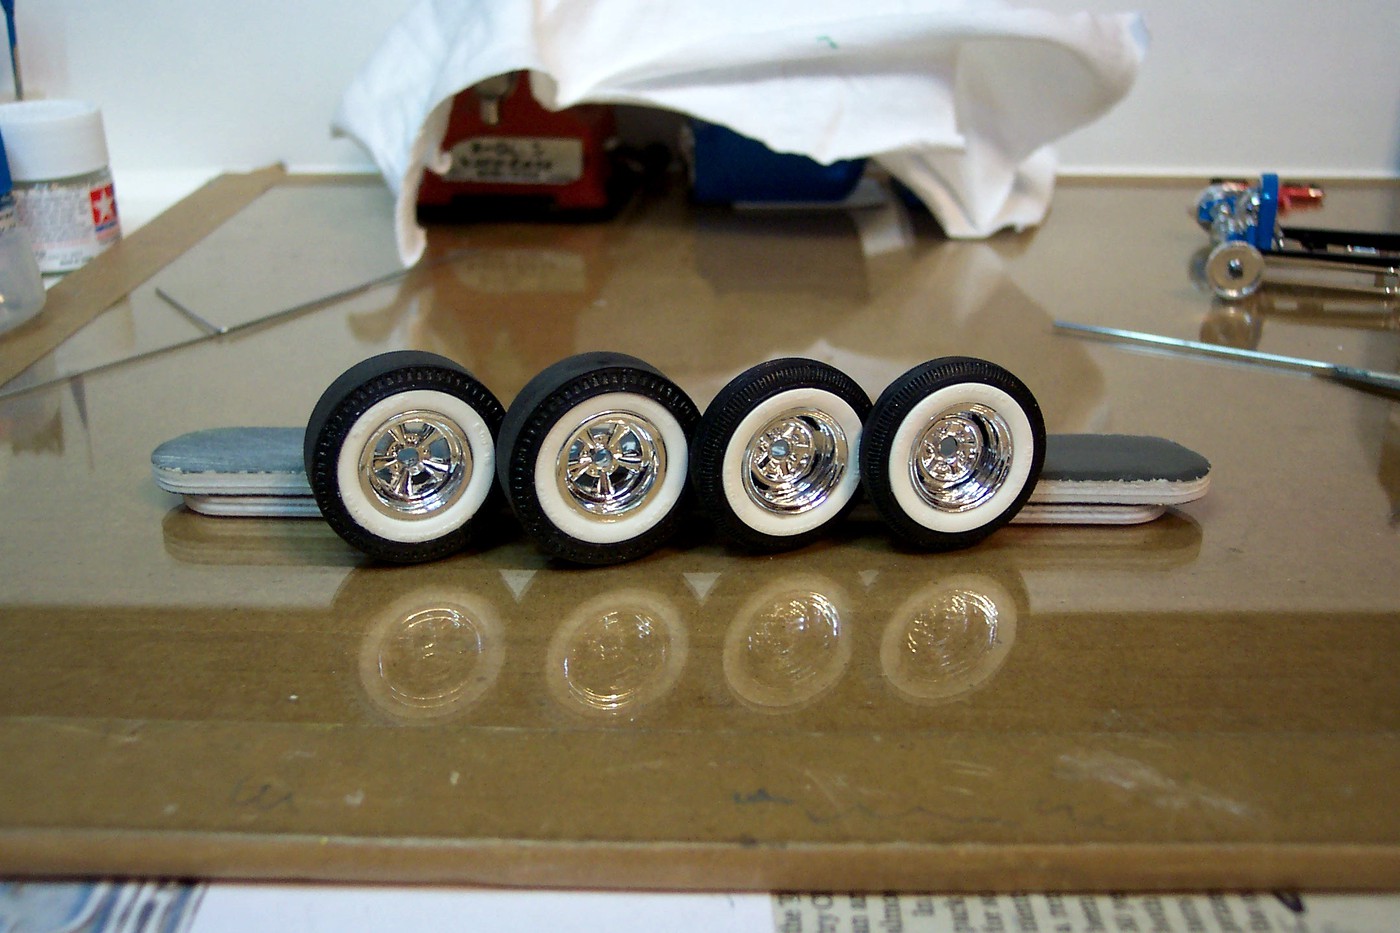 Now the fun part begins ! I have this great pic so I can scale the push bars and the roll bar . 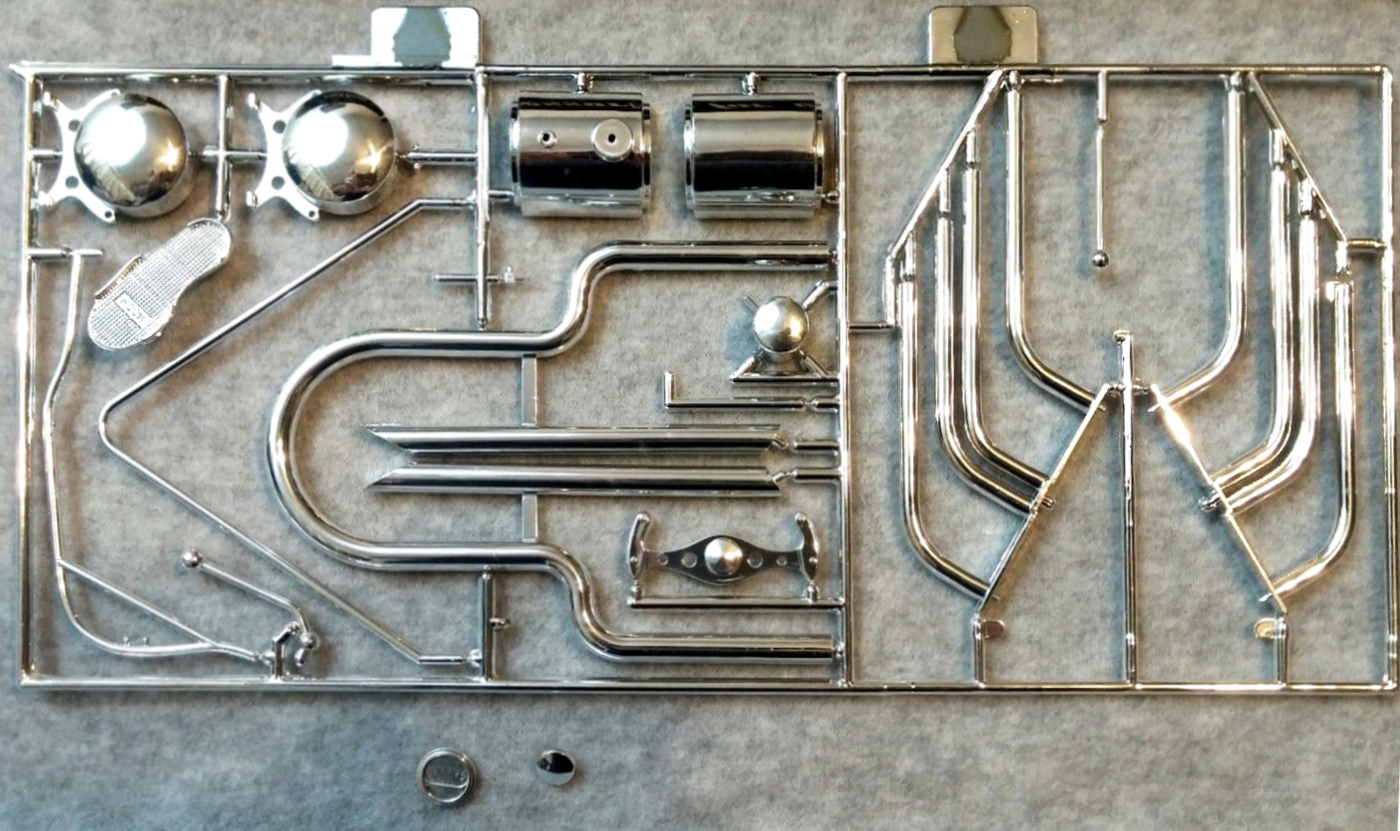 The push bars are first . I tried .031" aluminum rod but it was too small so I used .060" rod . Even though it's a bit larger than needed it works good in this scale . They're close . . . still thinking on it . 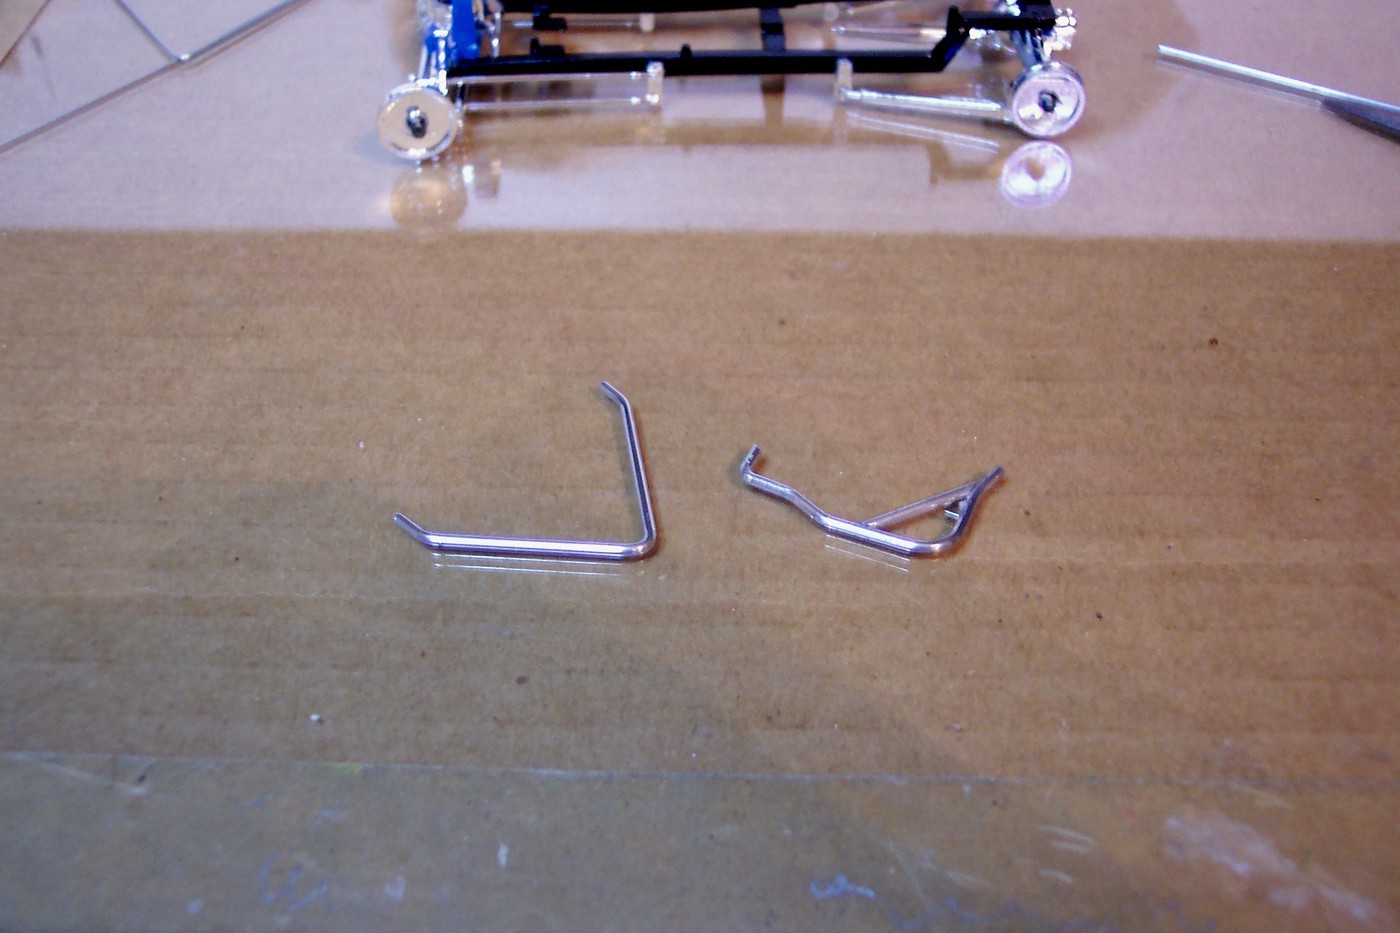 The push bar mounts in two holes drilled in the axle housing and one hole in the bottom of the quick change . 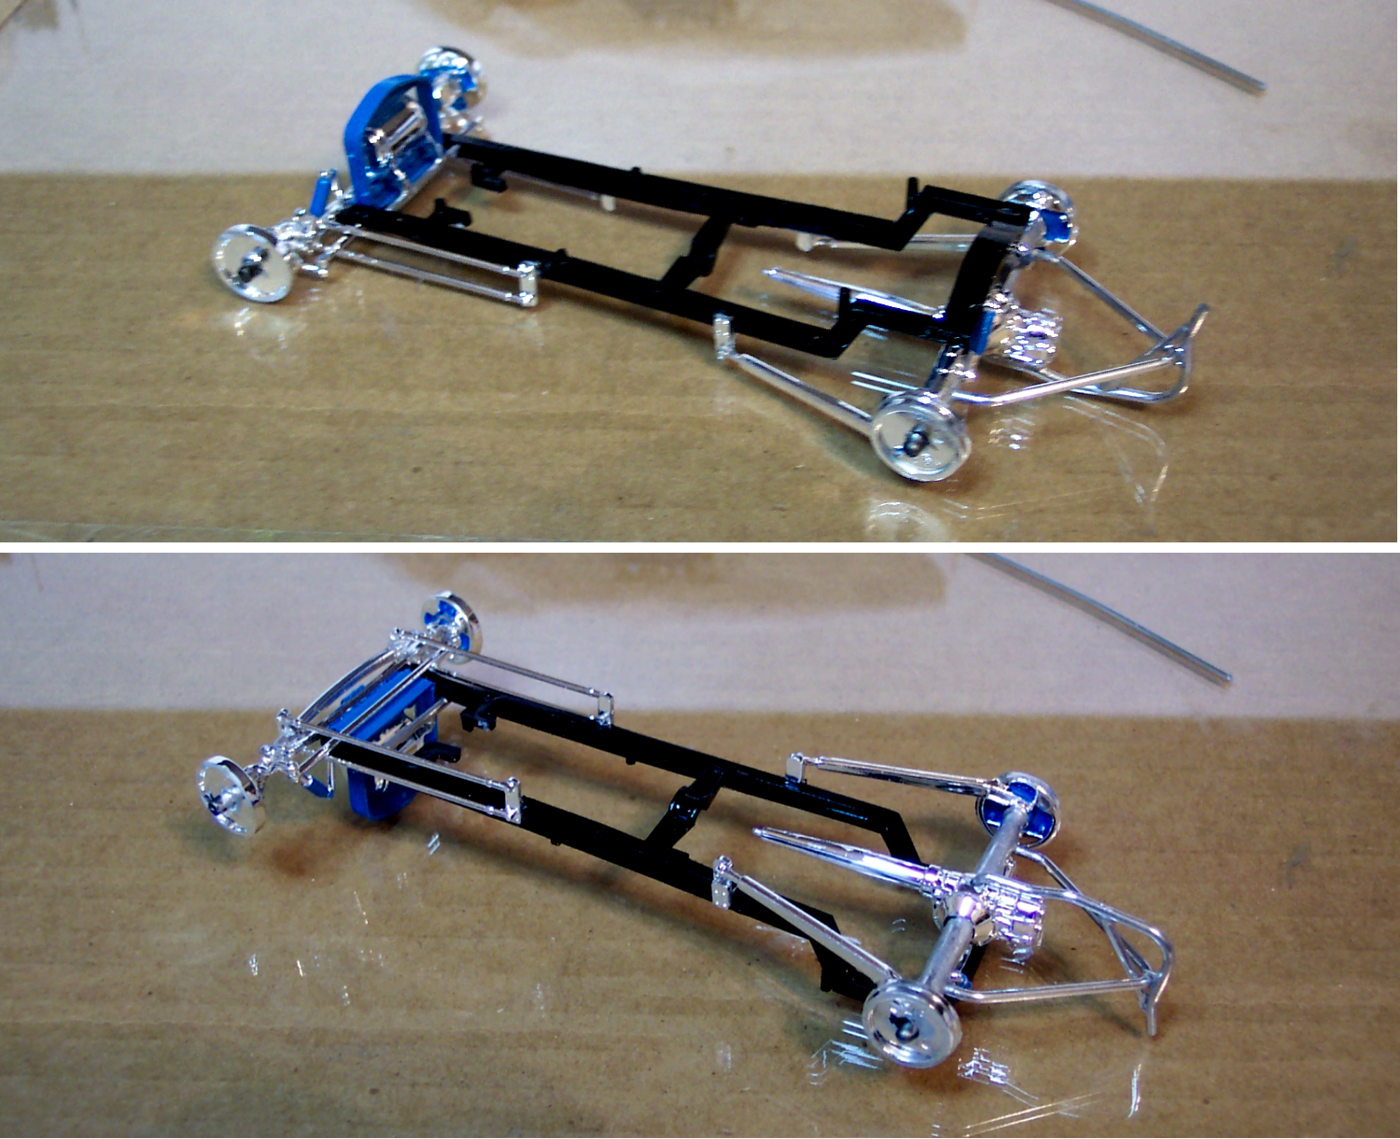 The roll bar is next ! |
|
|
|
Post by jbwelda on May 29, 2018 15:13:04 GMT -5
push bar looks great, way better than in managed with a bent paper clip or two
jb
|
|
|
|
Post by TooOld on May 30, 2018 16:09:18 GMT -5
Finished roll bar made from 3/32" aluminum rod . 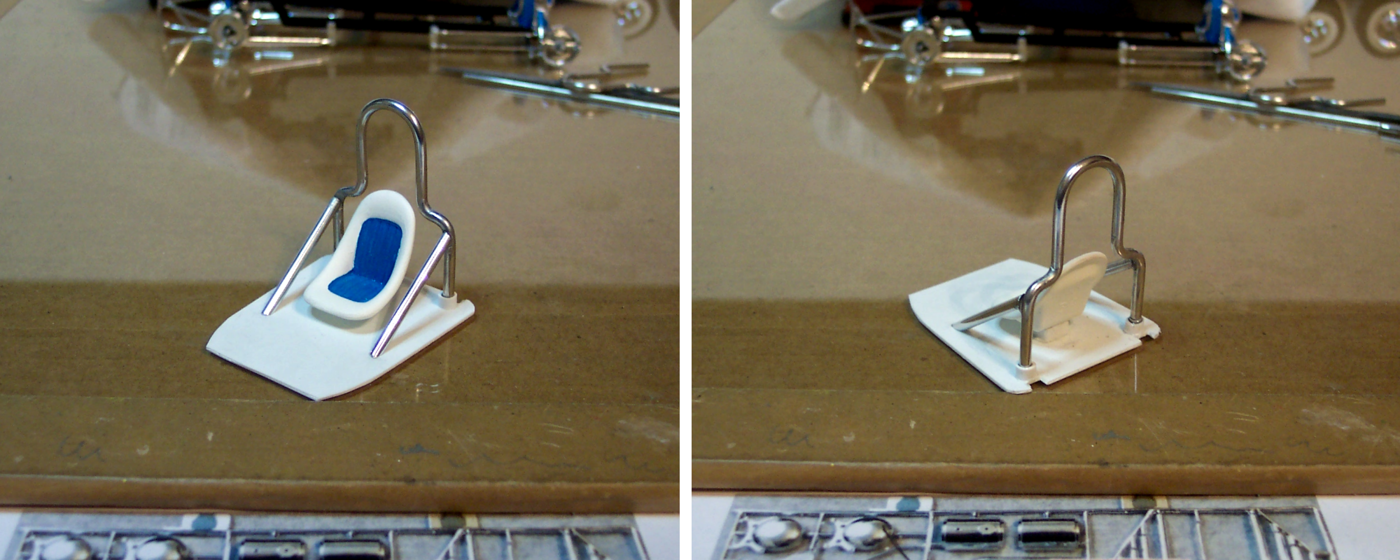 And I made a steering wheel (?) , only took five tries to get one that was decent ! 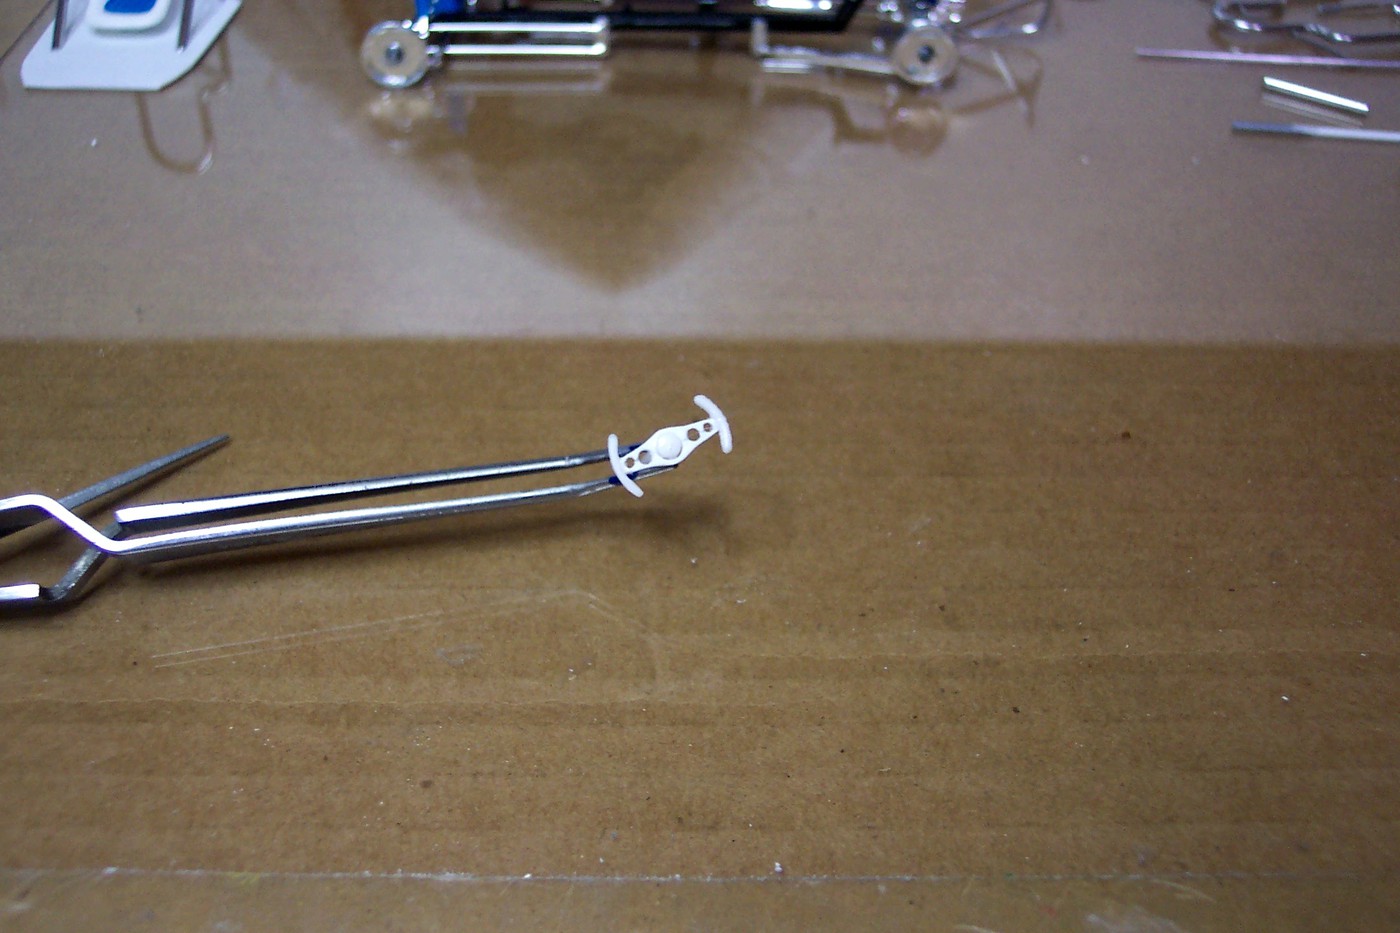 |
|