jwrass
Snaptite
Mechcanical Engineer. Custom Painter- 45 yrs. Pinstriping, Lettering, Airbrush, Exotic Finishes
Posts: 34 
|
Post by jwrass on Feb 21, 2017 11:30:41 GMT -5
First full build in 25 years. Purchased this kit new back in the day.. Notice the date
I had the pleasure to see this car run many times at Great Lakes Dragway in Union Grove, WI.
Always a favorite for me with his loooooog smokey burn outs and of course his side kick Jungle Pam
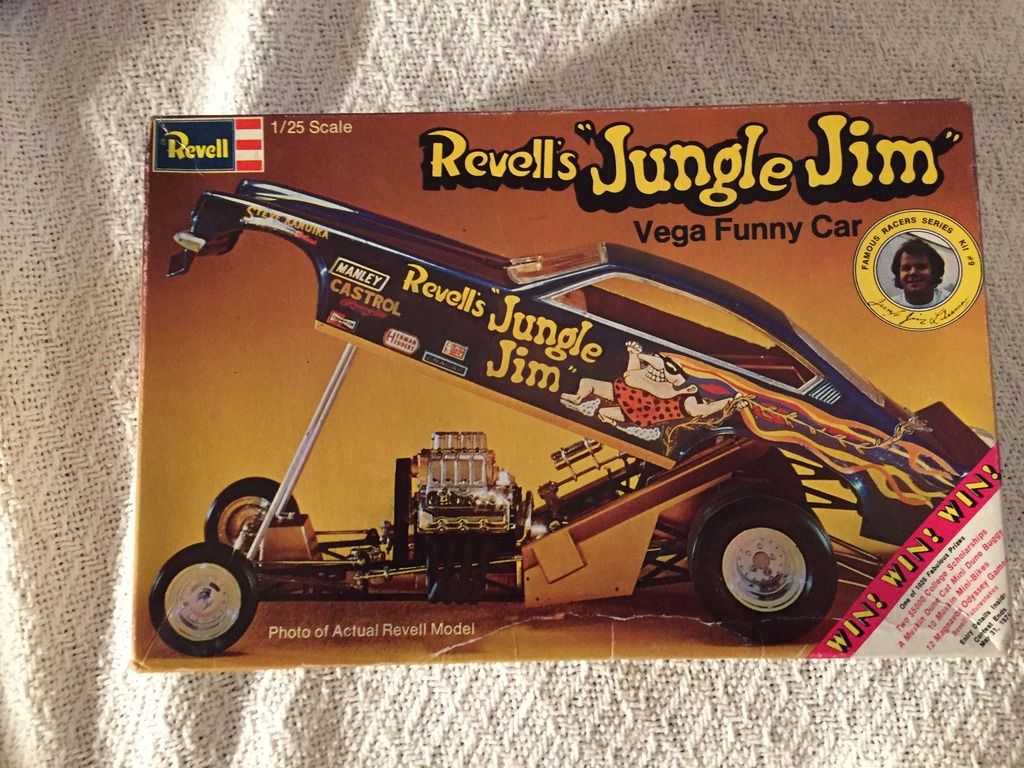
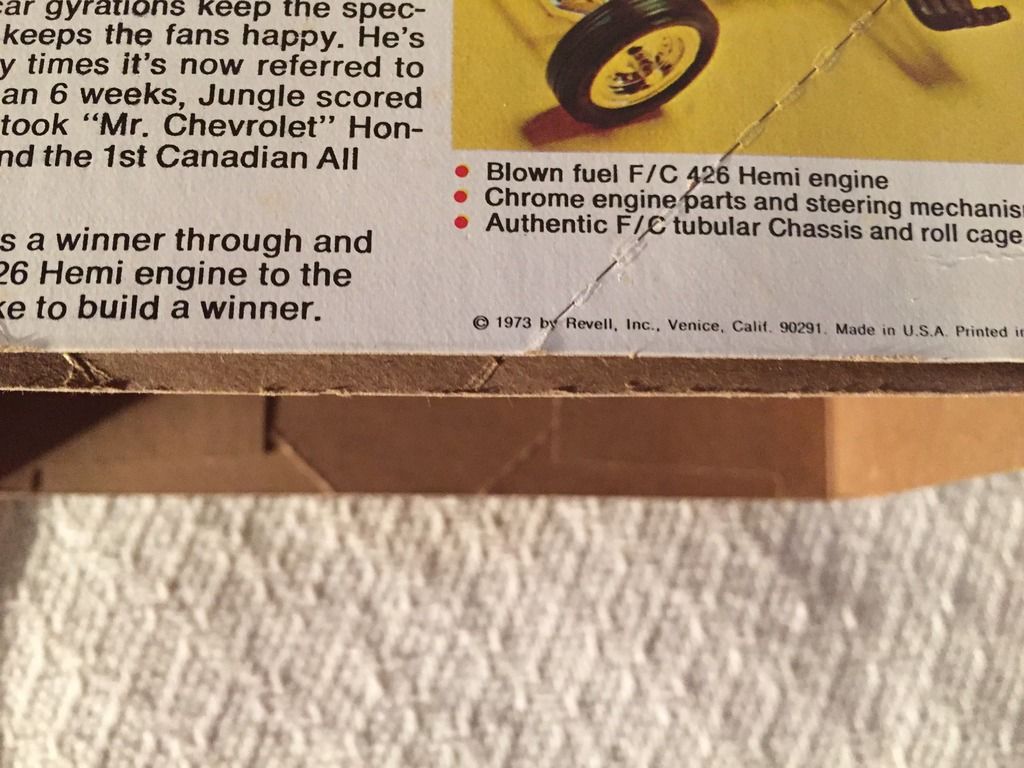
I made a few modifications to get the stance more like the 1:1
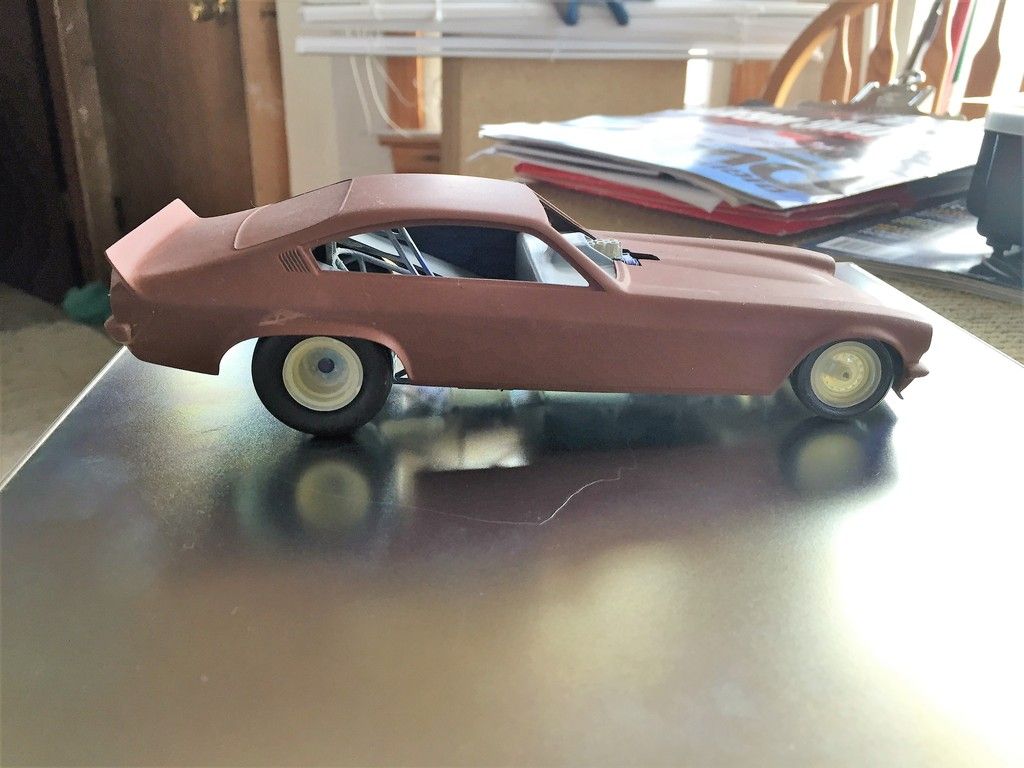
Out of the box stance
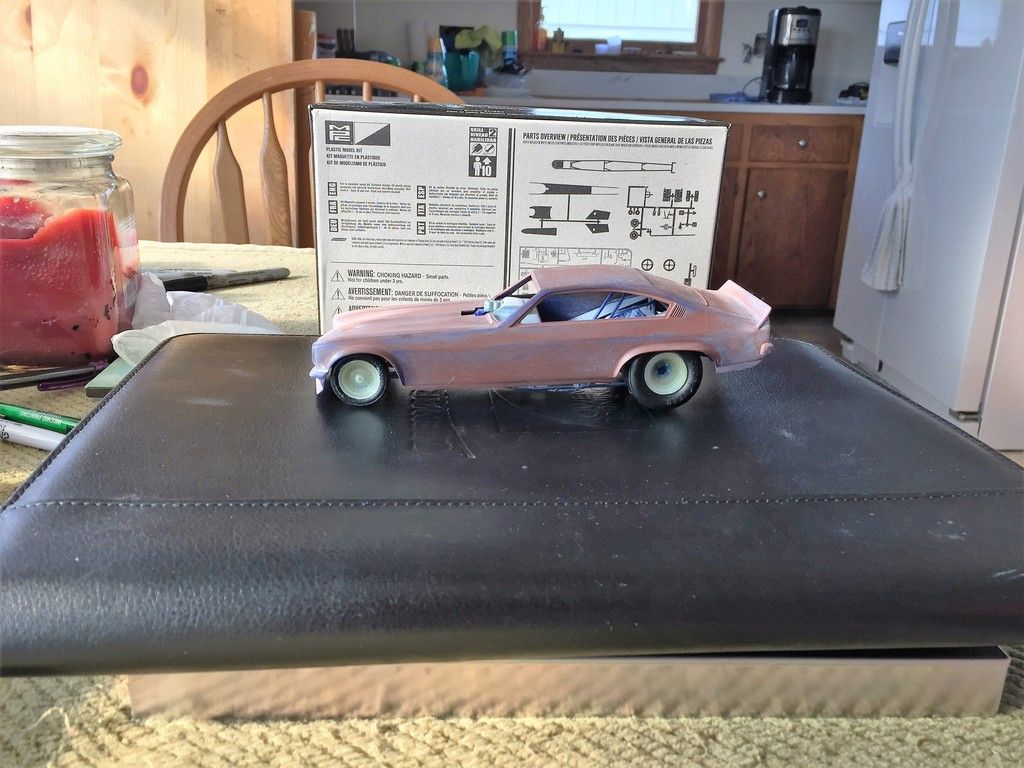
Modified Stance
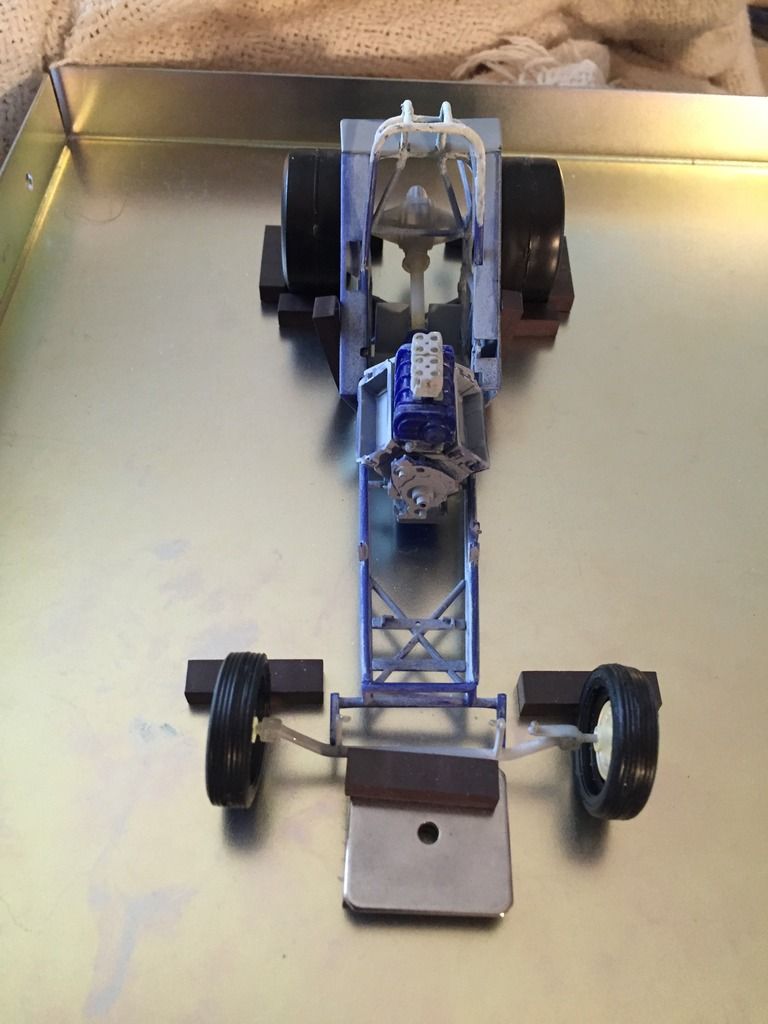
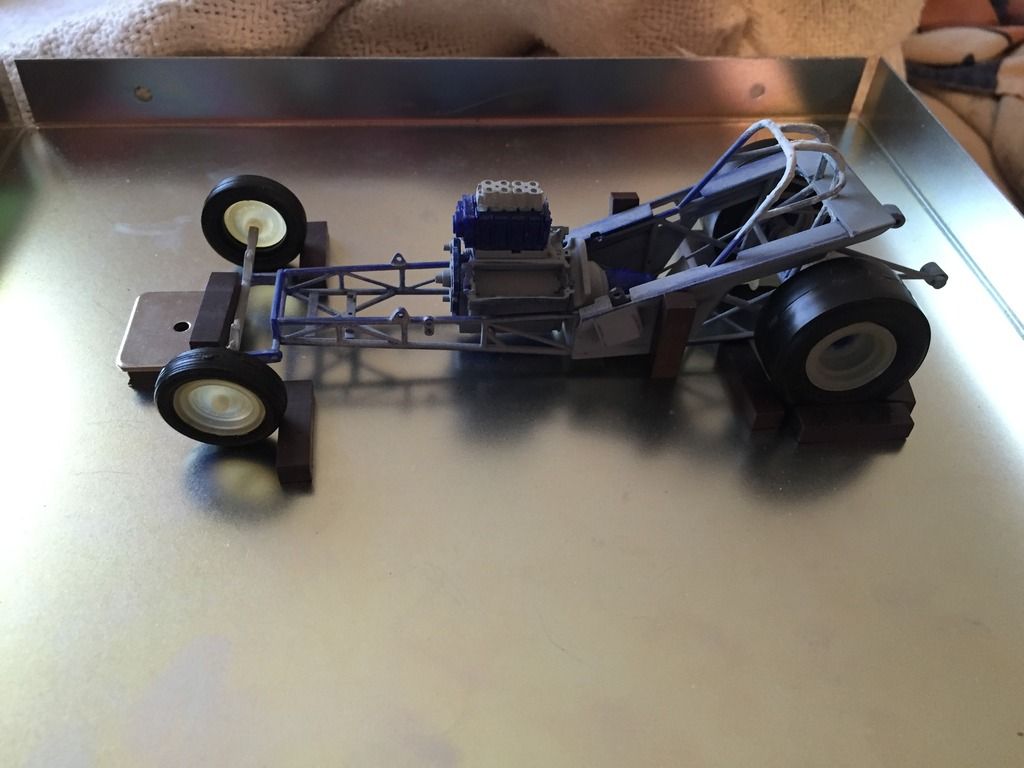
A couple of the chassis mock up
Thanks for looking!
Jimmy "RASS"
|
|
|
|
Post by Mr.409 on Feb 21, 2017 12:26:07 GMT -5
This looks great! Your modifications to the stance look like they worked well. Nice job so far, this is a great kit and I have it waiting to be built too...So I'll definitely be watching how this turns out!
|
|
|
|
Post by harron68 on Feb 21, 2017 13:03:26 GMT -5
Great Lakes in Wisc. was an iconic Midwest haven for gearheads. Lucky you to see both the car and (my heart thumping) Jungle Pam as well. I've seen some alternate decals for the Jungle Jim machines that feature Pam as well.
|
|
jwrass
Snaptite
Mechcanical Engineer. Custom Painter- 45 yrs. Pinstriping, Lettering, Airbrush, Exotic Finishes
Posts: 34 
|
Post by jwrass on Feb 21, 2017 14:22:49 GMT -5
This looks great! Your modifications to the stance look like they worked well. Nice job so far, this is a great kit and I have it waiting to be built too...So I'll definitely be watching how this turns out! 409,
I wasn't going to post the can of worms I opened up by changing the stance, However since you mentioned you were going to build this kit I thought I would share.
The process of the stance I found in a modeling magazine and the article was based on a 1/16th kit. The issues I ran into were not covered in the article so their must be a difference between the 1/16 and the 1/25th.
I looked at a couple more of my Revell F.C. kits and it appears I would have to do the same thing when I build those kits to get the proper stance...... Here go's
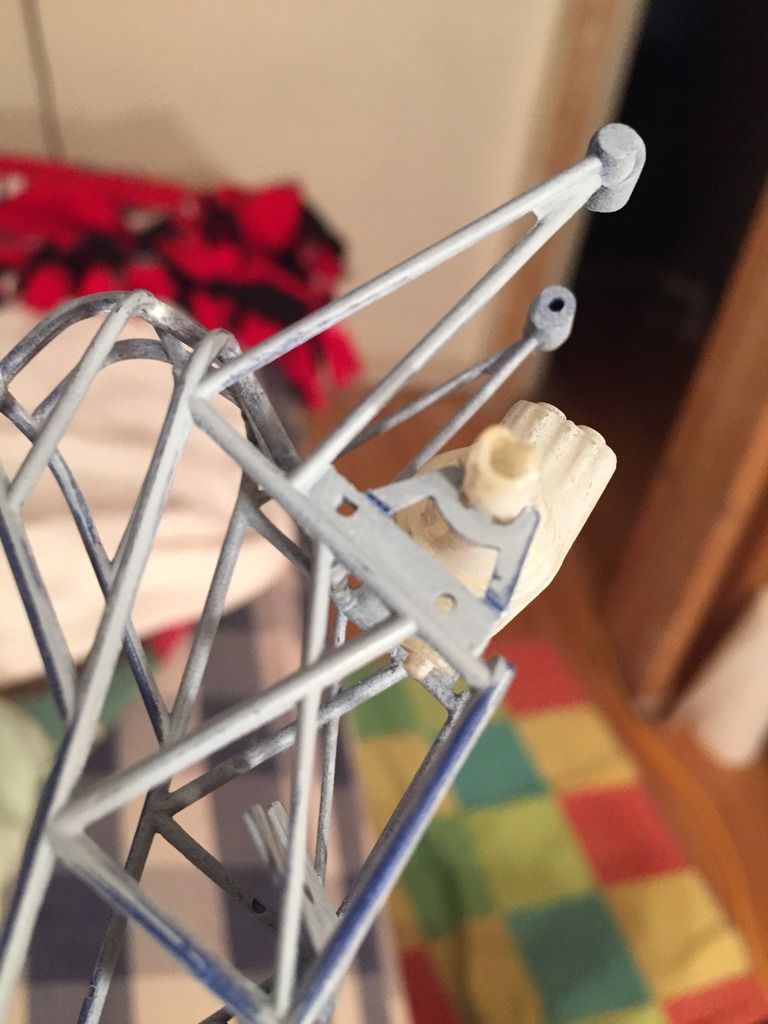
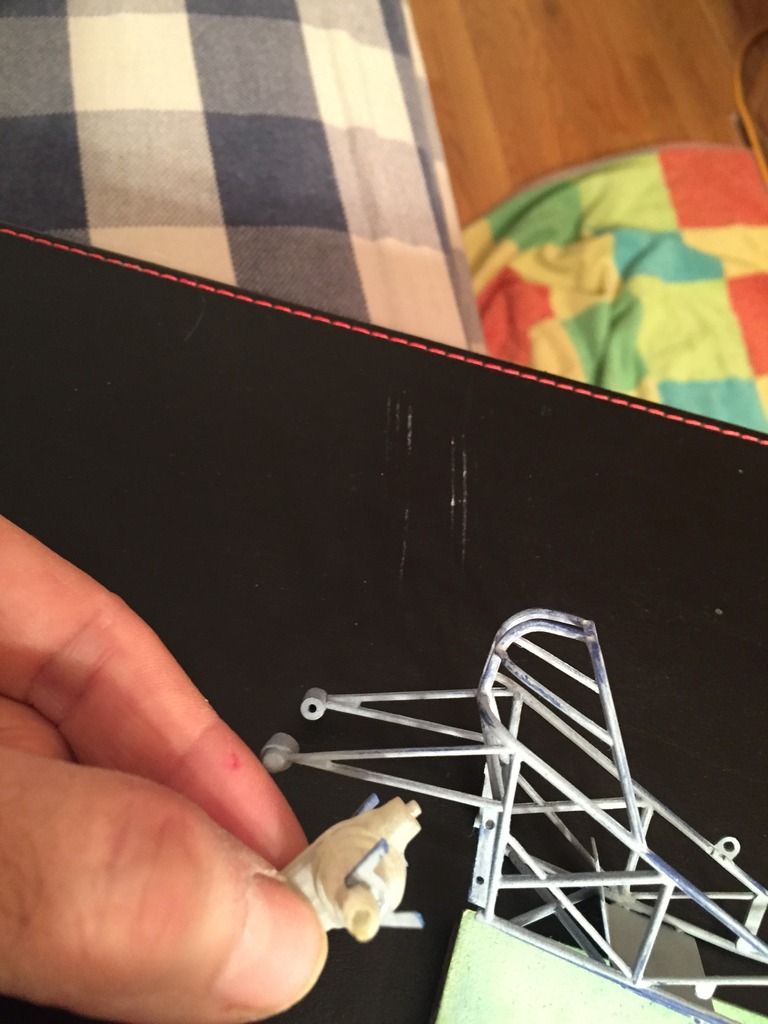
To lower the stance I cut the rear end perch and then moved it as high as I could on the chassis down tube. This is where it went south..... By lowering the mount on the chassis the seat and tin didn't fit so some surgery was in order.
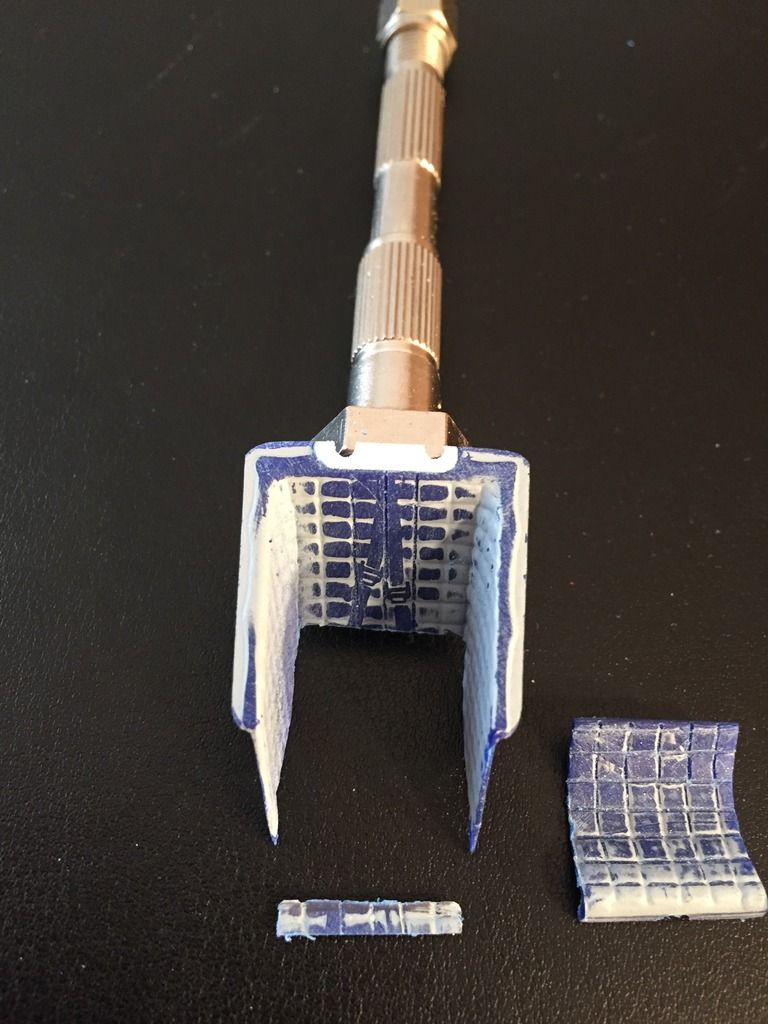
I had to cut about 3/16 from the bottom of the seat to get it to fit back in the chassis, the problem was by raising the rear end the seat hit the rear end housing not letting the seat fit back in the rails.
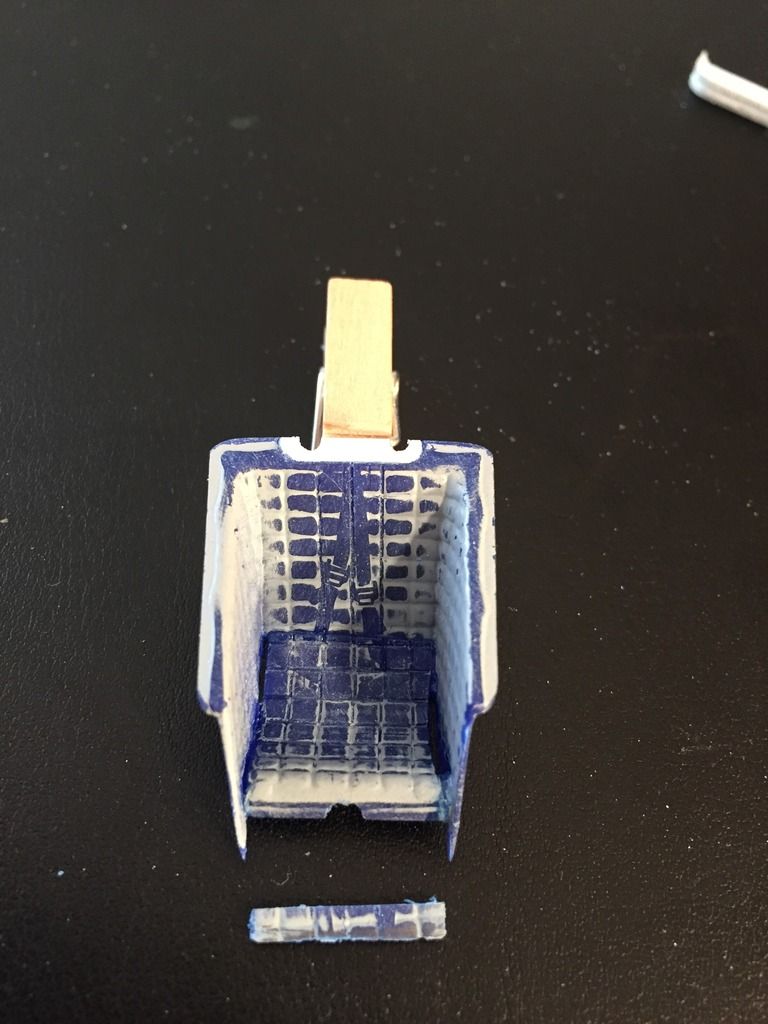
The seat with 3/16 cut and glued back together. I also extended the seat tin to make it more period correct
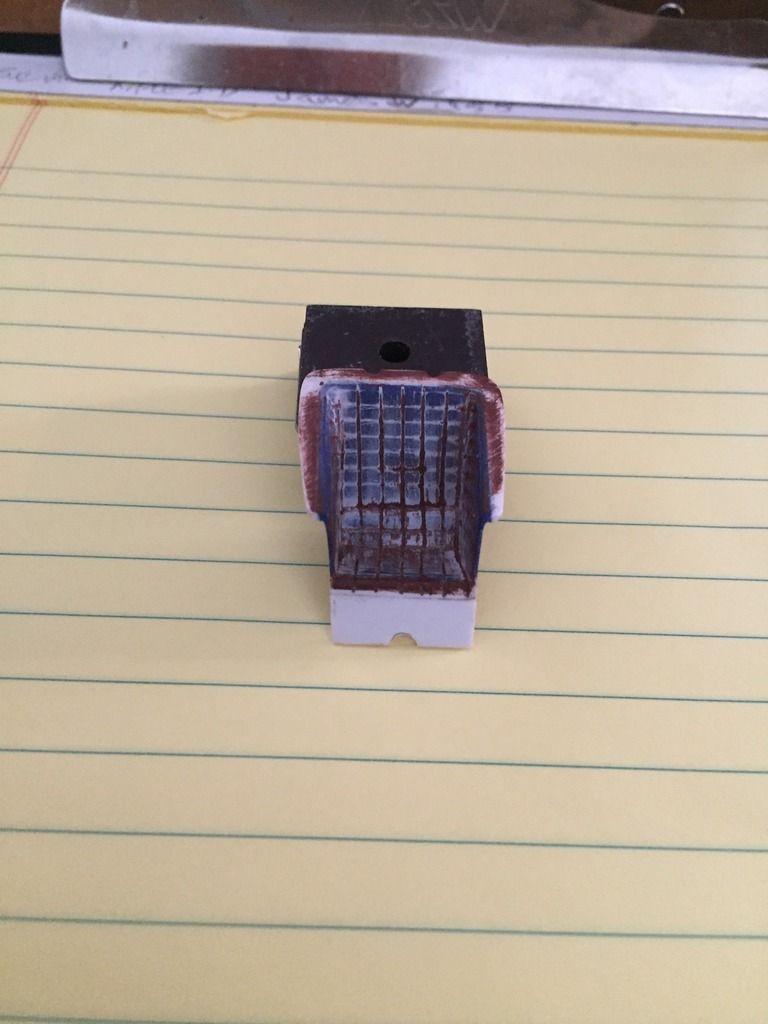
I sanded away the molded in seat belts and re-scribed the rolls in the seat with a less linear pattern as if it had been sat in. I also added more material on the top and rear of the seat pan.
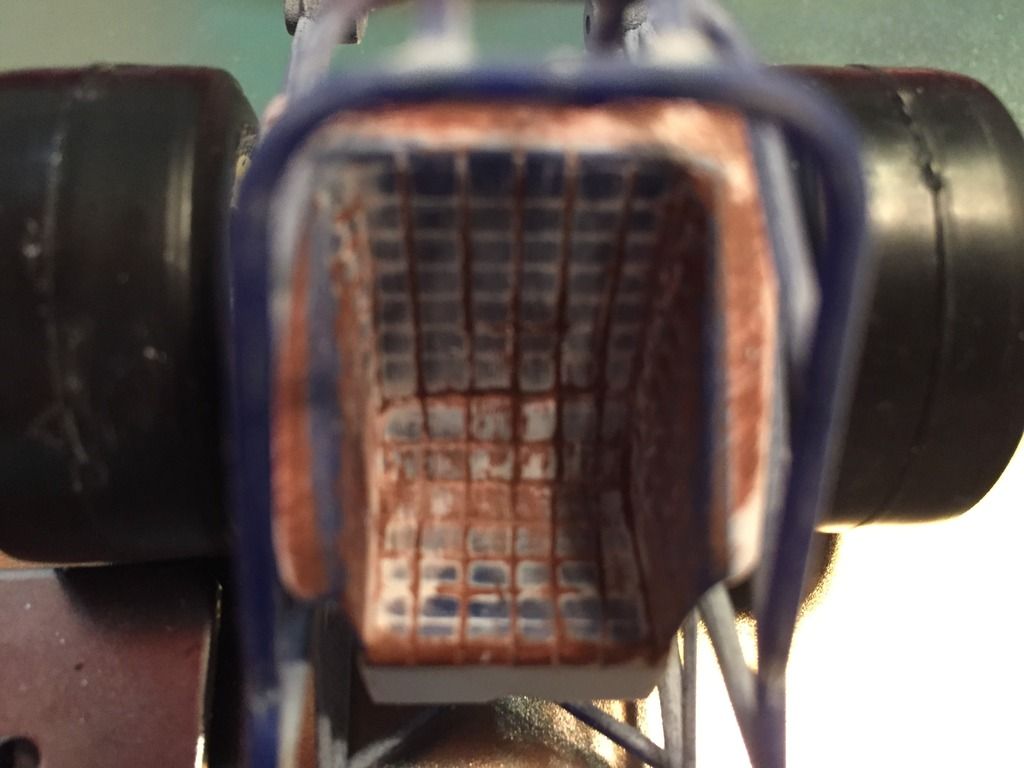
The injector bulge in the interior tin also had to be modified so that the body would come down all the way. Again just some more surgery.
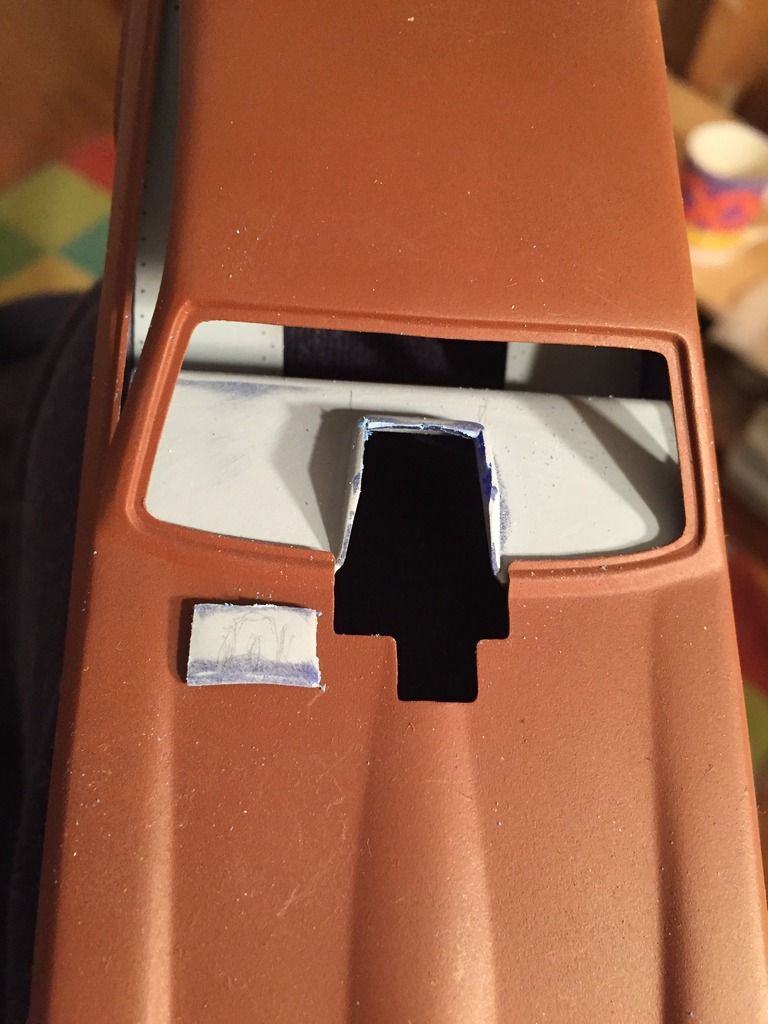
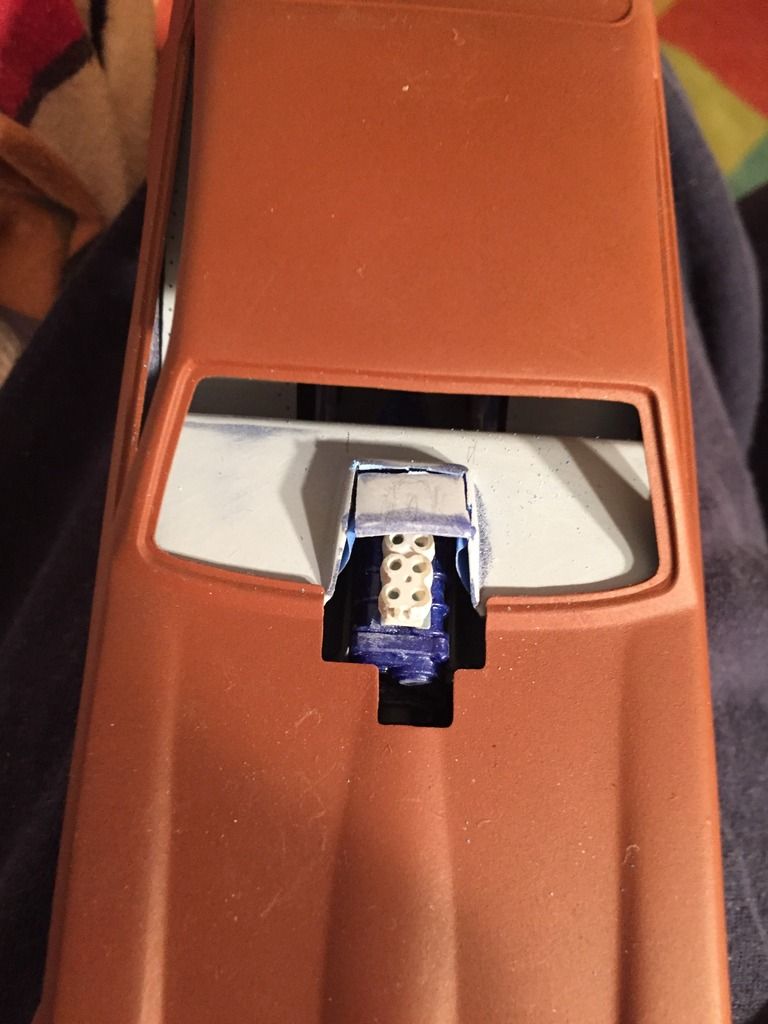
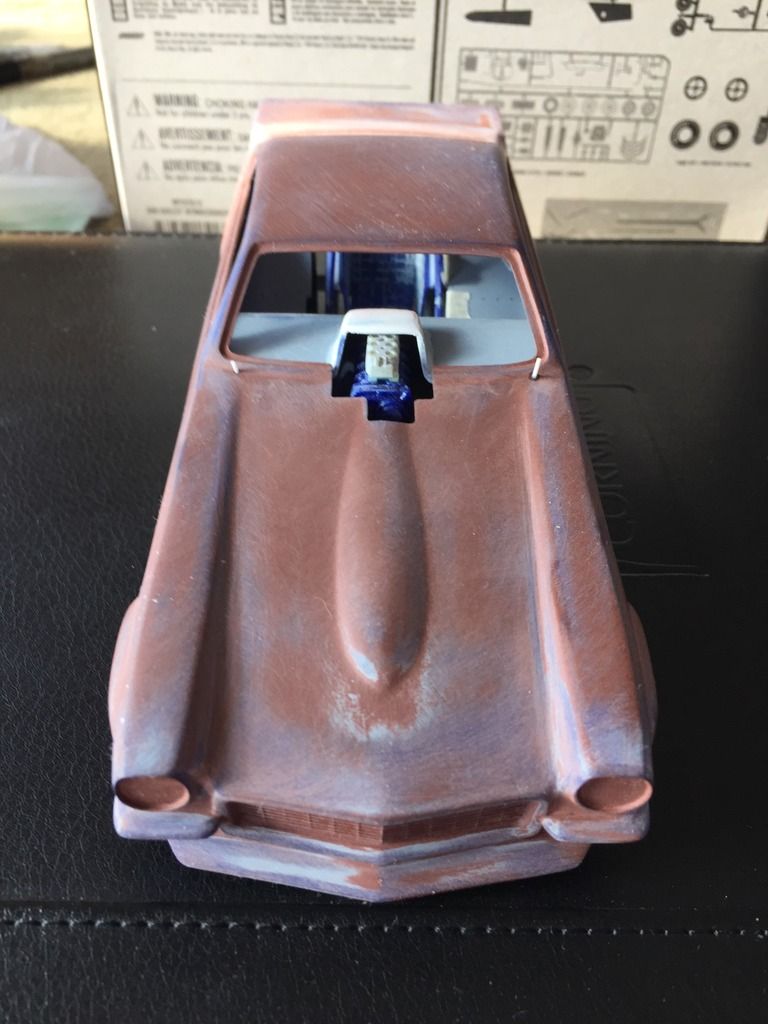
I hope this helps..... when I went to put the seat back in I was like really!!!! It turned out to be a gift really as I got to do some minor scratch building of which I hadn't done in many years.
"RASS"
|
|
|
|
Post by Mr.409 on Feb 22, 2017 5:25:52 GMT -5
Oh well, that requires more cutting and slicing than I originally thought! But, I agree with you, it's a bunch of modifications that just need to be done, so a big thank you for posting those pics & info! It will help for sure when I start mine. Thanks! I just hope mine will turn out half as good as yours.
|
|
|
|
Post by TooOld on Feb 22, 2017 13:52:42 GMT -5
Purchased this kit when it was first released in the early 70's but never built it , sure wish I had one now .
You've got my attention !
|
|
jwrass
Snaptite
Mechcanical Engineer. Custom Painter- 45 yrs. Pinstriping, Lettering, Airbrush, Exotic Finishes
Posts: 34 
|
Post by jwrass on Feb 23, 2017 17:54:17 GMT -5
Major Opps...... 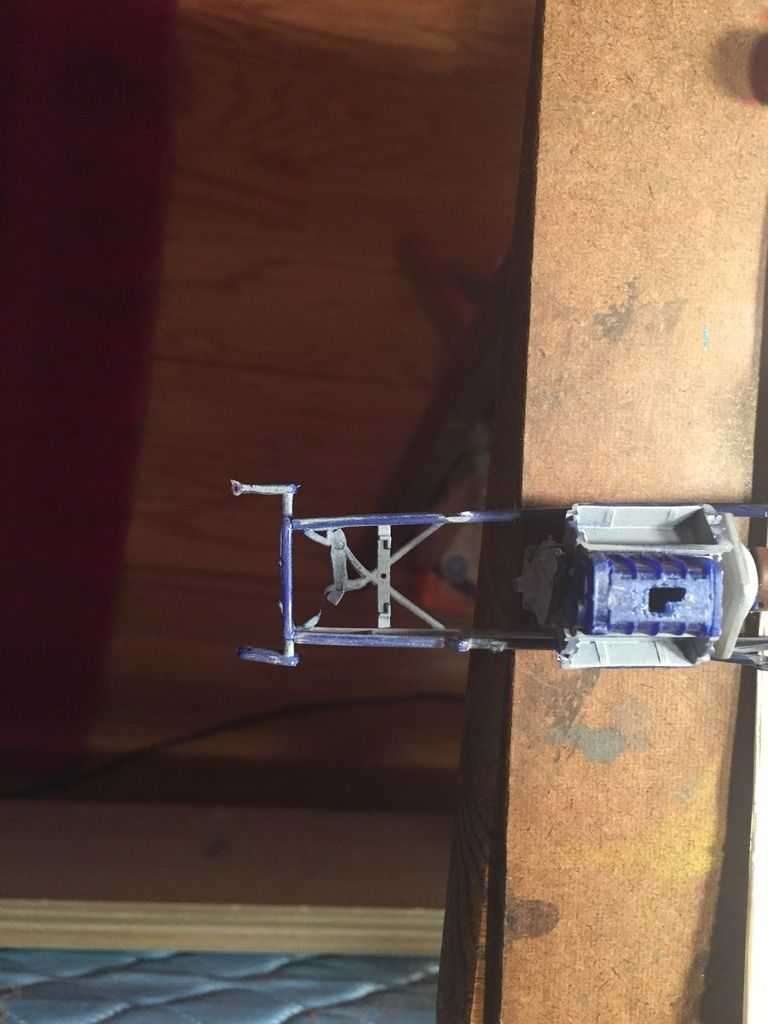 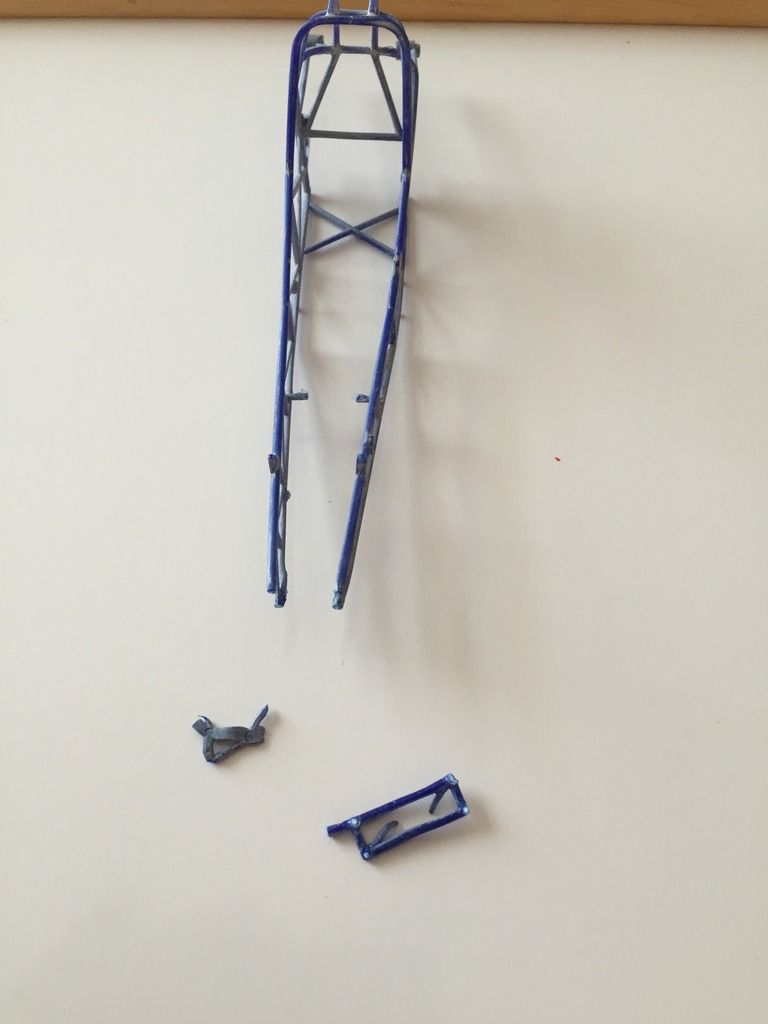 |
|