|
|
Post by fordrodnkustom on Aug 8, 2015 7:49:03 GMT -5
I had this "how to" mixed into a build thread so I decided to put it all together in one thread in this section for easier reference.I needed these old Caddy valve covers from the heads of this old glue bomb engine I had for a build. I couldn't separate them so I just cut the heads off and sanded the material down to recover the set.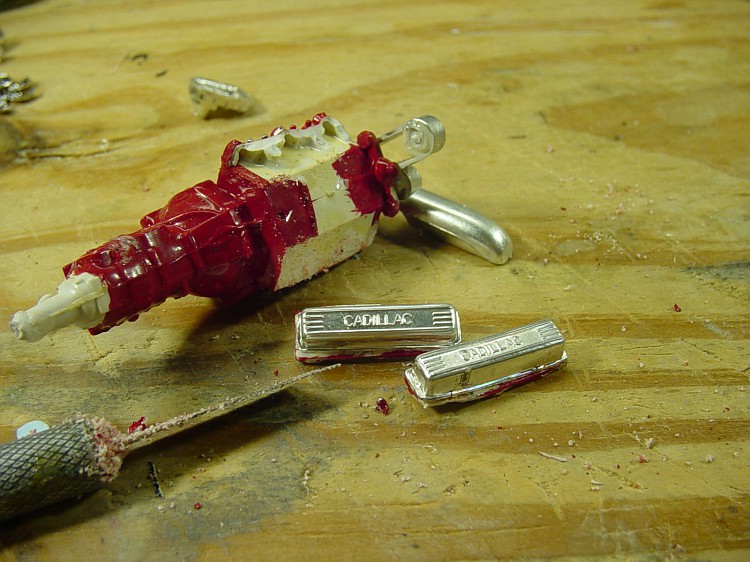 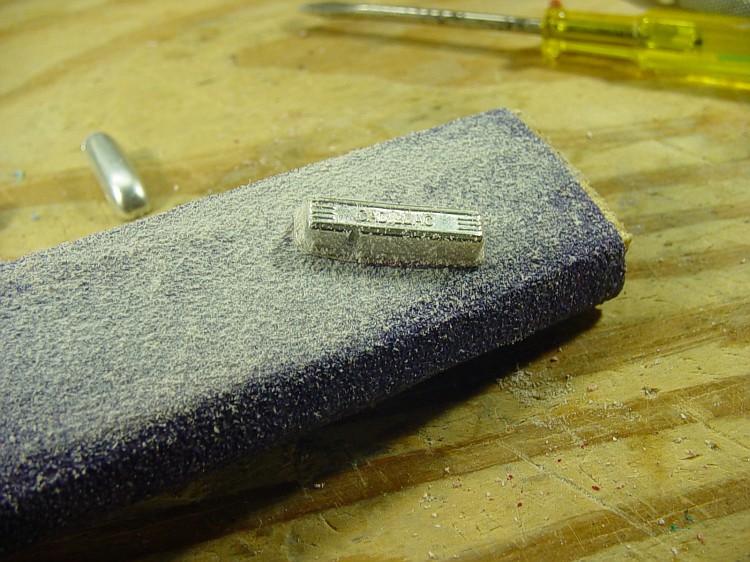 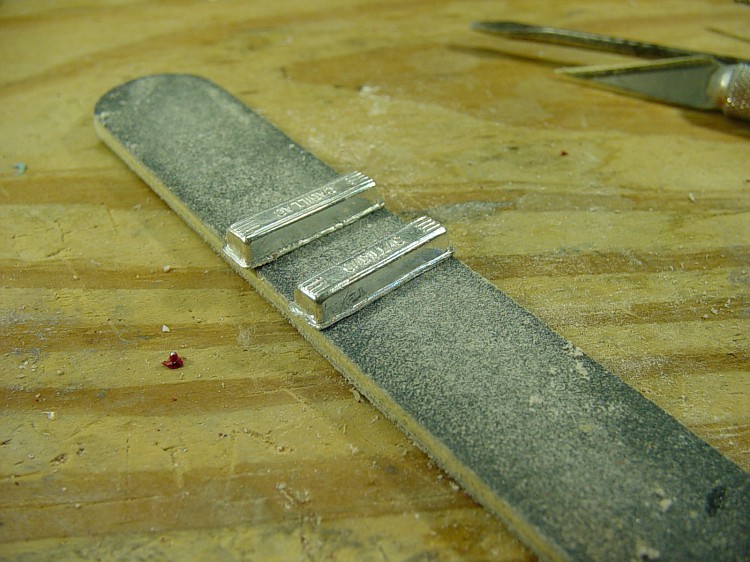 After getting the valve covers ready to install I remembered that these were the only pair I had so I decided to make a mold of them for future use. After getting the valve covers ready to install I remembered that these were the only pair I had so I decided to make a mold of them for future use.
I started by using white glue to secure them to a piece of index card.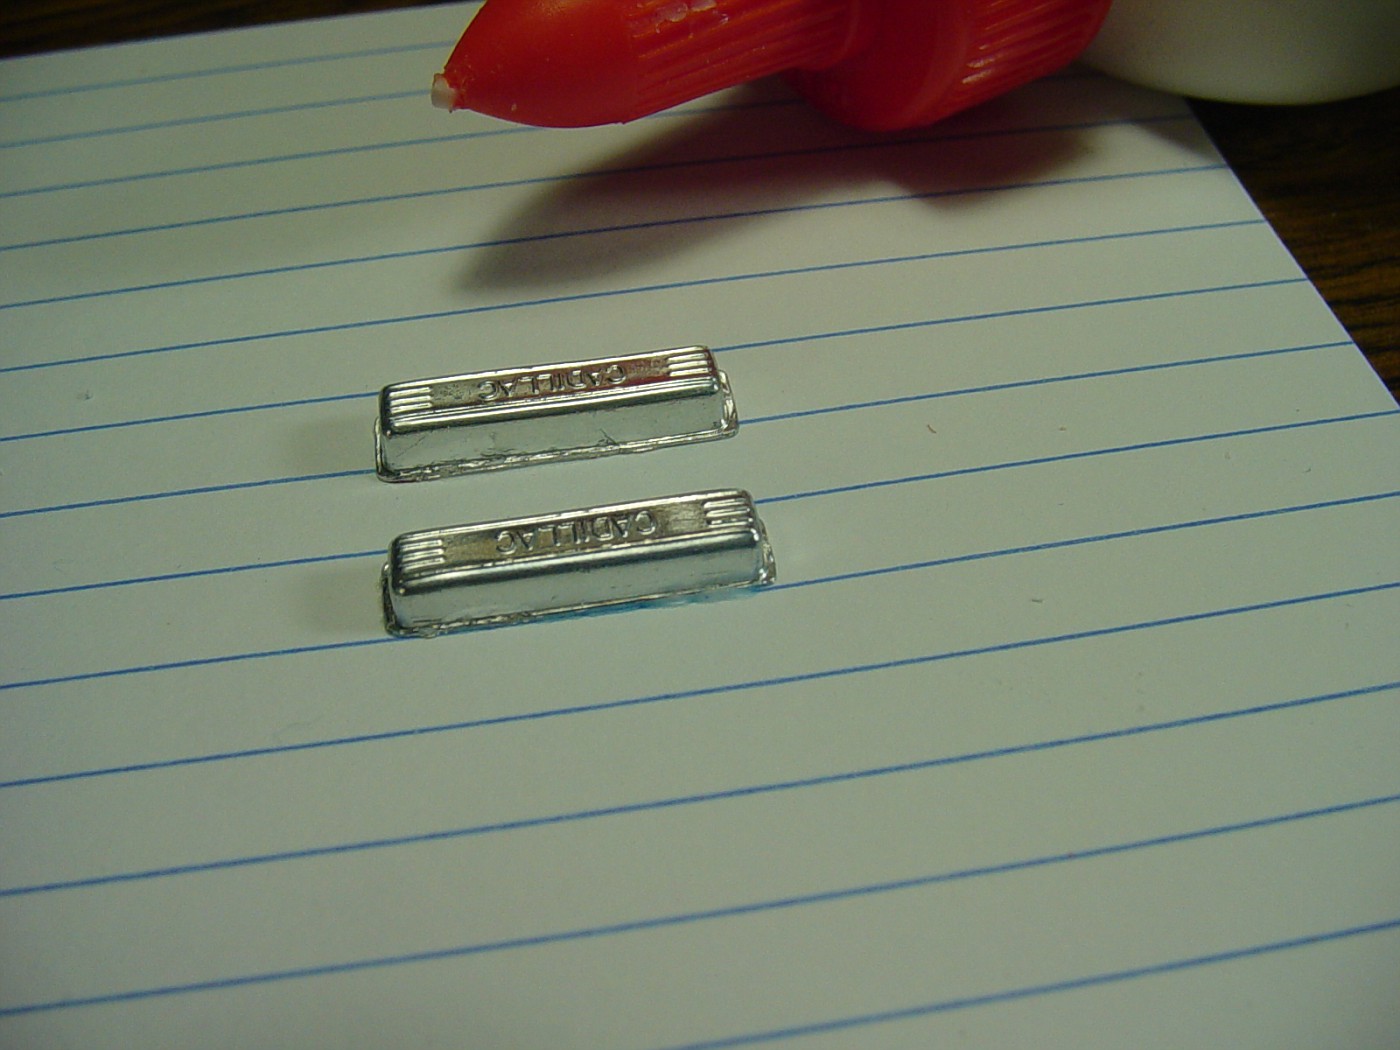 While I was at it, my original built up Blue Beetle arrived so I thought it would be a good idea to mold those heads too. While I was at it, my original built up Blue Beetle arrived so I thought it would be a good idea to mold those heads too.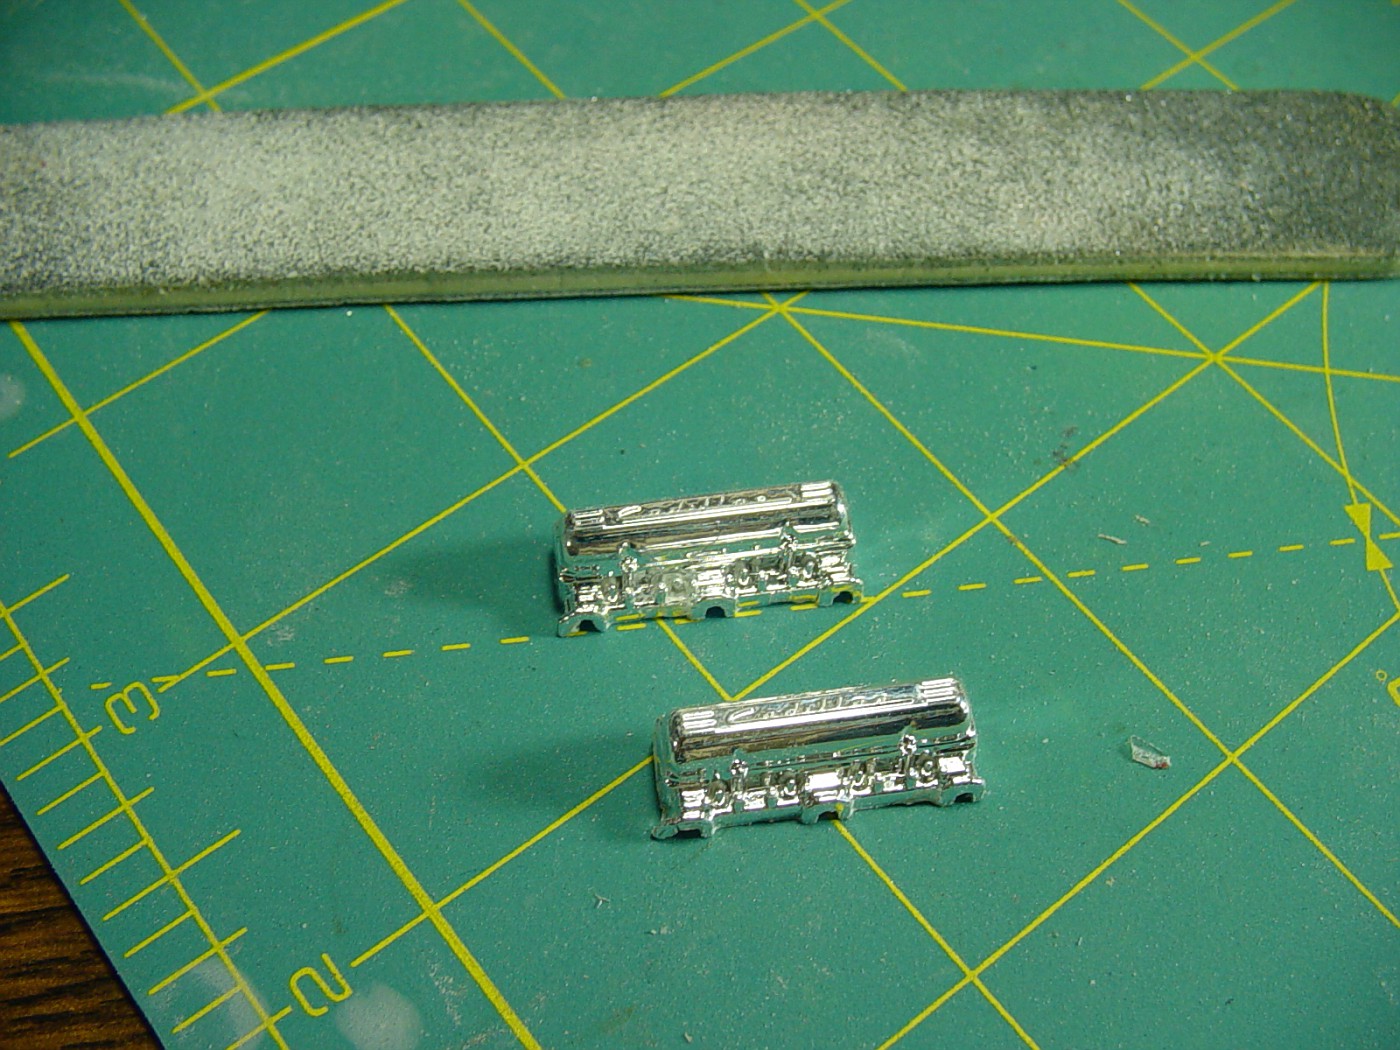 I built up a mold box with Lego blocks, again glued to the card with white glue with the book to hold it all in place until the glue set I built up a mold box with Lego blocks, again glued to the card with white glue with the book to hold it all in place until the glue set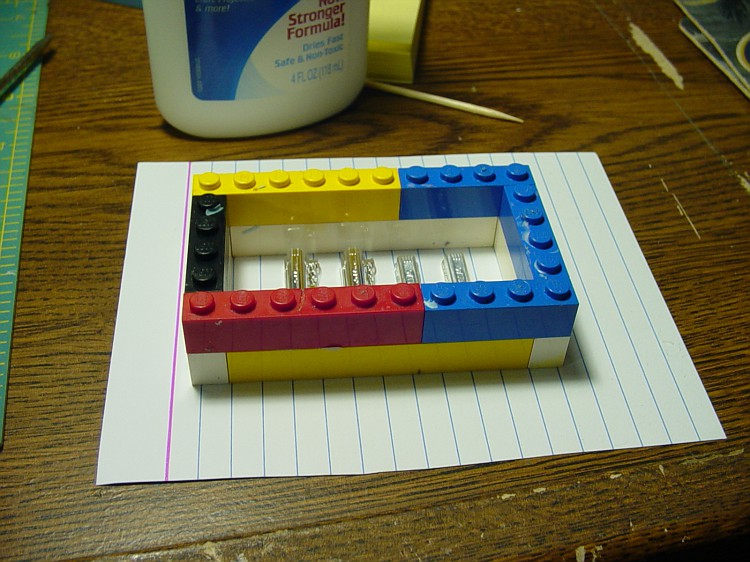 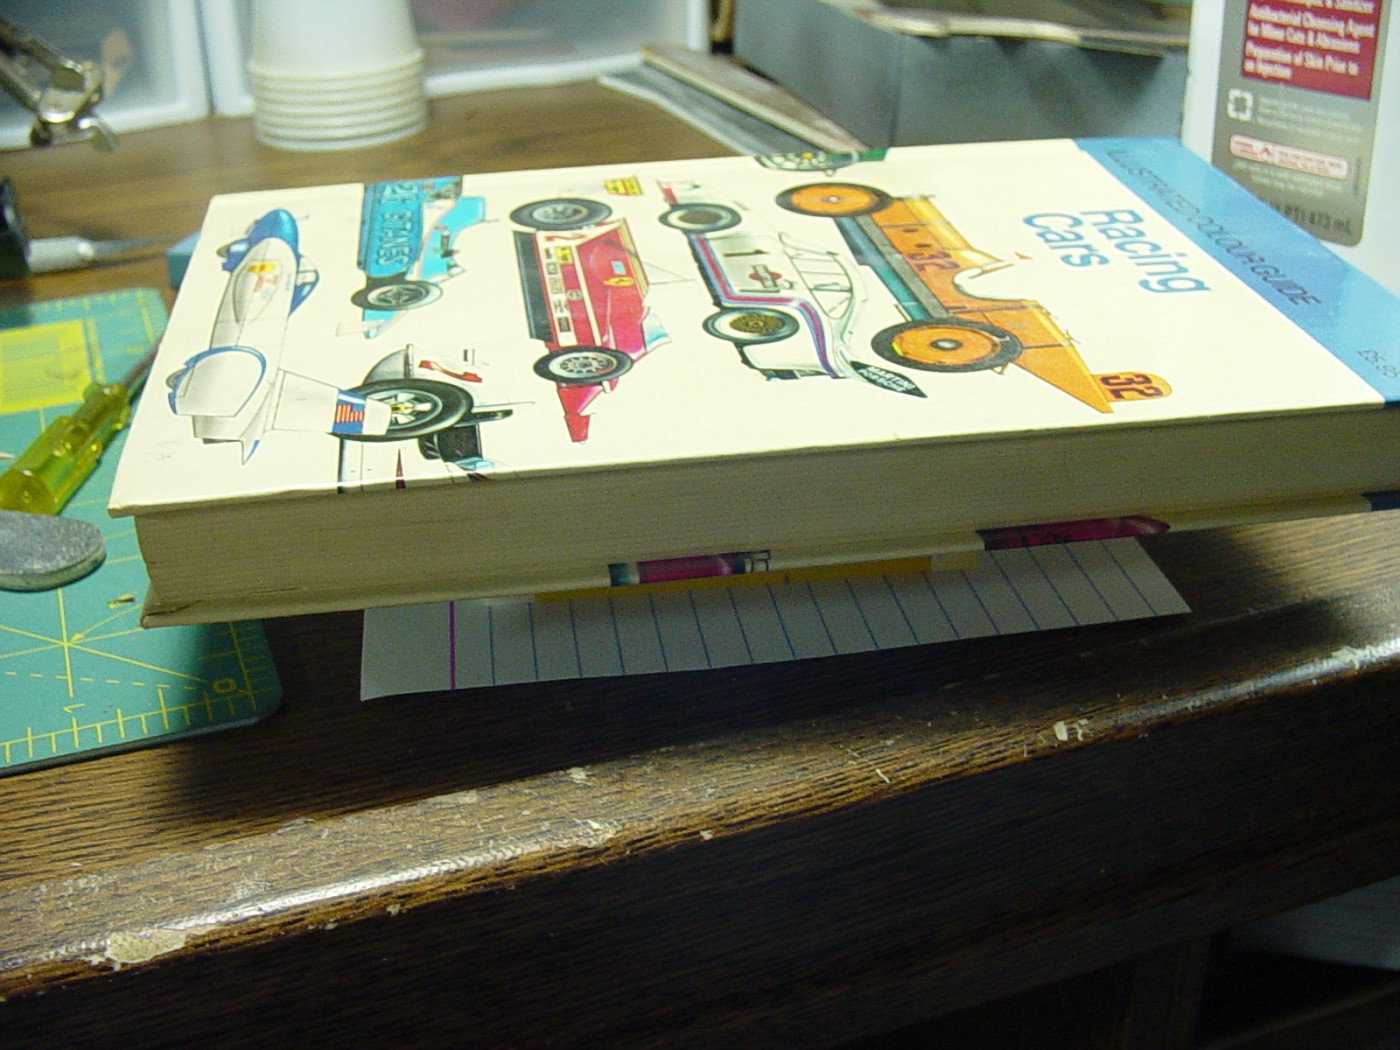 Time to pour rubber, I like this stuff. I follow the instructions to the letter. Time to pour rubber, I like this stuff. I follow the instructions to the letter.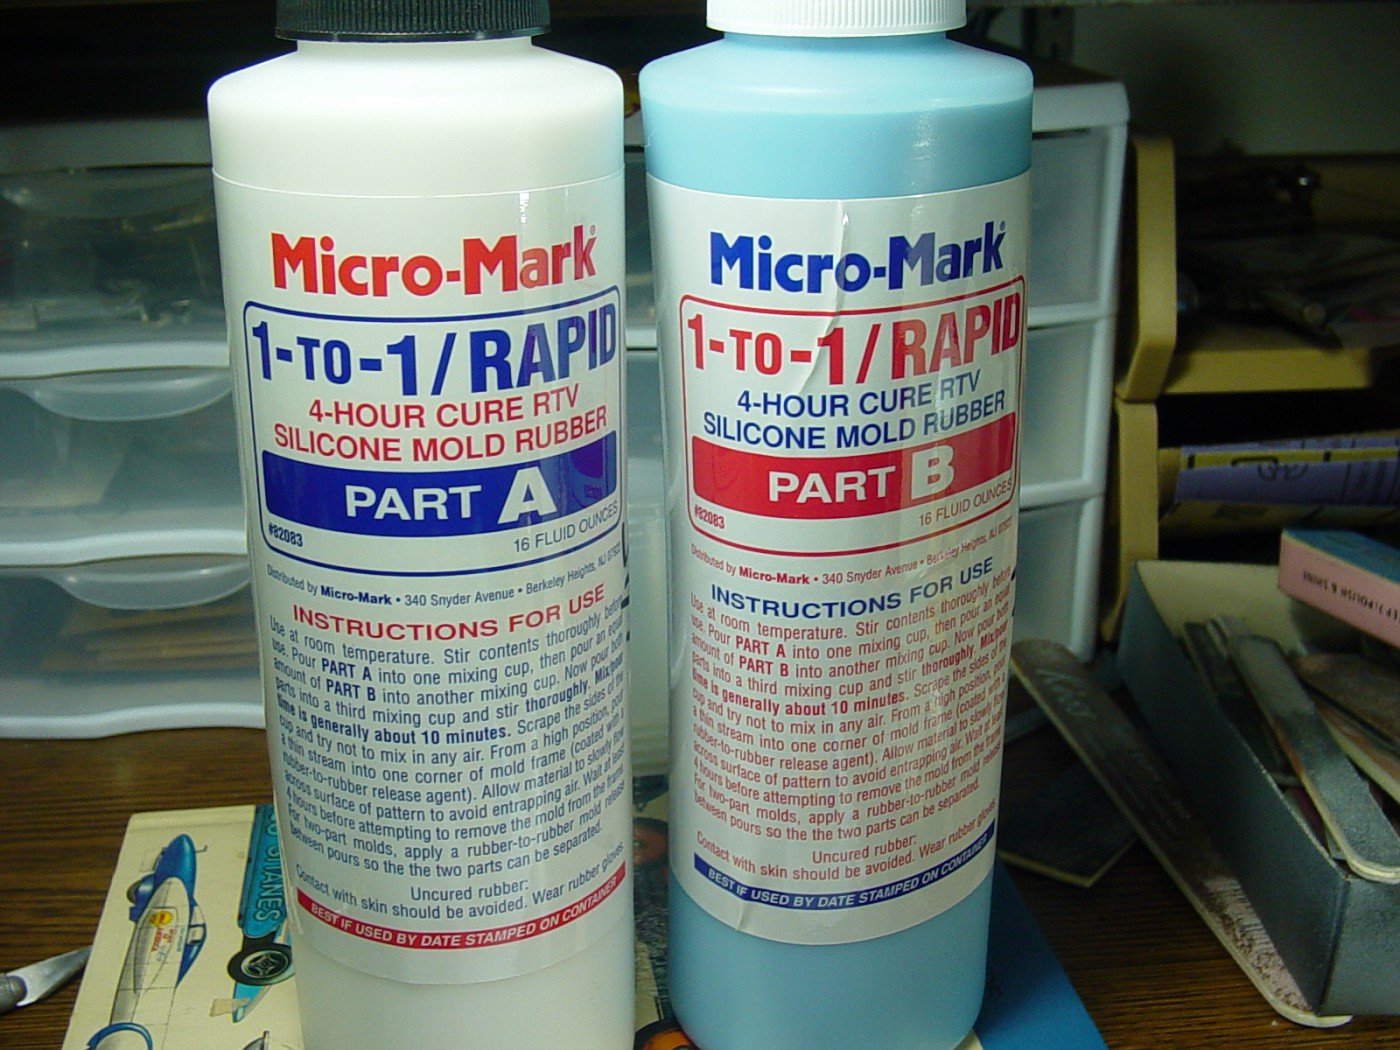 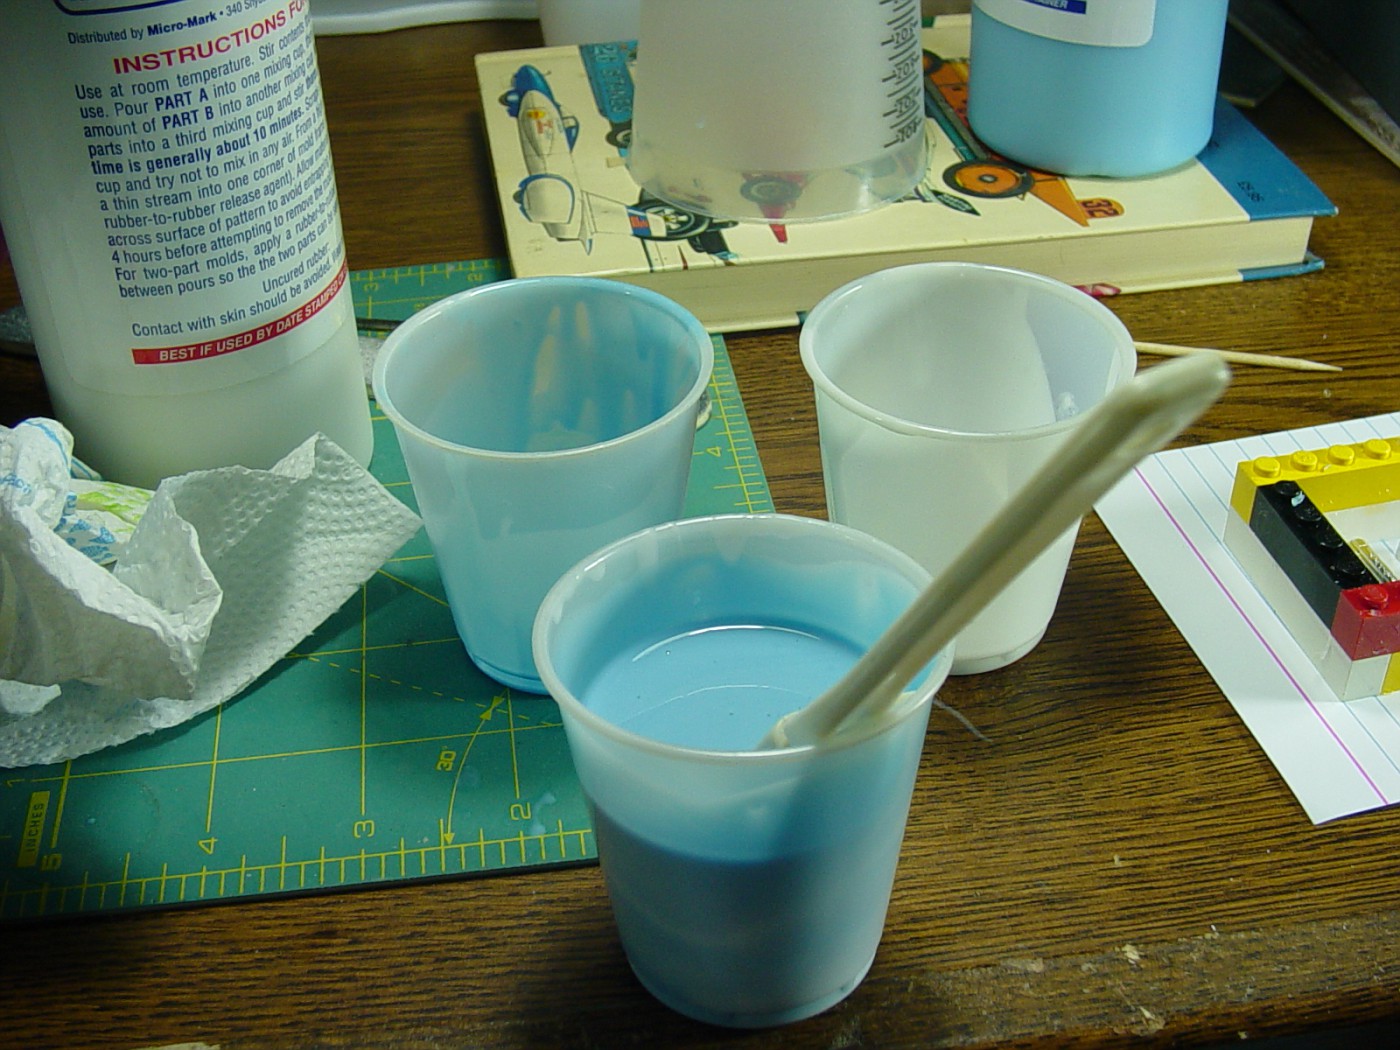 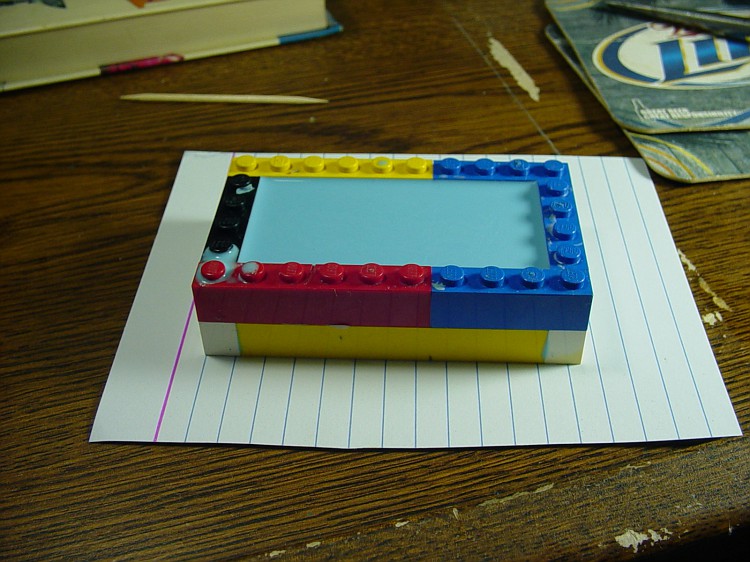 Time to pour some resin. I like this Micro Mark stuff. Again, following the instructions to the letter. Time to pour some resin. I like this Micro Mark stuff. Again, following the instructions to the letter.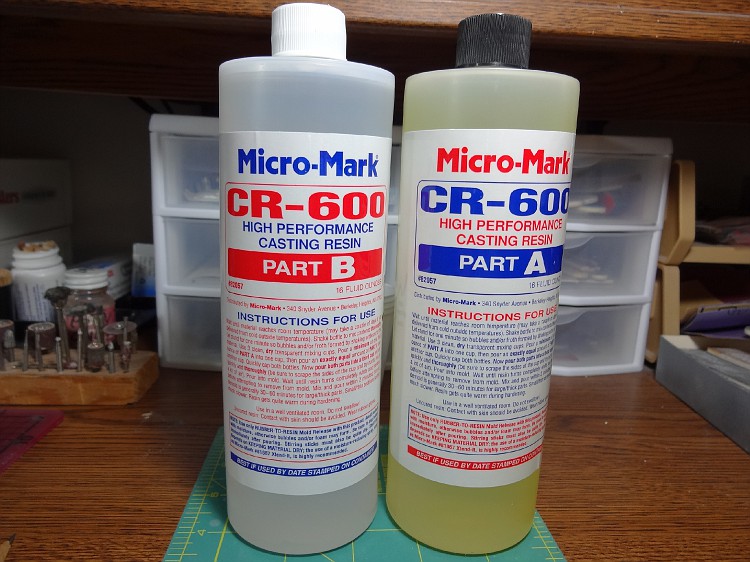 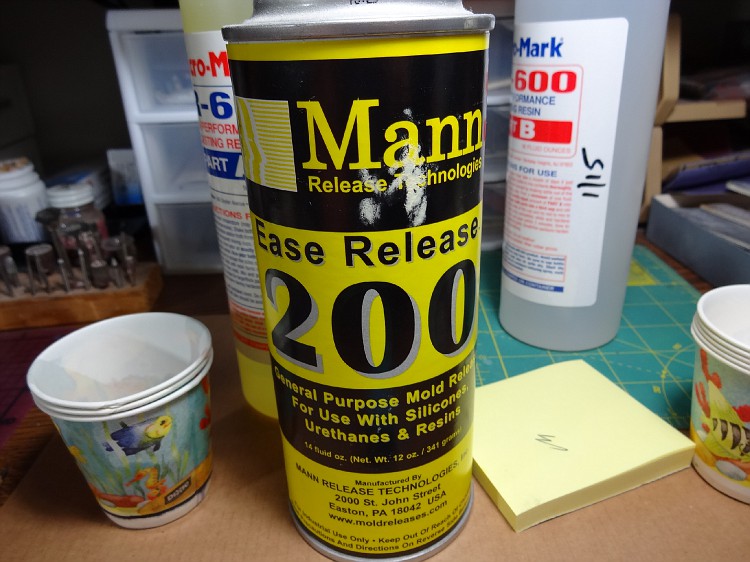 Mixed 1:1 and poured into mold Mixed 1:1 and poured into mold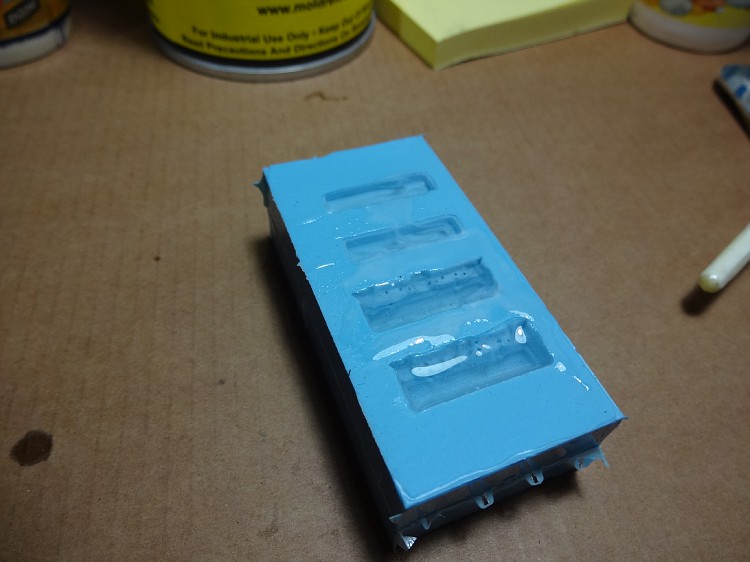 After about 45 minutes, it turns white when cured After about 45 minutes, it turns white when cured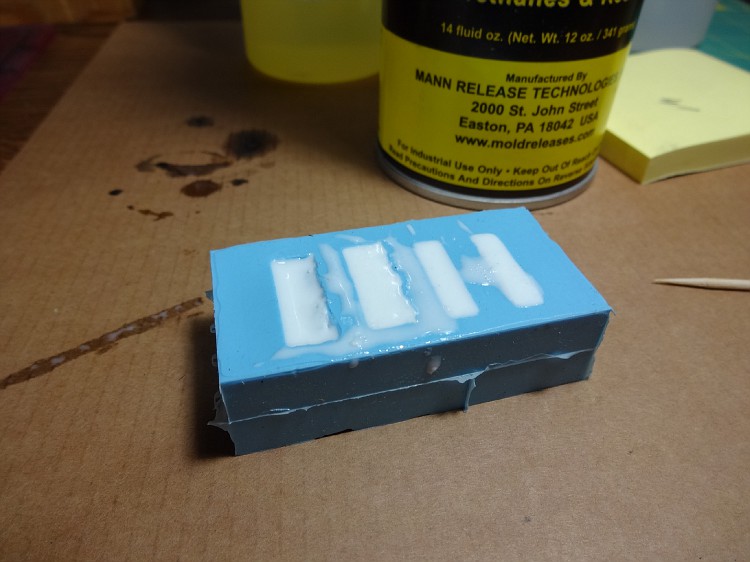 And popped out of the mold. Just need a little clean up and they're ready for prime, paint and Alclad! And popped out of the mold. Just need a little clean up and they're ready for prime, paint and Alclad!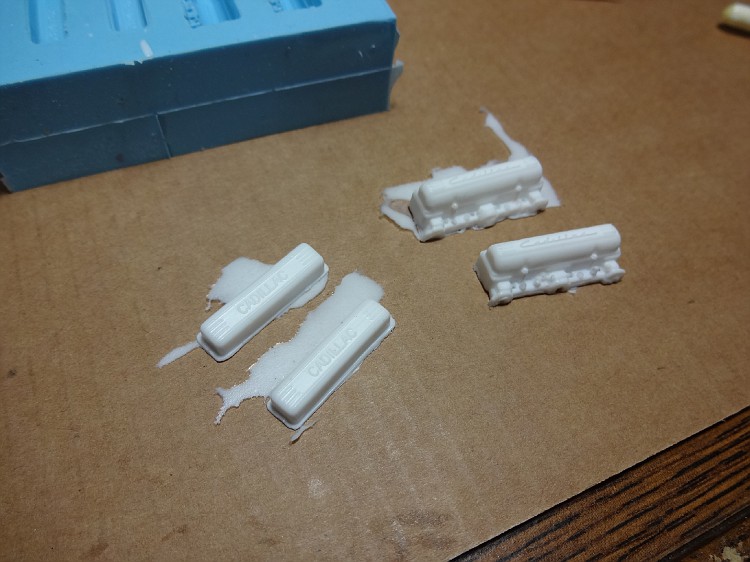 Hope this will encourage some of you to try it for valve covers or any other small part. It's not rocket surgery! Hope this will encourage some of you to try it for valve covers or any other small part. It's not rocket surgery!
|
|
|
|
Post by harron68 on Aug 9, 2015 14:46:53 GMT -5
Very cool. It should inspire builders to try it. Years ago, when I was building the Tamiya Porsche 956, I couldn't stand their twin turbo pop-off valves. They're tiny and I used old modeling clay and regular epoxy. Worked fine on small parts. Thanx for the fotos and description of the process.
|
|