Post by Rick Schmidt on Nov 18, 2008 21:13:54 GMT -5
Ok So you have the Revell 06 Mustang GT but you want to do something a bit different to it. One simple idea is to redo the grille. All ove these forums we see GTs sporting the stock grille.
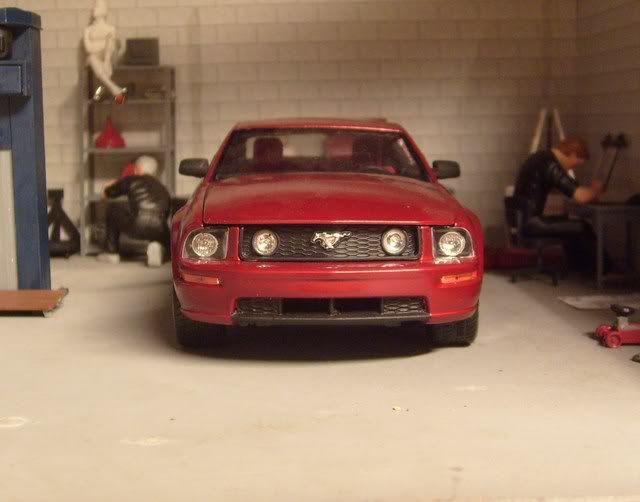
Ok not bad, but we can make this better. We can do a Base style grill or even go as far as making a V6 Pony Package grille for our cars. Lets get started
First you want to remove the entire molded mesh area, foglights and the Running Pony leaving only the surround using the method you prefer to remove items
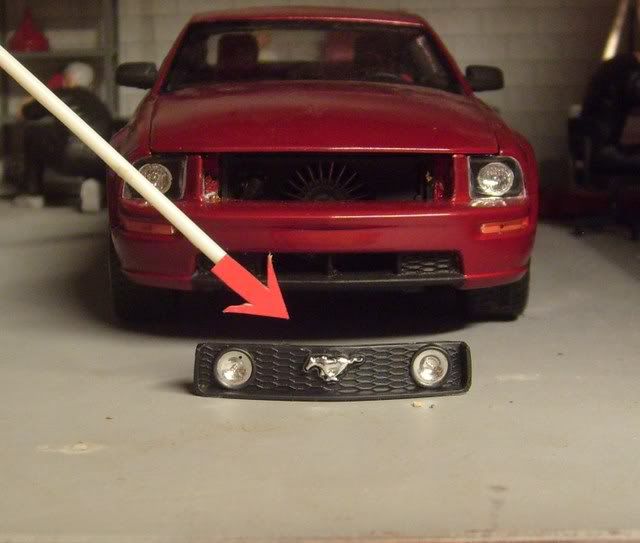
Depending on the style your going for you may want to keep the pony emblem.
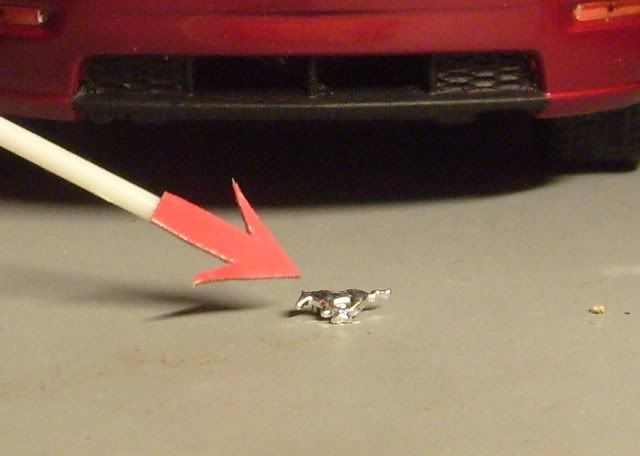
Ok we have the grille out and we are left with a rough but intact Grille surround
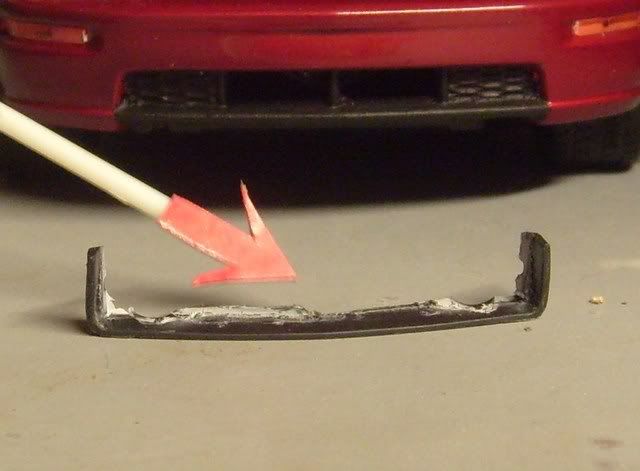
Now you want to CAREFULLY clean up the surround to remove any remaining junk left over from cutting out the grill
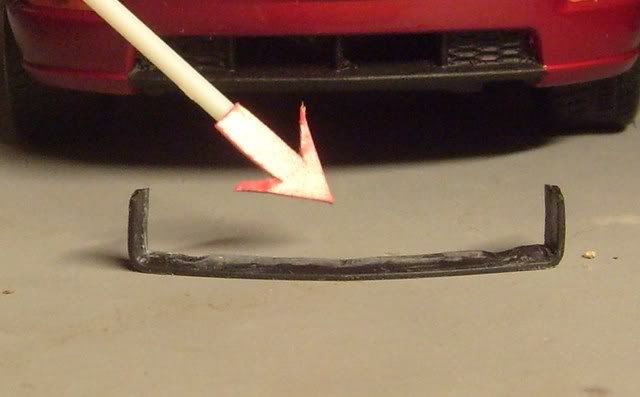
Now that we have the surround cleaned up we have to modify it a bit so it will still fit properly in the opening on the front bumper. We need to remove some of the backside of the surround so when we attach the mesh it all still fits the car.
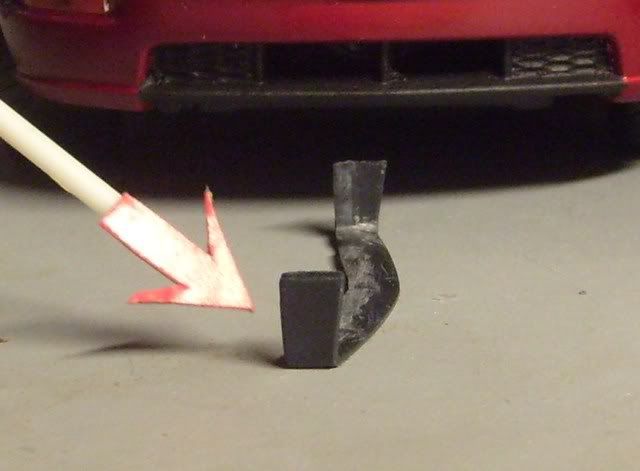
I cut mine down enough to remove all the area where the old grille was. Now be careful you have a very fragile piece in your hands now and one slip and you'll be hunting a new grille.
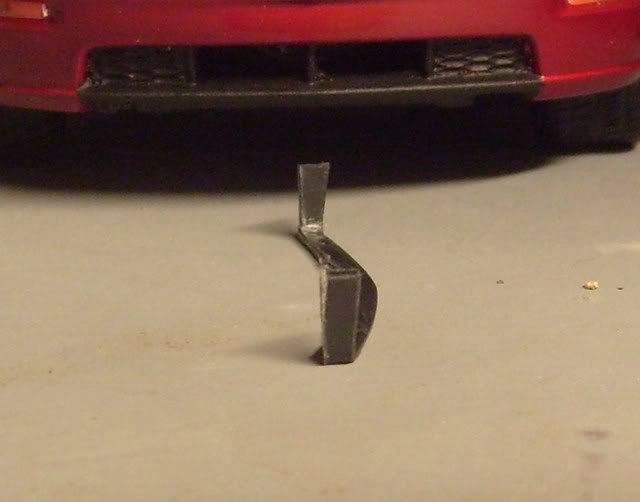
Now for the new grille I used leftover grille mesh from a tamiya kit, but you can use material of your choice here to achieve the desired look

Lay the surround out on your mesh so you can get a general idea of the size piece you will need to cut. Here's where I changed a bit. To get a Correct stock look you need to lay the mesh at an angle to achieve a diamond pattern. I forgot this on my first one but ended up pleased with it anyway and due to lack of material I am showing it done laid straight.
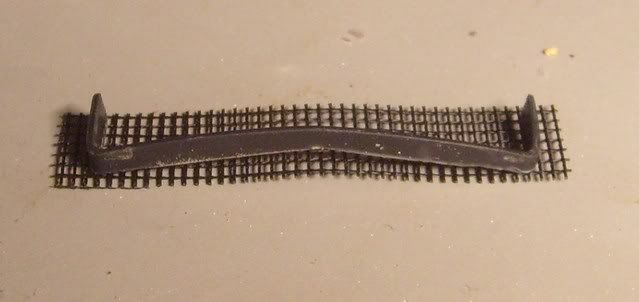
Using the glue of your choice apply glue to the back of the surround and attach the mesh. I used Gel Superglue because it sets fast and is my standard glue.
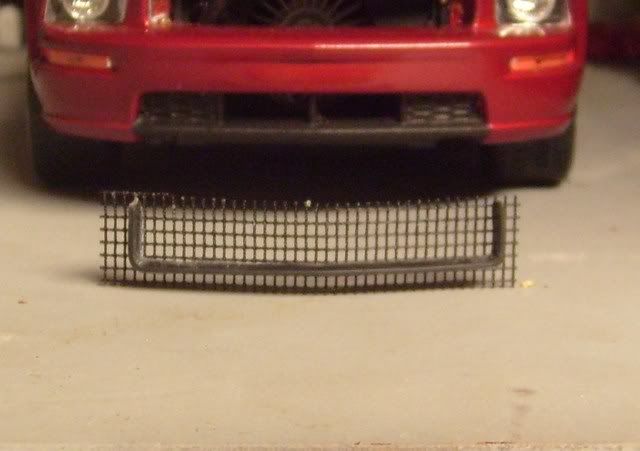
Now we need to trim the edges of the mesh down to size.
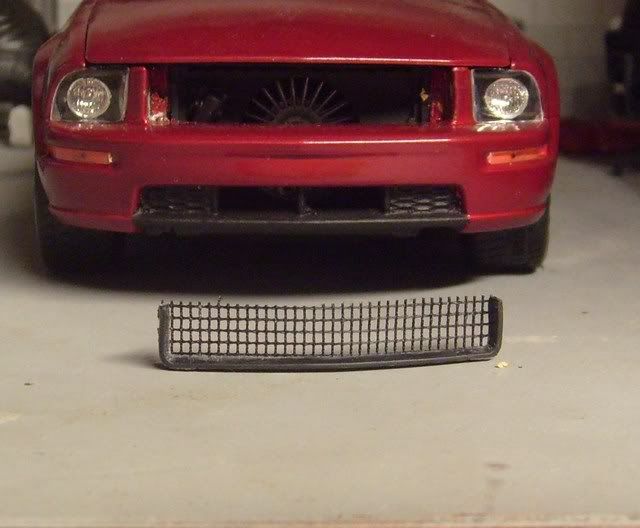
I have found that after all the mods the surround seems not to want to fit and the mesh wants to get wavy. To solve this simply Sand the outer edges of the grille surround until it fits the car again.
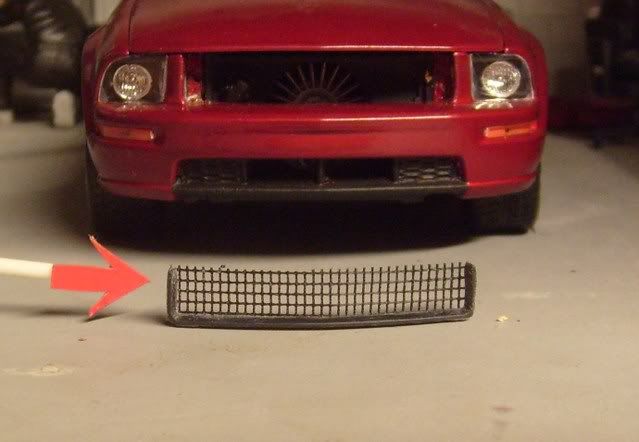
Once you have it fitting all that's needed is a light coat of flat black paint to cover the marks of reworking it.
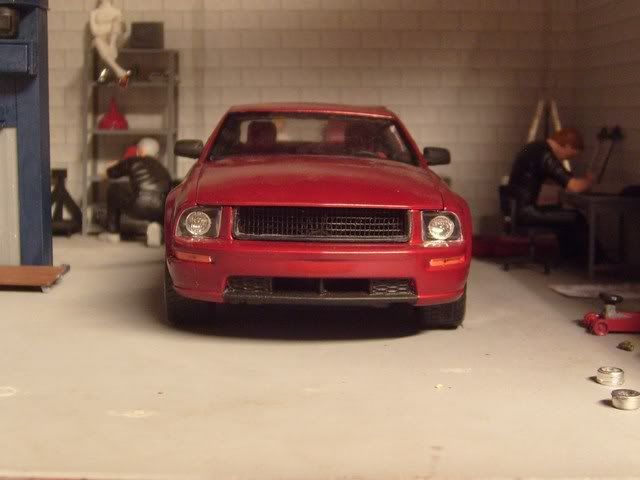
After paint you now have a new grille for your car. At this point it is up to you what to do. Leave it blank for the Bullitt look ?? Maybe add a lone pony in the center ?? Or do as I have done and use an AMT 67 Grille bar to create the Pony Package grille.

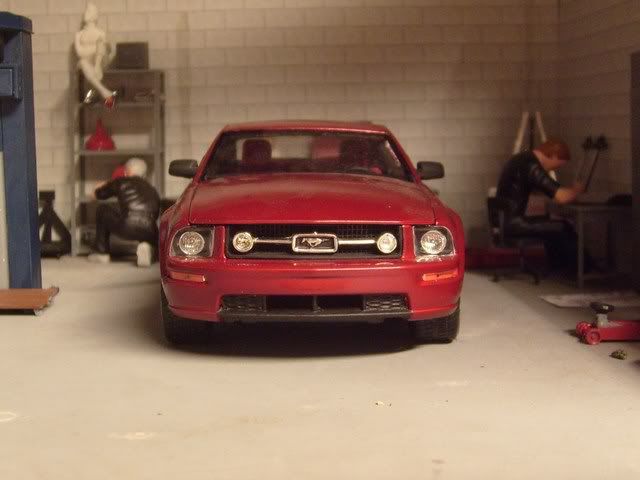
See how much a difference this makes to the cars look?? We can change the cars whole attitude in just a few hours time.
Stay tuned here I'll be using a few more tricks I've been told of or come up with to help you improve the current run of Revell Mustangs.

Ok not bad, but we can make this better. We can do a Base style grill or even go as far as making a V6 Pony Package grille for our cars. Lets get started
First you want to remove the entire molded mesh area, foglights and the Running Pony leaving only the surround using the method you prefer to remove items

Depending on the style your going for you may want to keep the pony emblem.

Ok we have the grille out and we are left with a rough but intact Grille surround

Now you want to CAREFULLY clean up the surround to remove any remaining junk left over from cutting out the grill

Now that we have the surround cleaned up we have to modify it a bit so it will still fit properly in the opening on the front bumper. We need to remove some of the backside of the surround so when we attach the mesh it all still fits the car.

I cut mine down enough to remove all the area where the old grille was. Now be careful you have a very fragile piece in your hands now and one slip and you'll be hunting a new grille.

Now for the new grille I used leftover grille mesh from a tamiya kit, but you can use material of your choice here to achieve the desired look

Lay the surround out on your mesh so you can get a general idea of the size piece you will need to cut. Here's where I changed a bit. To get a Correct stock look you need to lay the mesh at an angle to achieve a diamond pattern. I forgot this on my first one but ended up pleased with it anyway and due to lack of material I am showing it done laid straight.

Using the glue of your choice apply glue to the back of the surround and attach the mesh. I used Gel Superglue because it sets fast and is my standard glue.

Now we need to trim the edges of the mesh down to size.

I have found that after all the mods the surround seems not to want to fit and the mesh wants to get wavy. To solve this simply Sand the outer edges of the grille surround until it fits the car again.

Once you have it fitting all that's needed is a light coat of flat black paint to cover the marks of reworking it.

After paint you now have a new grille for your car. At this point it is up to you what to do. Leave it blank for the Bullitt look ?? Maybe add a lone pony in the center ?? Or do as I have done and use an AMT 67 Grille bar to create the Pony Package grille.


See how much a difference this makes to the cars look?? We can change the cars whole attitude in just a few hours time.
Stay tuned here I'll be using a few more tricks I've been told of or come up with to help you improve the current run of Revell Mustangs.






 It's an interweb thing.....