|
|
Post by ScaleModelRestoration on Jun 18, 2008 22:18:28 GMT -5
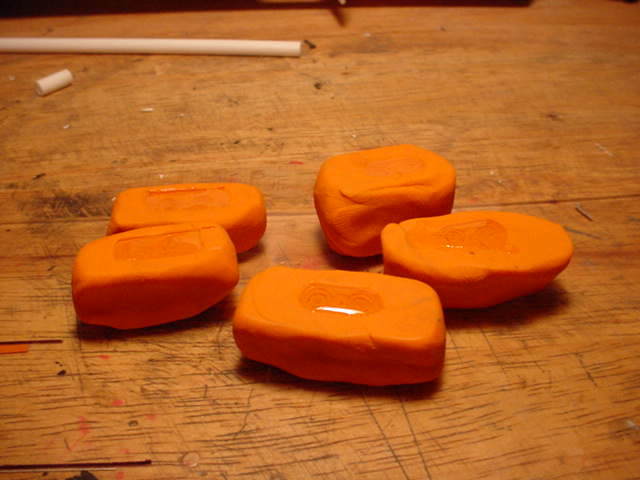
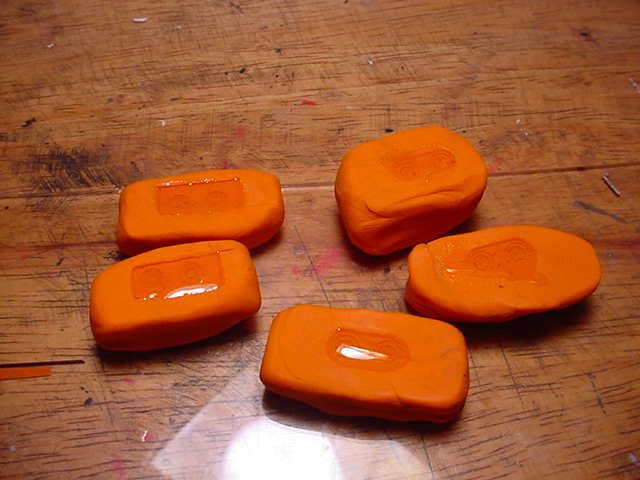
You probly wonder what the heck is that orange stuff! NO its not hand cleaner LOL. Using Kleen Klay (never hardens) and 6 minute epoxy.......makin a set of camaro taillites. 1970 1/2 1989 Issue only had the one side.-plus i need two more for another build. Next up is a set from a 1972 Camaro try finding these! i have for the last 2 years, so i make my own.......... I neaded up a piece of Kleen Klay to make it soft and using a piece of pelixe glass i made one side flat then laid the tailite down on the smooth surface and pushed down firmly but not to much to distort the klay.... once i was satisfied i lifted the Klay upright (turned it over) revealing the taillite and using my #11 blade i carefullt popped the taillite out, care needs to be takin here cause you could disort the Klay...........shoudl work for any small part as well as long as it will lay flat..........I mixed up some 6 minute epoxy alittle more hardner so it should set up faster.......but i will let it set to cure for a day or so from past esperence...........hope you enjoy!    I used this same How Too quite a few years back when i couldn't find any for a maverick kit.... so i made a few sets found a pattern that worked well and i still use it the same way....... |
|
|
|
Post by rodburner on Jun 21, 2008 0:57:29 GMT -5
great tip! i never would have thought of that.
|
|
|
|
Post by ScaleModelRestoration on Jun 21, 2008 4:42:45 GMT -5
|
|
|
|
Post by ScaleModelRestoration on Jun 22, 2008 23:52:14 GMT -5
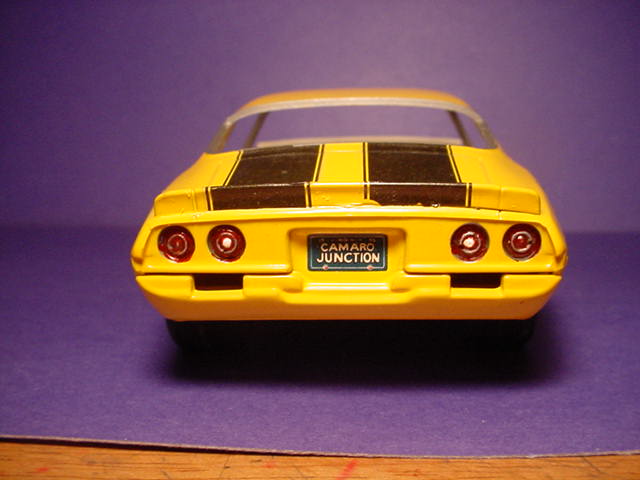
Here they are installed, by far not 100% perfect but its better then 4 empty holes..............  |
|
|
|
Post by virgmeister on Aug 1, 2009 11:22:56 GMT -5
That is a great concept. I have found that the barracuda that has the same type of taillight works well in the place of the camaro taillights, or vice-versa. Thanks for the tip.
|
|