2nd of 2 new projects: Revell/Matchbox Austin Healey 100-6
May 31, 2020 0:45:33 GMT -5
mustang1989 likes this
Post by jbwelda on May 31, 2020 0:45:33 GMT -5
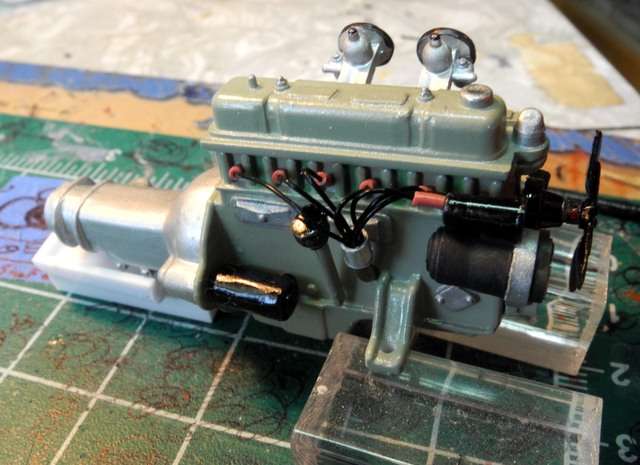
Well, I have been looking around for a half-appropriate subject to use some really kool 3D printed Borrani wire wheels for some time, and at some point I noticed this old Matchbox release of the downright ancient Revell Austin Healey 100-6. The multipiece (and I do mean MULTI piece) body has put me off before but this time I tried fitting some of it together with Tamiya tape and was surprised to see that it actually lined up pretty well. And it has opening hood (bonnet) and trunk (boot) as well as a fairly well detailed AH engine. But I decided that as much as the Borrani's outclassed the AH, maybe they would make more sense if I put something a little more exotic, or at least with a better power/weight ratio, into it. So digging around, what makes more sense than a small block Chevy (snore) or, ok, how about a Buick nailhead, rather in abundance in the scale world, and even with some pedigree re: licensing a similar motor to Rover at a later point in time.
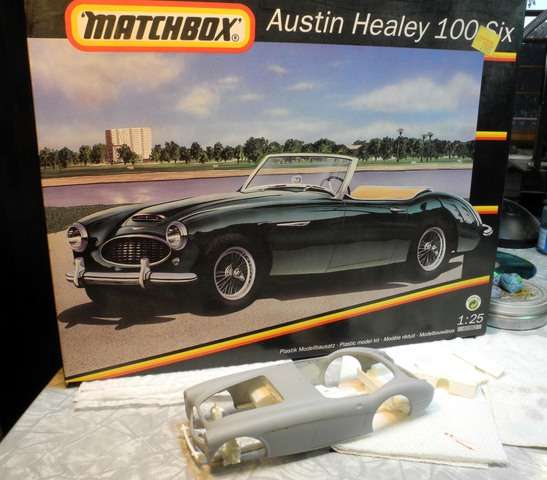
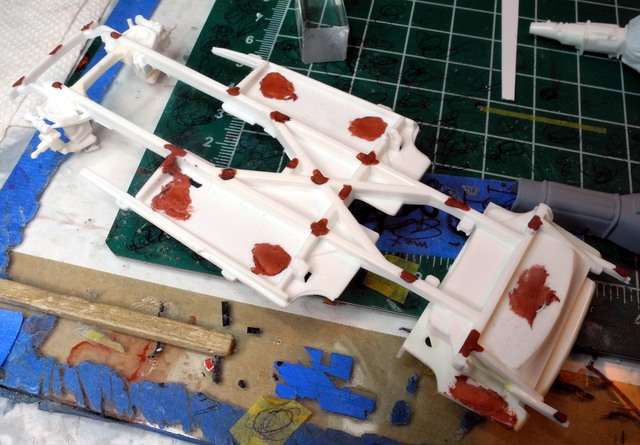
Anyone else remember this turkey of an issue from the dread dark days of the hobby? I bought it 20 years ago and it has sat at the bottom of one of my storage containers, unloved and unremembered. The small pieces are so flashed over it is difficult to tell where the tie rod, for instance, ends and the flash begins. And as soon as you start to sand that flash off, you find the plastic is in this sort of soft, pliable state that defies smooth sanding. To add to that, there are ejector pin marks like the surface of the moon, all over everything. I forgot to take a pic of it but I marked about 15 pin marks on the bottom of the chassis, a few in places that are going to be hard to repair.
This is going to be interesting.
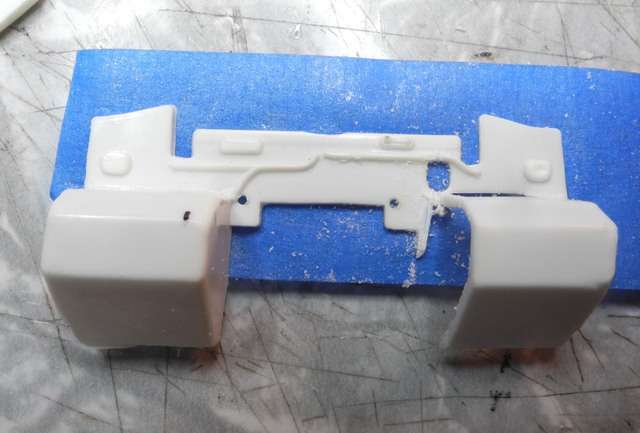
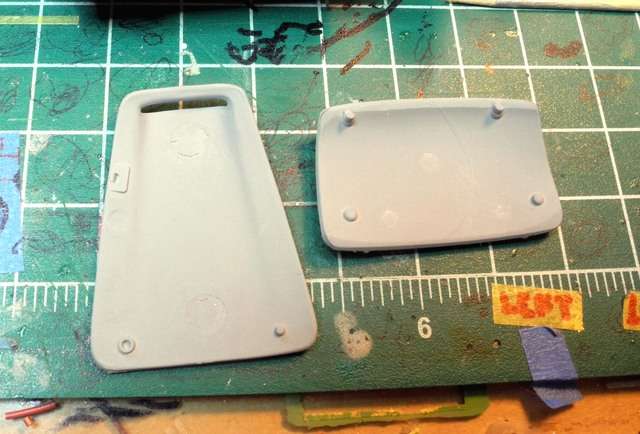
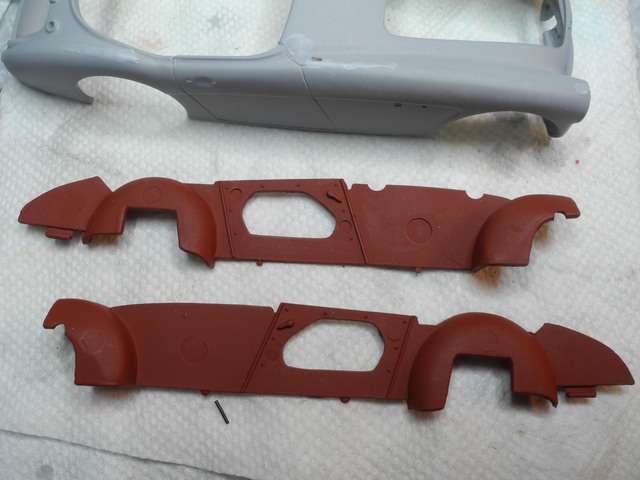
The body: I said it was multi piece. Let us count the ways (and I am doing this from memory, increasingly in short supply): main center body piece, two front side pieces, two rear side pieces, boot lid, bonnet lid, lower front pan, lower rear pan. That's nine pieces and I think I might be forgetting one or two. Today, that is pretty daunting, but back when this mess was originally released, the alternative was handing you a block of balsa wood and a side profile drawing and telling you to get with it. So this was pretty sophisticated stuff in those days. And really, it pretty much holds up in the detail department: very nicely appointed interior, well done body insignias and badges, that more than decent engine that I will not be using and the general detailing of the engine compartment had to be way ahead of their time. Still, a nine piece body...but like I said it fit together surprisingly well. Still needs work in the smoothing department.
So lets check out some pics:
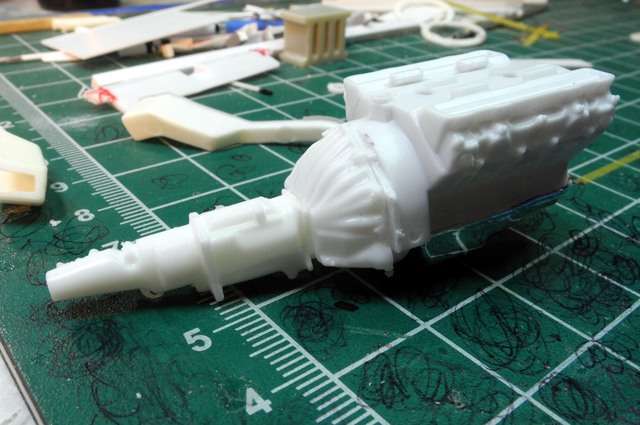
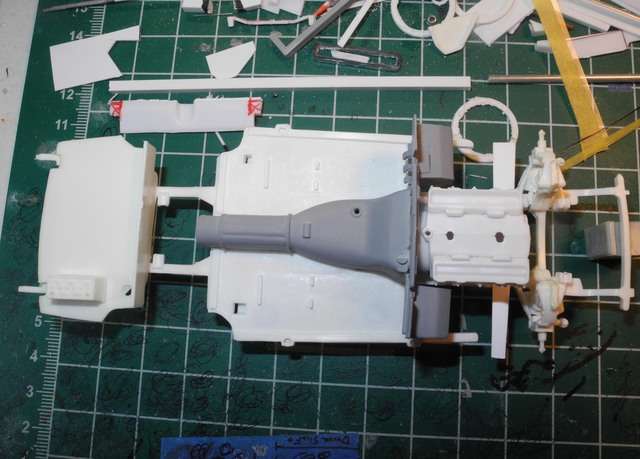
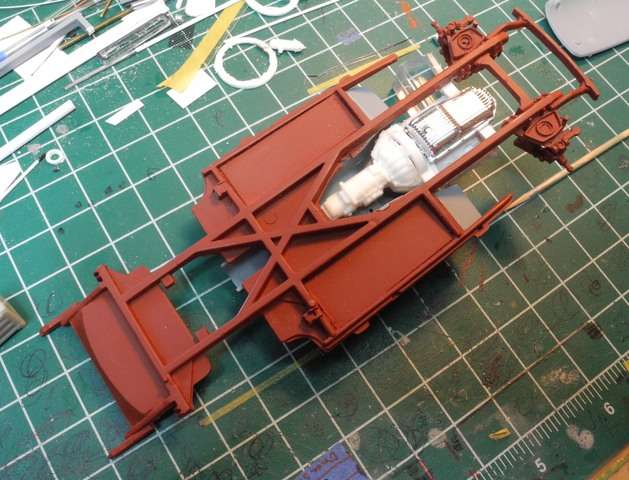
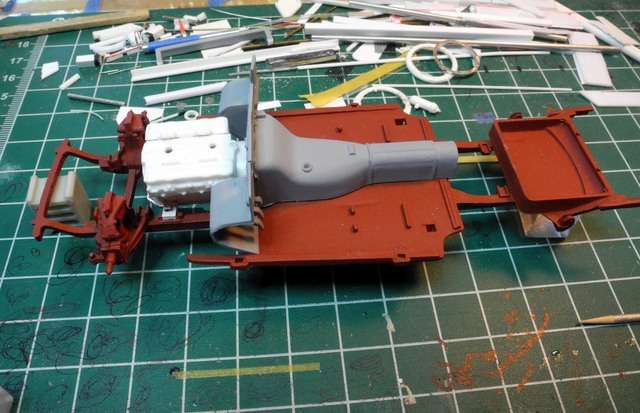
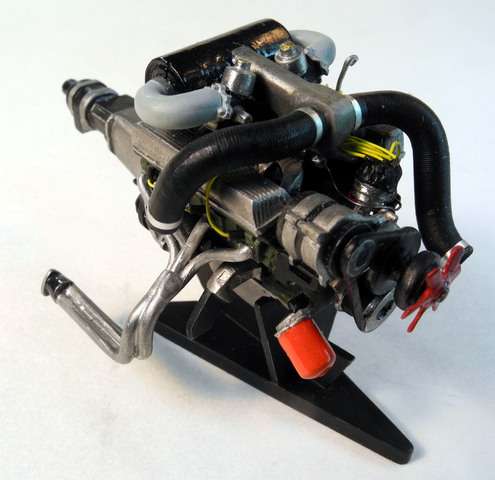
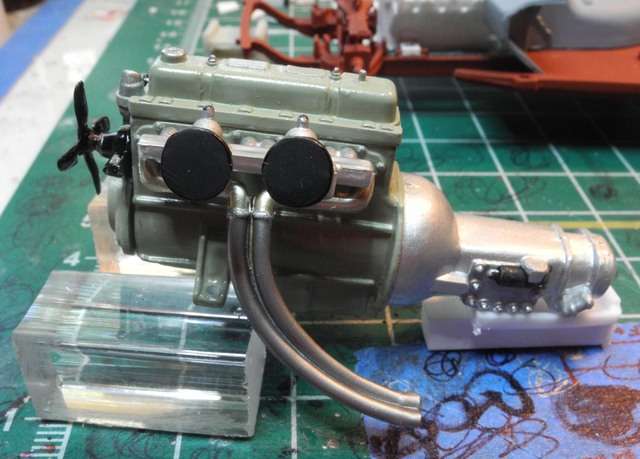
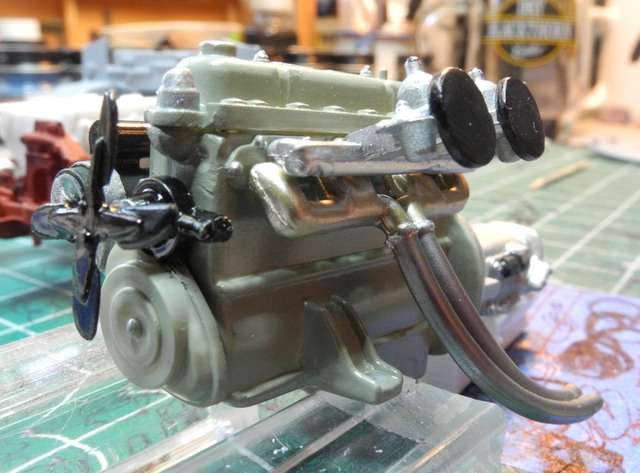
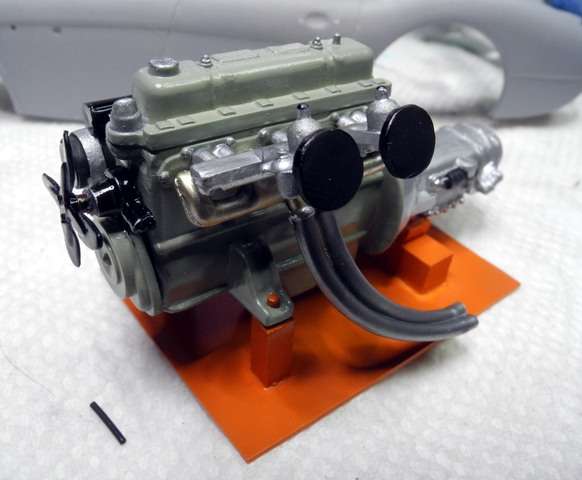
I decided to use the Nailhead out of the Revell 29 Ford Model A as a base block. Not sure about the induction but it will have to be fairly low profile. As we probably know, that engine comes with a lame automatic transmission that won't really make the grade here, so I grafted on a Replicas and Miniatures of Maryland 4 speed they make for the SBC that comes with the similar 30 Ford coupe. I know its not right but it actually matches up at the bolts pretty well and its going to be able to fit up into the trans tunnel which the auto wasn't doing.
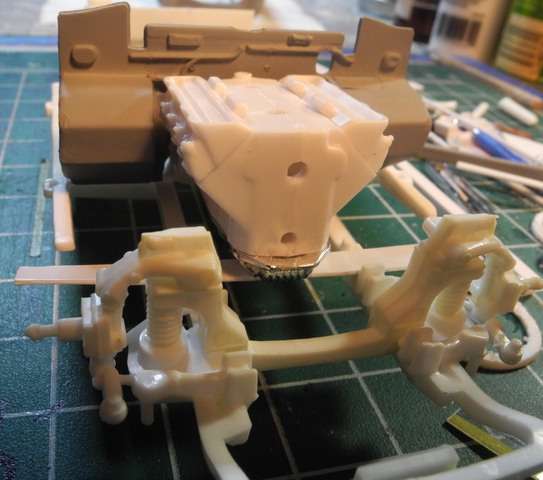
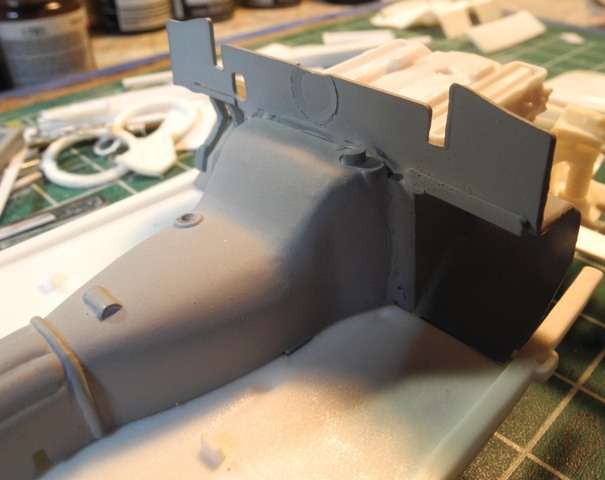
Here it is posed in the engine compartment. Almost perfect fit, biggest problem are the bulkheads on either side of the heads. They will have to be trimmed back and rebuilt I guess, I haven't really tackled the physical reality of doing that yet.
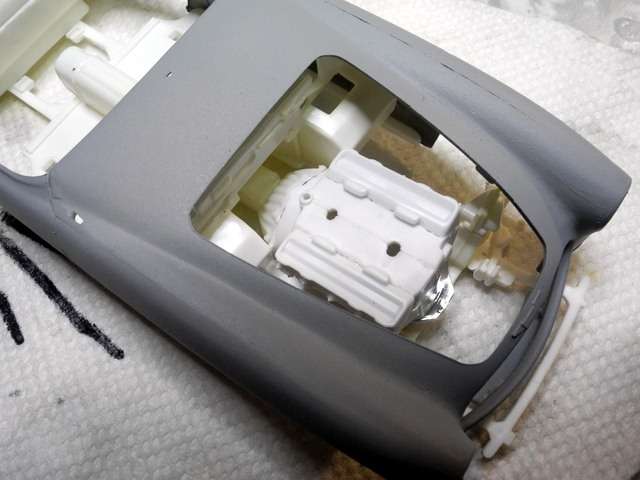
Another one straight on and you can see the interference better, the engine needs to move back as far as possible, 1/2" would not be too much and with this narrow transmission, it ought to be able to be made to happen. Wouldn't want to change the spark plugs though.
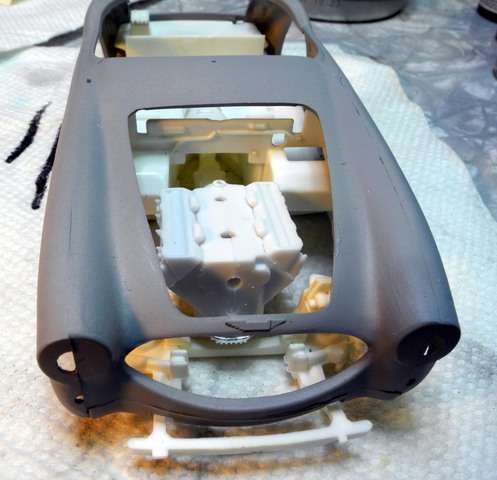
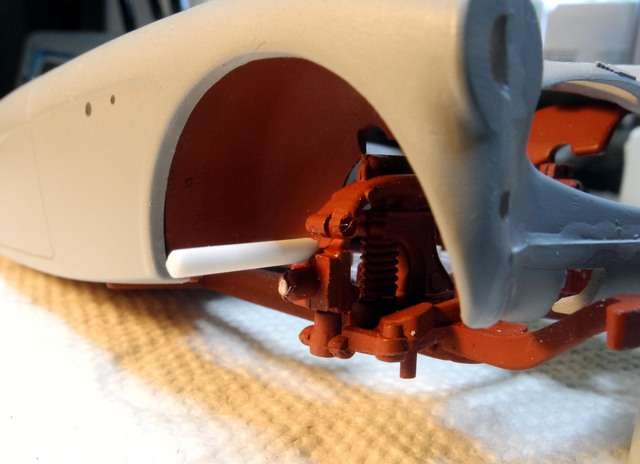
Here are a couple more of the body at this stage, still needs a bit of work but it more or less fits the chassis and floorboard ok.
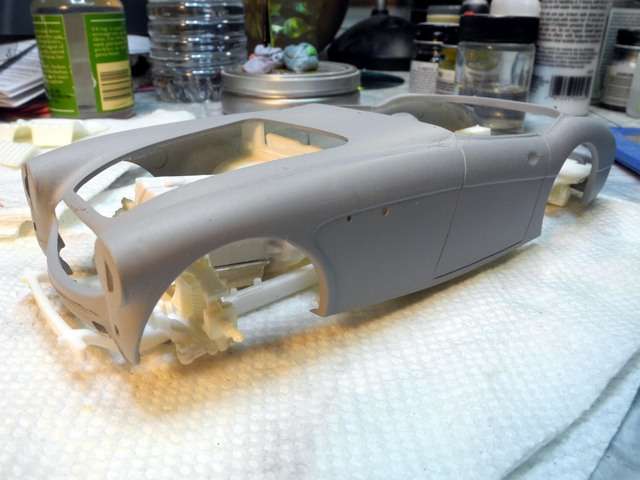
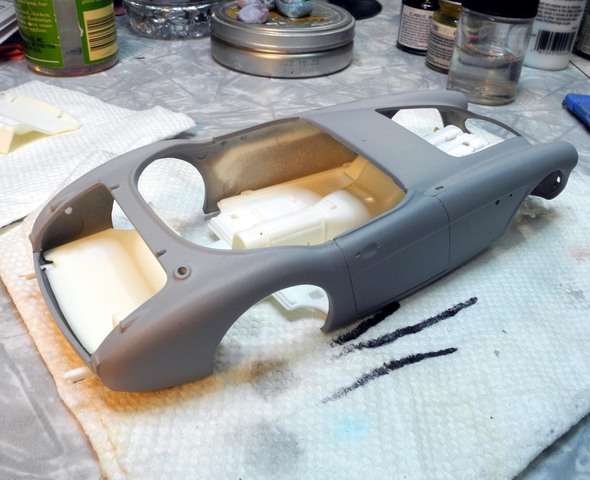
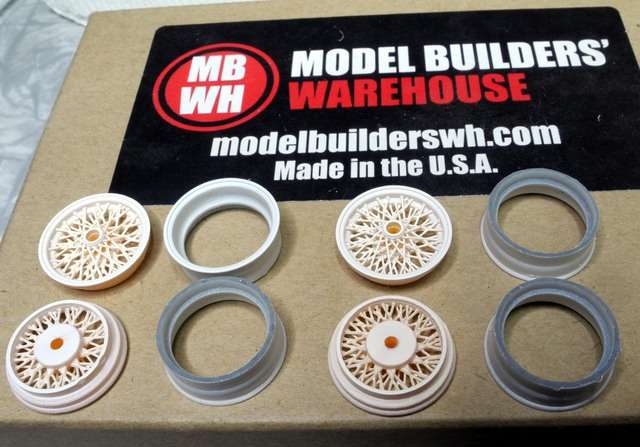
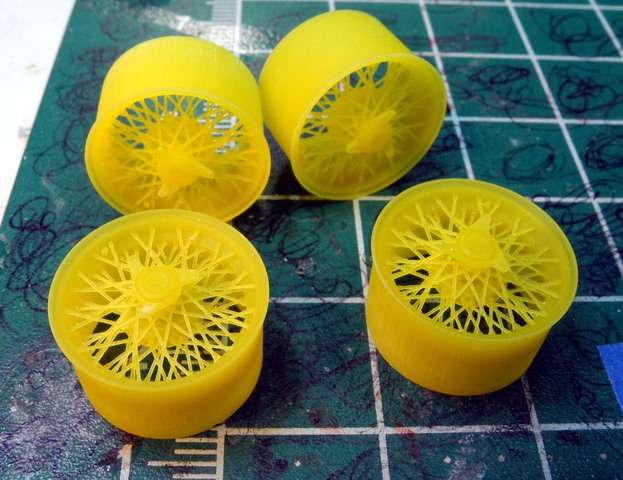
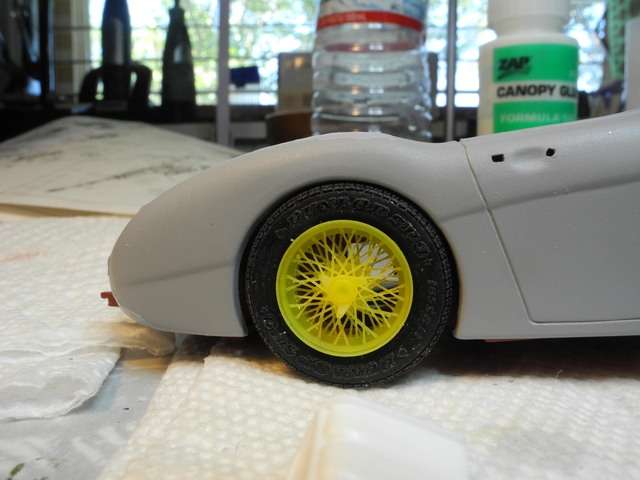
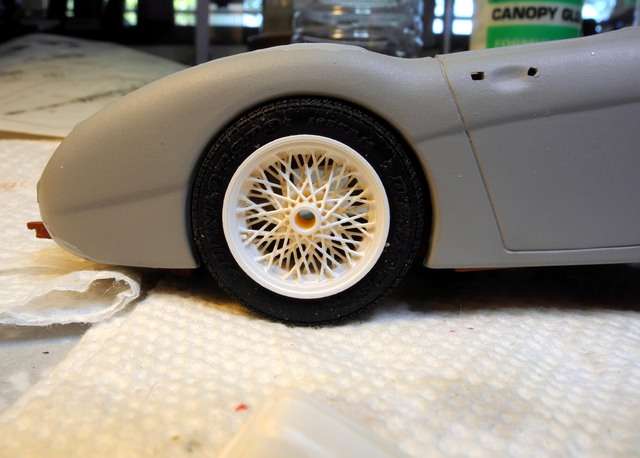
So now back to the real reason for this build: the wheels. I met Randy from Model Builders' Warehouse at the NNL a few years ago and he was nice enough to gift me with a set of his then-new 3D printed Borrani wire wheels. I took them home and tried to think of something appropriate to use them on but since I don't build many Ferrari classics, which is what they truly are correct for, cars 10X the value of this (then) quite modest consumer sports car, I wasn't really coming up with a subject I wanted to use. In the meantime, Randy improved his wheels by making them one piece with a molded in three ear knockoff and some other tweaks to the design and print quality, so next time I saw him, I bought a set of his new wheels. So now I have two sets to choose from.
First set, these have been shot with Tamiya fine white primer to reveal surface flaws typical with 3D printing:
and the second set, this time one piece in raw resin with the molded in three-ear knockoff:
So, this little project may have some challenges, but I hope to end up with a decent replica of a car I have always wanted to own, with some real bling wheels and of course the brute horsepower of an American V8 under the hood and otherwise pretty stock looking.
Thanks for looking and all comments appreciated!
jb

Anyone else remember this turkey of an issue from the dread dark days of the hobby? I bought it 20 years ago and it has sat at the bottom of one of my storage containers, unloved and unremembered. The small pieces are so flashed over it is difficult to tell where the tie rod, for instance, ends and the flash begins. And as soon as you start to sand that flash off, you find the plastic is in this sort of soft, pliable state that defies smooth sanding. To add to that, there are ejector pin marks like the surface of the moon, all over everything. I forgot to take a pic of it but I marked about 15 pin marks on the bottom of the chassis, a few in places that are going to be hard to repair.
This is going to be interesting.
The body: I said it was multi piece. Let us count the ways (and I am doing this from memory, increasingly in short supply): main center body piece, two front side pieces, two rear side pieces, boot lid, bonnet lid, lower front pan, lower rear pan. That's nine pieces and I think I might be forgetting one or two. Today, that is pretty daunting, but back when this mess was originally released, the alternative was handing you a block of balsa wood and a side profile drawing and telling you to get with it. So this was pretty sophisticated stuff in those days. And really, it pretty much holds up in the detail department: very nicely appointed interior, well done body insignias and badges, that more than decent engine that I will not be using and the general detailing of the engine compartment had to be way ahead of their time. Still, a nine piece body...but like I said it fit together surprisingly well. Still needs work in the smoothing department.
So lets check out some pics:

I decided to use the Nailhead out of the Revell 29 Ford Model A as a base block. Not sure about the induction but it will have to be fairly low profile. As we probably know, that engine comes with a lame automatic transmission that won't really make the grade here, so I grafted on a Replicas and Miniatures of Maryland 4 speed they make for the SBC that comes with the similar 30 Ford coupe. I know its not right but it actually matches up at the bolts pretty well and its going to be able to fit up into the trans tunnel which the auto wasn't doing.
Here it is posed in the engine compartment. Almost perfect fit, biggest problem are the bulkheads on either side of the heads. They will have to be trimmed back and rebuilt I guess, I haven't really tackled the physical reality of doing that yet.

Another one straight on and you can see the interference better, the engine needs to move back as far as possible, 1/2" would not be too much and with this narrow transmission, it ought to be able to be made to happen. Wouldn't want to change the spark plugs though.

Here are a couple more of the body at this stage, still needs a bit of work but it more or less fits the chassis and floorboard ok.


So now back to the real reason for this build: the wheels. I met Randy from Model Builders' Warehouse at the NNL a few years ago and he was nice enough to gift me with a set of his then-new 3D printed Borrani wire wheels. I took them home and tried to think of something appropriate to use them on but since I don't build many Ferrari classics, which is what they truly are correct for, cars 10X the value of this (then) quite modest consumer sports car, I wasn't really coming up with a subject I wanted to use. In the meantime, Randy improved his wheels by making them one piece with a molded in three ear knockoff and some other tweaks to the design and print quality, so next time I saw him, I bought a set of his new wheels. So now I have two sets to choose from.
First set, these have been shot with Tamiya fine white primer to reveal surface flaws typical with 3D printing:

and the second set, this time one piece in raw resin with the molded in three-ear knockoff:

So, this little project may have some challenges, but I hope to end up with a decent replica of a car I have always wanted to own, with some real bling wheels and of course the brute horsepower of an American V8 under the hood and otherwise pretty stock looking.
Thanks for looking and all comments appreciated!
jb





 It's an interweb thing.....